Are you an avid angler looking to improve your fly fishing skills? Or you’re a beginner just getting started in this exciting sport. Either way, learning how to tie your flies is an essential skill that will greatly enhance your success on the water.
Tying a Blue-Winged Olive (BWO) fly is essential for any fly angler looking to mimic one of the most common and effective fly patterns. BWOs are small, delicate insects that trout often feed on in rivers and streams, making them a favorite angler choice. By learning to tie your own BWO, you can customize the size, coloration, and materials to match local hatches more effectively.
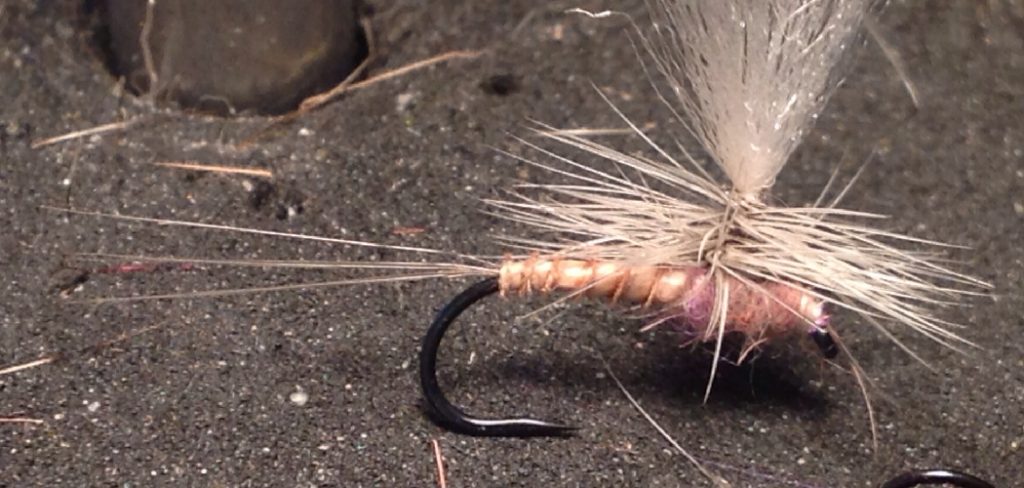
This guide will walk you through the process step-by-step on how to tie a bwo, ensuring that you can create a functional and visually appealing pattern on the water.
What Are the Benefits of Tying Your Bwo?
Before we dive into the tying process, let’s take a moment to discuss why learning to tie your flies is beneficial.
- Cost-effective: Buying pre-made flies can quickly increase cost, especially if you’re an avid angler. Learning to tie your flies can save you money in the long run, as materials are often less expensive than finished flies.
- Customization: As mentioned earlier, customizing your fly patterns allows you to match local hatches more effectively. You can also experiment with different colors and sizes based on the specific conditions and fish behavior.
- Creative Outlet: Tying flies can be a relaxing and creative activity. Many anglers enjoy creating something with their hands and seeing it come to life on the water.
- Satisfaction: There is a sense of satisfaction that comes from catching a fish on a fly that you tied yourself. It adds another level of accomplishment to your fishing experience.
Once you have mastered tying a BWO, you can use the same techniques to tie other fly patterns, expanding your skills and repertoire on the water.
What Will You Need?
Before tying your BWO, you must gather the necessary materials and tools. Here is a list of items that are essential for tying flies:
- Vise: A vise is a tool to securely hold the hook while tying the fly.
- Bobbin: A bobbin holds the thread spool and allows easy thread tension control while wrapping it around the hook.
- Thread: Fly-tying thread comes in various colors and sizes. It secures materials to the hook and creates a smooth body.
- Hooks: Hooks come in different sizes and styles, depending on the type of fly being tied.
- Dubbing: Dubbing is a material used to create the fly’s body.
- Hackle: Hackle feathers create legs and add movement to the fly.
- Wing Material: For BWOs, you can use various materials such as turkey, duck, or goose feathers for the wings.
- Head Cement: Head cement seals and secures the thread wraps on your finished fly.
Once you have all the necessary materials and tools, you can begin tying your BWO.
10 Easy Steps on How to Tie a Bwo
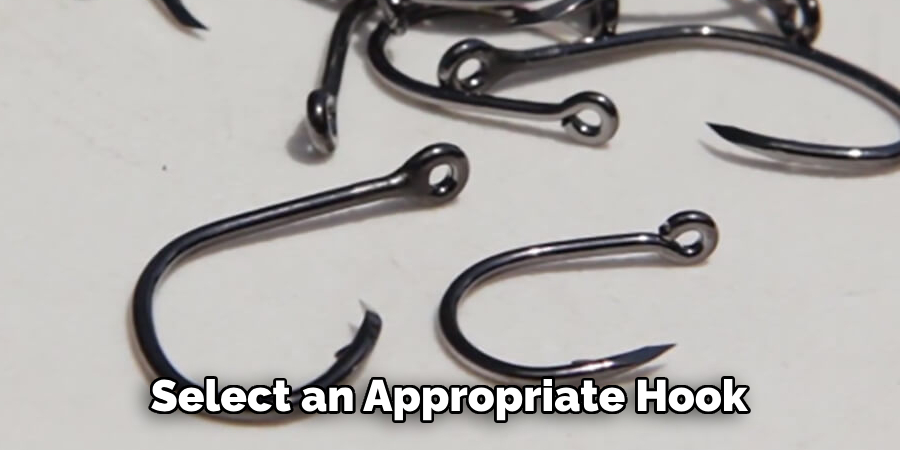
Step 1. Prepare the Hook:
Select an appropriate hook for the Blue-Winged Olive (BWO) fly. Generally, a size 16 to 24 barbless dry fly hook works best, as it closely mimics the natural insect. Secure the hook firmly in the jaws of your fly-tying vise, ensuring it does not shift during the tying process. Once the hook is stable, you can optionally crimp the barb for easier fish release and to comply with barbless fishing regulations in your area. Ensure the hook shank is positioned horizontally and easily accessible for wrapping materials. This step ensures you have a solid foundation for the rest of the fly-tie process.
Step 2. Start the Thread Base:
Attach your thread to the hook shank just behind the eye of the hook. Wrap the thread evenly down the shank toward the bend of the hook to create a solid thread base. This provides a surface for other materials to grip and stay in place during tying. Trim off any excess thread tag to keep the base tidy. Ensure the wraps are smooth and even, as this will help achieve a professional-looking finished fly.
Step 3. Attach the Tail Material:
Select your desired tail material, such as hackle fibers, marabou, or synthetic strands, depending on the type of fly you are tying. Measure the tail material so its length is approximately the same as the hook shank. Secure the material to the hook by tying it at the bend, using tight thread wraps to hold it firmly. Ensure the tail is positioned straight for a balanced and natural appearance. Trim any excess material to keep the base clean and ready for the next stage of the tying process.
Step 4. Add the Body Material:
Choose the body material based on the fly pattern you are creating. Popular options include chenille, dubbing, tinsel, or quill. Secure one end of the body material to the hook at the bend and wrap it evenly toward the eye of the hook, covering the thread base completely. Use smooth, overlapping wraps to ensure the body looks uniform and streamlined. Once you reach the desired point, secure the material with a few tight thread wraps and trim any excess. This step helps define the overall shape and appearance of the fly.
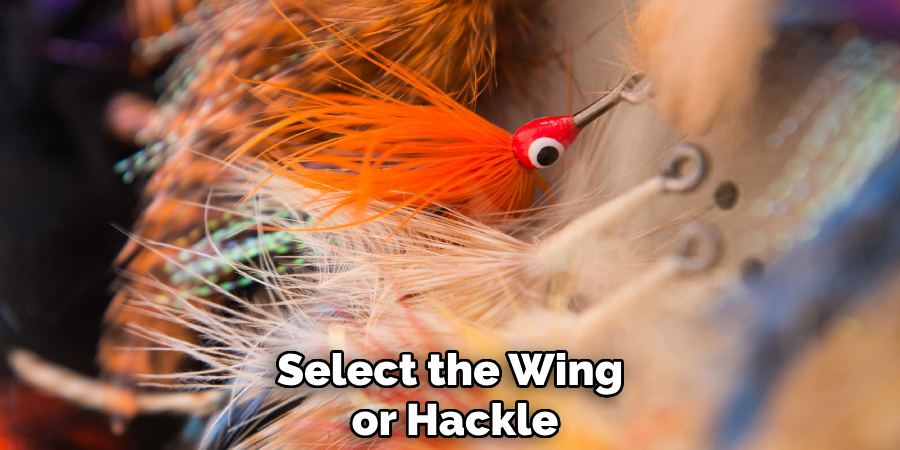
Step 5. Add the Wing or Hackle:
Select the wing or hackle material appropriate for the fly you are tying. Use feathers, fur, or synthetic fibers that complement the desired pattern for wings. Position the material over the hook shank, ensuring it aligns appropriately with the fly’s body. Secure it in place with tight thread wraps, starting at the tie-in point and working toward the hook eye. For the ackle, choose a feather with barbs of the desired length, tie in the feather by the base, and wrap it around the hook shank evenly, creating a collar or body segmentation as needed. Secure the feather’s tip and trim any excess material neatly. This step enhances the fly’s profile and imitates natural movement in the water.
Step 6. Finish the Fly:
Once all materials are secured and the fly’s shape is complete, form a neat thread head near the hook eye. Use a whip finish tool or perform a hand whip finish to tie off the thread securely, ensuring the wraps are snug but not overly tight. Trim the thread close to the head to avoid any loose ends. For added durability, apply a small drop of head cement or varnish to the thread wraps at the head, allowing it to dry thoroughly. This final step provides a polished appearance and ensures the fly holds up during use.
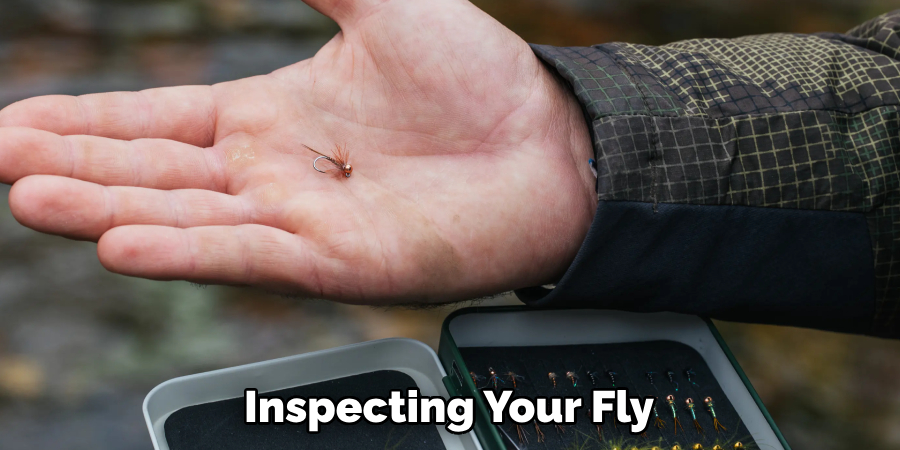
Step 7. Inspect and Test the Fly:
Once the fly is finished, carefully inspect it for any imperfections or loose materials. Ensure that the proportions of the fly resemble the intended insect or baitfish it is designed to imitate. Test the durability of the materials by gently pulling on them to confirm they are securely tied. Test the fly in water to observe its movement and make any necessary adjustments. This step ensures the fly is ready for successful use in fishing.
Step 8. Organize and Store Your Fly:
After completing and inspecting your fly, it’s essential to store it properly to maintain its quality. Place the finished fly in a designated fly box with compartments to keep it organized and protected. Ensure the fly is fully dry before storage to prevent rusting of the hook and deterioration of materials. Organizing your flies by type or size can make them easy to access during fishing trips, saving time and ensuring you’re always prepared. Proper storage also extends the lifespan of your carefully crafted flies.
Step 9. Practice and Experiment With New Patterns:
Once you’ve mastered the basics of fly tying, it’s time to expand your skills by experimenting with new patterns and techniques. Research different types of flies, such as dry, wet, nymphs, or streamers, and try replicating them. Practice combining various materials, colors, and textures to create unique designs that suit the specific fish species or water conditions you plan to encounter. This enhances your creativity and improves your ability to adapt to different fishing scenarios, ultimately making you a more versatile and successful angler.
Step 10. Join a Fly Tying Community:
Connecting with other fly-tying enthusiasts is a great way to expand your knowledge and improve your skills. Joining a local club, attending workshops, or participating in online forums allows you to exchange tips, share patterns, and gain valuable feedback on your work. These communities often host events and competitions, providing opportunities to learn from experienced tiers and showcase your own creations. Being part of a fly-tying community can also inspire you to stay motivated and continue refining your craft.
By following these steps and continuously practicing and learning, you can become an accomplished fly tier and enhance your overall fishing experience.
Conclusion
How to tie a bwo may seem challenging at first, but with the right materials, tools, and dedication, it can become a rewarding skill.
By carefully following the steps to prepare your thread, secure the hook, and shape the fly precisely, you can create a pattern that effectively mimics this essential insect. The BWO is a versatile and reliable fly that proves effective in various fishing situations, particularly during hatches. Remember, practice and patience are key to mastering this craft. Each attempt helps you sharpen your technique, enhancing your ability to tie consistent and realistic flies.
Use what you’ve learned, engage with the fly-tying community for shared insights, and soon, you’ll have a fly box full of hand-tied BWOs ready for your next fishing adventure.
About the Author
Jennifer Branett is the author of Fishy Kayak and an expert in fish-related fields, with over 10 years of experience. Her work blends passion for fishing with a commitment to conservation.
Educational Background
Degree: Bachelor’s in Marine Biology
Institution: University of California, Santa Barbara
Specializations: Aquatic ecosystems, fish behavior, and sustainable practices
Professional Experience
Conservation Projects:
Collaborated with local organizations to restore aquatic habitats
Developed educational programs on sustainable fishing practices
Publications:
Authored articles for fishing magazines and environmental journals
Featured speaker at fishing expos and conservation conferences
Key Areas of Expertise
Fishing Techniques:
Kayak fishing strategies
Freshwater and saltwater fishing methods
Environmental Stewardship:
Advocacy for sustainable fishing
Promoting biodiversity in aquatic environments
Awards and Recognition
Recipient of the [Specific Award Name] for contributions to marine conservation
Recognized as a leading voice in the fishing community by [Organization/Publication Name]
Community Engagement
Workshops and Seminars:
Regularly hosts events to educate anglers on sustainable practices
Engages with youth programs to inspire the next generation of fishers
Online Presence:
Maintains an active blog sharing tips, stories, and conservation efforts
Engages with followers on social media to promote fishing ethics
Personal Interests
Enjoys kayaking in scenic locations
Passionate about photography, capturing the beauty of nature
Advocates for local conservation efforts in her community