Setting a bite indicator is an essential skill for any angler looking to improve their fishing success. A bite indicator helps you detect when a fish is nibbling or has taken the bait, even when the movement is subtle.
Whether you’re a beginner or an experienced fisherman, understanding how to set a bite indicator can make a significant difference in your fishing experience. This guide will walk you through the steps to set up a bite indicator effectively, ensuring you never miss an opportunity to reel in your catch.
What is a Bite Indicator?
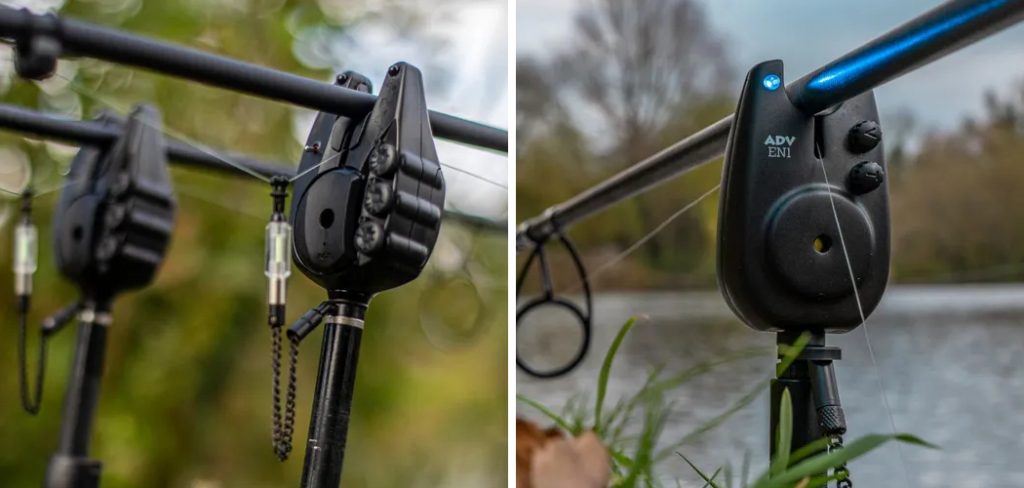
A bite indicator is a fishing tool designed to alert anglers when there is activity on the line, such as a fish biting or taking the bait. It serves as a visual or auditory signal to help detect even the slightest movements that may not be felt or seen otherwise.
Bite indicators come in various forms, including traditional bobbers, electronic devices that emit sounds or lights, and tension-based systems attached directly to the fishing rod. Each type of bite indicator is tailored to different fishing methods, environments, and personal preferences. By using a bite indicator, anglers can enhance their awareness and precision, making it easier to respond quickly and improve their chances of catching fish.
Importance of Properly Setting a Bite Indicator
Properly setting a bite indicator is crucial for maximizing your fishing efficiency and enjoyment. A well-adjusted bite indicator allows you to detect even the slightest movements, ensuring you won’t miss subtle bites that could otherwise go unnoticed. This precision is especially vital in situations where fish are cautious or feeding lightly.
Additionally, a properly set bite indicator helps reduce false alarms caused by environmental factors like currents or wind, allowing you to focus on genuine bites. By fine-tuning your setup, you not only increase your chances of successfully hooking fish but also enhance your overall fishing experience by minimizing frustration and wasted effort.
Types of Fishing Where Bite Indicators Are Commonly Used
Bite indicators are versatile tools used in various types of fishing, each requiring a slightly different approach to maximize their effectiveness. One common application is in carp fishing, where anglers often rely on bite alarms or bobbins to detect subtle takes from large, cautious carp.
Fly fishing also makes use of bite indicators, often in the form of floatation devices or brightly colored materials, to help detect delicate strikes when fishing with nymphs or wet flies. Additionally, bite indicators are popular in ice fishing, where spring bobbers or tip-ups are used to signal when a fish is on the line beneath the frozen surface. No matter the fishing style, bite indicators play a crucial role in improving detection and ensuring a successful day on the water.
10 Methods How to Set a Bite Indicator
1. Choose the Right Type of Bite Indicator
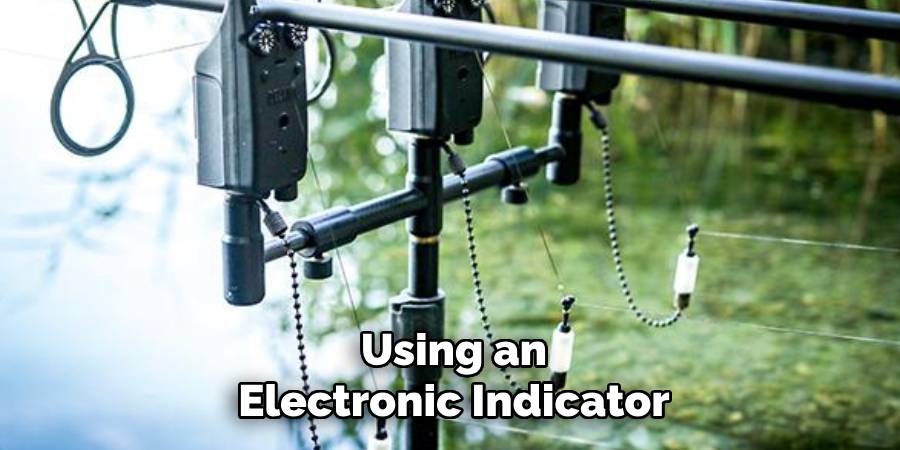
Selecting the appropriate bite indicator depends on your fishing environment and target species. For example, visual indicators like floats or bobbers are ideal for surface fishing, while electronic or line tension indicators work best for deep-water or night fishing. Consider the water conditions, lighting, and fish behavior when making your choice.
2. Attach the Indicator Securely
Proper attachment ensures the bite indicator functions correctly. For clip-on indicators, attach them to the fishing line at the desired depth, ensuring they are firmly in place. If using an electronic indicator, secure it to the rod or line according to the manufacturer’s instructions. A secure attachment prevents the indicator from slipping or becoming dislodged during use.
3. Set the Indicator at the Right Depth
Depth is a critical factor when setting a bite indicator. Position the indicator to match the feeding zone of the target fish. Adjust the placement based on the bait’s weight and the water’s depth. For surface feeders, keep the indicator close to the surface, while for bottom feeders, position it further down the line.
4. Calibrate the Sensitivity
Some bite indicators, especially electronic ones, allow for sensitivity adjustments. Calibrate the sensitivity to detect subtle bites without being overly reactive to currents or wind. This is particularly important in calm water where fish might nibble lightly rather than striking aggressively.
5. Align the Indicator with the Rod Tip
Proper alignment ensures the indicator provides accurate signals. Place visual indicators so they are clearly visible from your fishing position. For electronic indicators, align them with the rod tip to ensure they detect even the slightest line movements. This alignment is crucial for effective bite detection.
6. Test the Setup Before Fishing
Before casting your line, test the bite indicator’s functionality. Give the line a slight tug to simulate a bite and observe how the indicator reacts. This helps you verify that the attachment is secure and the sensitivity is correctly set. Adjust as necessary to ensure reliability.
7. Monitor Line Tension
Maintaining proper line tension is essential for bite indicators to work effectively. Avoid having too much slack in the line, as this can delay or prevent the indicator from signaling a bite. Conversely, overly tight lines can cause false signals. Strike a balance that allows the indicator to move freely while remaining responsive.
8. Adapt to Environmental Conditions
Environmental factors like wind, currents, and light levels can affect the performance of a bite indicator. In windy conditions, use heavier or more stable indicators to prevent false signals. At night, opt for illuminated or glow-in-the-dark indicators for better visibility. Adapt your setup to the specific conditions for optimal results.
9. Use Complementary Equipment
Enhance the effectiveness of your bite indicator by pairing it with complementary gear. For instance, use a rod holder to keep the rod steady and prevent unnecessary line movement. Combine visual indicators with audible alarms for a multi-sensory approach, especially during long fishing sessions.
10. Practice Patience and Observation
Finally, successful use of a bite indicator requires patience and keen observation. Watch the indicator closely for subtle movements or changes in position. Learn to differentiate between natural line movements caused by water conditions and genuine bites. With practice, you’ll become adept at interpreting the signals and reacting promptly.
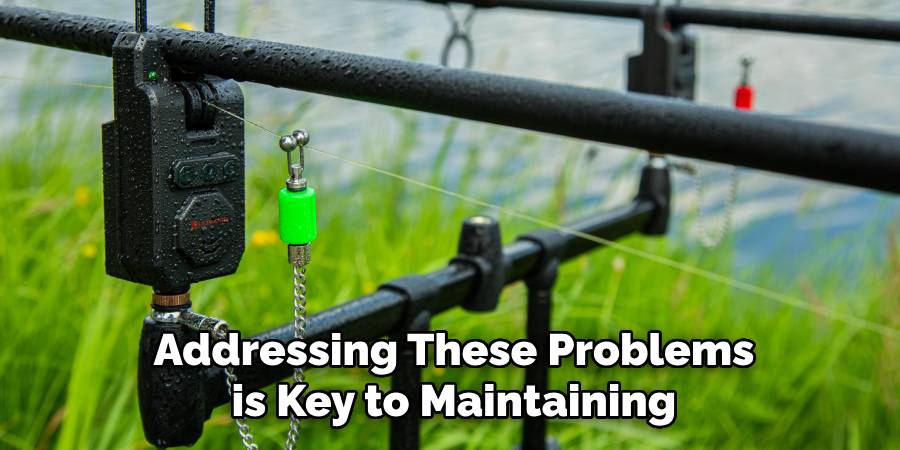
Troubleshooting Common Issues
Even with a well-prepared setup, issues can arise when using bite indicators. Understanding and addressing these problems is key to maintaining an effective and enjoyable fishing experience.
False Alarms from Environmental Factors
Wind, currents, or debris in the water can trigger false alarms, leading to frustration and missed opportunities. To address this, adjust the sensitivity of your bite indicator—if possible—or switch to a heavier or more stable model that is less affected by external conditions. Ensuring your line tension is well-balanced can also help reduce unnecessary movements.
Bite Indicator Not Reacting to Bites
If your bite indicator fails to respond to fish activity, check the attachment and alignment. A loose or improperly positioned indicator may not detect subtle movements. Additionally, verify that the sensitivity is appropriately calibrated for the fishing conditions. Inspect your line for slack and adjust tension to improve bite detection.
Difficulty Seeing or Hearing the Indicator
Visibility and audibility are crucial for detecting bites, especially in challenging conditions like low light or high background noise. If you struggle to see the indicator, consider using brightly colored visual indicators or those with glow-in-the-dark or illuminated features. For audible alarms, ensure the battery is functional and the volume is set to an appropriate level.
Indicator Slipping on the Line
A slipping indicator can result in inaccurate depth settings or missed bites. Ensure that the indicator is securely attached and suited to the type of fishing line you are using. Some indicators work better with specific line diameters or materials; switching to a compatible line can help resolve the issue.
Misinterpreting Line Movements
Learning to differentiate between natural line movements and actual bites takes practice. Start by observing how your setup reacts to the water’s natural motion. Over time, you’ll develop the ability to identify movements caused by fish, helping to eliminate unnecessary reactions to non-bite signals.
By identifying and correcting these common problems, you can optimize your bite indicator’s performance, making your time on the water more productive and enjoyable.
Safety Considerations
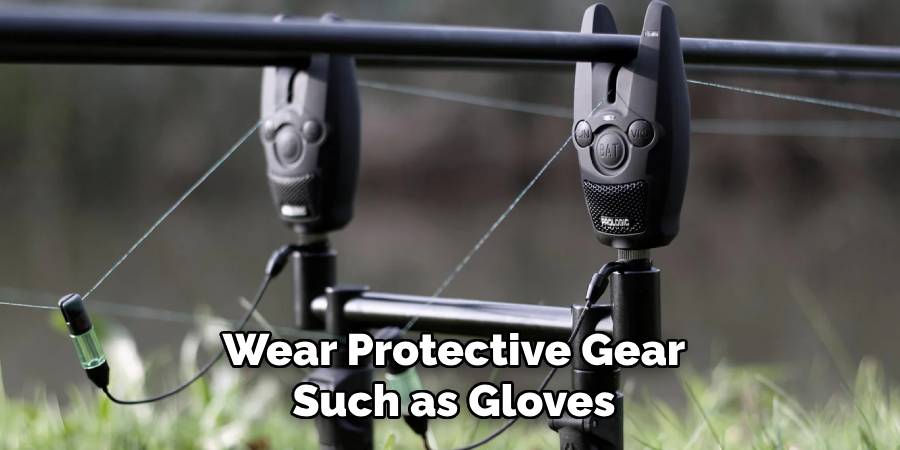
When using bite indicators and engaging in fishing activities, it’s important to prioritize safety to ensure a smooth experience. Begin by using appropriate tools and taking precautions to avoid injury.
Sharp hooks and fishing lines can pose risks, so handle them with care and wear protective gear such as gloves when necessary. Be mindful of your surroundings, including water depth, weather conditions, and the stability of the area where you are fishing. Slippery or uneven terrain can increase the chances of accidents, so take your time and ensure secure footing.
Additionally, if fishing near water bodies with strong currents or deep areas, wearing a life jacket is highly recommended, especially for young or inexperienced anglers. Always bring a fully stocked first-aid kit in case of minor injuries, and keep your phone or communication device waterproofed and easily accessible for emergencies.
Conclusion
Mastering the use of bite indicators can significantly enhance your fishing experience, improving both efficiency and success rates. By understanding how to properly select, set up, and adapt your equipment to various conditions, you ensure that your time on the water is both productive and enjoyable. Thanks for reading our blog post on how to set a bite indicator! We hope you found it helpful and informative.
About the Author
Jennifer Branett is the author of Fishy Kayak and an expert in fish-related fields, with over 10 years of experience. Her work blends passion for fishing with a commitment to conservation.
Educational Background
Degree: Bachelor’s in Marine Biology
Institution: University of California, Santa Barbara
Specializations: Aquatic ecosystems, fish behavior, and sustainable practices
Professional Experience
Conservation Projects:
Collaborated with local organizations to restore aquatic habitats
Developed educational programs on sustainable fishing practices
Publications:
Authored articles for fishing magazines and environmental journals
Featured speaker at fishing expos and conservation conferences
Key Areas of Expertise
Fishing Techniques:
Kayak fishing strategies
Freshwater and saltwater fishing methods
Environmental Stewardship:
Advocacy for sustainable fishing
Promoting biodiversity in aquatic environments
Awards and Recognition
Recipient of the [Specific Award Name] for contributions to marine conservation
Recognized as a leading voice in the fishing community by [Organization/Publication Name]
Community Engagement
Workshops and Seminars:
Regularly hosts events to educate anglers on sustainable practices
Engages with youth programs to inspire the next generation of fishers
Online Presence:
Maintains an active blog sharing tips, stories, and conservation efforts
Engages with followers on social media to promote fishing ethics
Personal Interests
Enjoys kayaking in scenic locations
Passionate about photography, capturing the beauty of nature
Advocates for local conservation efforts in her community