Are you tired of constantly losing your bait while fishing? Are you looking for ways to improve your chances of catching fish?
Fishing bait plays a crucial role in attracting fish, making it essential to ensure it is properly fixed and functional. Whether using live bait, artificial lures, or fly baits, understanding the correct techniques to prepare and secure them can significantly enhance your chances of success.
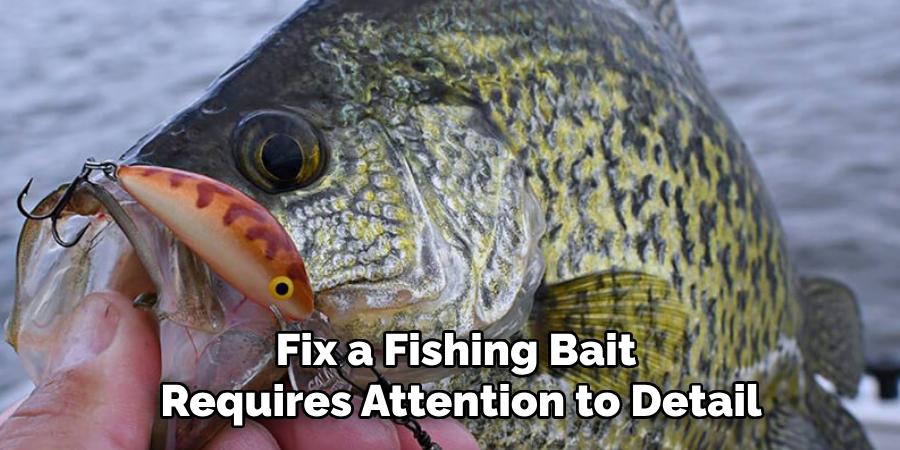
This guide on how to fix a fishing bait will walk you through the necessary steps to fix your fishing bait effectively, helping you make the most out of your fishing experience and catch more fish. Proper bait preparation improves its performance and ensures that it stays intact, even in challenging water conditions. Let’s dive in!
What Are the Causes of Bait Failure?
Before we discuss how to fix a fishing bait, it is essential to understand why baits fail. Some of these include:
- Poor Preparation: Preparing your bait correctly involves getting rid of excess scales, blood, or slime and properly hooking it. Neglecting this step can make your bait less attractive to fish.
- Weak Knots: Poor quality or incorrectly tied knots can cause your bait to detach from the hook when casting or reeling in.
- Damaged Hooks: Over time, hooks can become dull, rusty, or bent out of shape, making them inefficient at holding onto the bait. This can result in bait loss or missed hook sets.
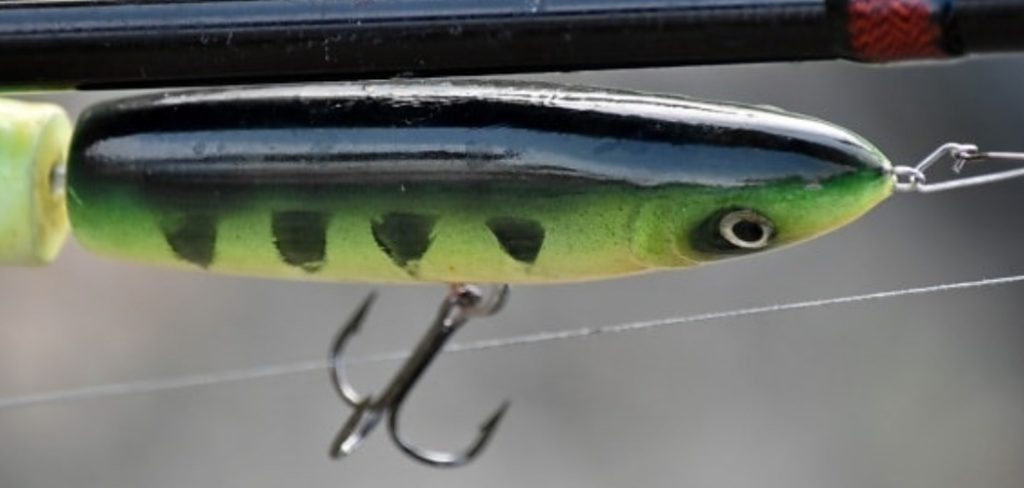
- Incorrect Rigging: How you rig your bait, such as using the wrong size or type of hook, can significantly affect its performance and durability.
What Will You Need?
To effectively fix your fishing bait, you will need the following supplies:
- Fishing Line: Choose a high-quality monofilament or braided line with enough strength to handle the size and type of fish you target.
- Hooks: Make sure to use sharp, rust-free hooks that match the size of your bait and target fish.
- Tools: Depending on your preferred technique, you may need pliers, scissors, a hook remover, or other tools to help secure and manipulate your bait.
Once you have these supplies ready, follow the steps below to fix your bait effectively.
9 Easy Steps on How to Fix a Fishing Bait
Step 1: Choose the Right Bait
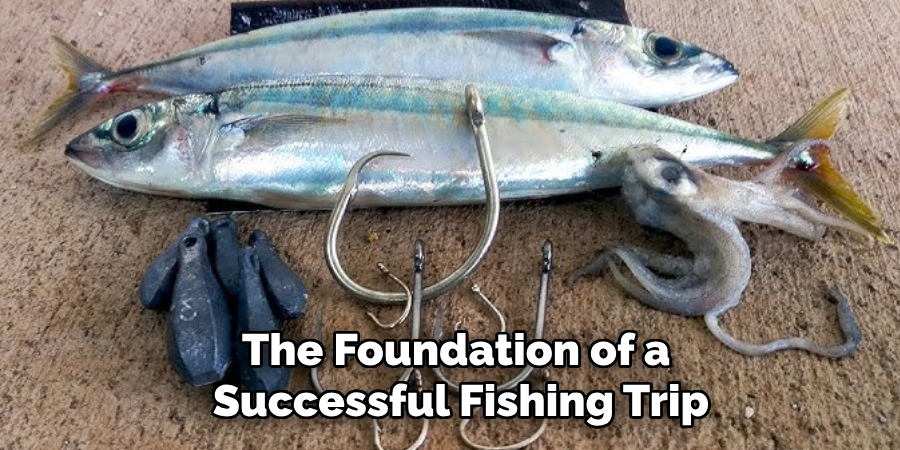
Selecting the correct bait is the foundation of a successful fishing trip. Begin by considering the type of fish you target, as different species are attracted to different bait. Live bait, such as worms, minnows, or shrimp, is often effective for many species due to its natural scent and movement.
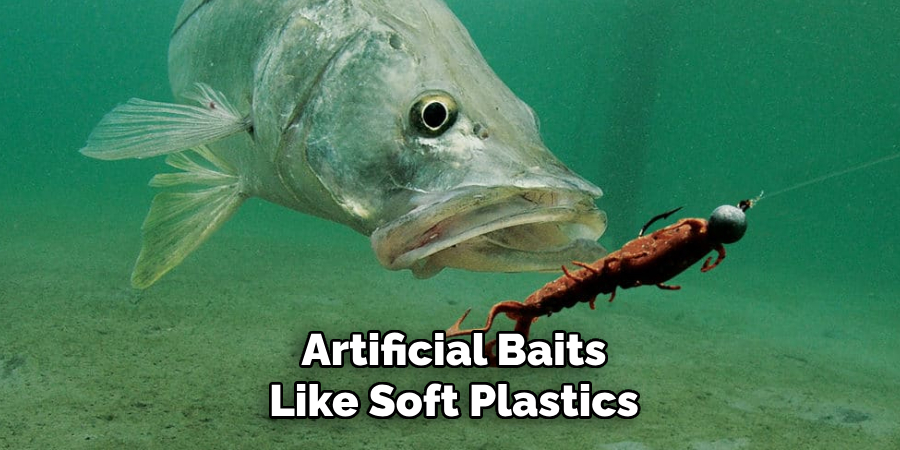
Alternatively, artificial baits like soft plastics, crankbaits, or jigs can mimic prey and work well in various conditions. Pay attention to the size and color of the bait to match the local environment and the feeding patterns of your target fish. Seasonal changes and water conditions, like clarity and temperature, can influence the best bait. Taking the time to choose the right bait will increase your chances of success and make the other steps in the process more effective.
Step 2: Gather the Necessary Tools
Before attaching your bait, ensure you have all the essential tools. This includes a high-quality fishing rod and reel, the appropriate hooks for your bait and target species, and additional accessories such as sinkers, swivels, or bobbers. Keeping your tools organized and in good condition ensures a smoother process and reduces the chances of errors or delays. Having everything prepared will make it easier to focus on the technique and strategy required for the fishing trip.
Step 3: Master the Technique of Bait Attachment
Properly attaching your bait to the hook is crucial for attracting fish and ensuring it stays secure during casting and retrieval. For live bait, such as worms or minnows, carefully thread the hook through the body to keep the bait alive and moving naturally. For artificial lures, attach them securely using the appropriate knot, ensuring they are positioned to mimic the movement of prey. Take your time to ensure the bait is correctly secured, as this attention to detail can significantly impact the success of your fishing trip.
Step 4: Learn Effective Casting Techniques
Mastering your casting technique is essential for covering the right areas of water and increasing your chances of a successful catch. Begin by ensuring your stance is balanced and comfortable, with your feet shoulder-width apart. Hold the rod firmly but without tension, allowing for smooth movements. Practice different casting methods, such as overhead casts, side-arm casts, or underhand flicks, depending on your environment and target species. Aim for precision and adjust the strength of your cast based on the distance required. Regular practice will improve accuracy and consistency, making you a more skilled angler.
Step 5: Be Patient and Observant
Patience is a key virtue when it comes to fishing. Once you’ve cast your line, remain still and observant, paying close attention to the movements of the water and the behavior of your line. Keep an eye out for subtle changes, such as the line tightening or small tugs, which could indicate a bite. Resist the urge to reel in too quickly, as this might startle the fish and cause it to swim away. Instead, maintain focus and be ready to set the hook firmly but gently when the time is right. Observation and calmness often distinguish between a good day fishing and going home empty-handed.
Step 6: Reel in Your Catch Properly
Once you feel a solid tug or see the line tighten, it’s time to reel in your catch. Start by setting the hook with a quick, upward rod motion to ensure the fish is securely caught. Then, begin reeling in steadily while maintaining tension on the line to prevent the fish from escaping. If the fish puts up an intense fight, allow it to run briefly while keeping control, then resume reeling when it tires. Be careful not to apply excessive force, which could break the line or dislodge the hook. You’ll successfully bring your catch to shore or the boat with patience and careful handling.
Step 7: Handle the Fish with Care
Once you’ve brought the fish close, handling it with care is essential to ensure its well-being, especially if you plan to practice catch and release. Use a wet hand or a fish-friendly tool, such as a landing net, to avoid removing the protective slime coating on the fish, which helps prevent infections. Hold the fish gently but securely to remove the hook, using pliers or a hook remover. If releasing the fish, do so as quickly and carefully as possible, placing it back in the water and supporting it until it swims away. Treating your catch respectfully helps preserve aquatic ecosystems and promotes sustainable fishing practices.
Step 8: Clean and Store Your Gear
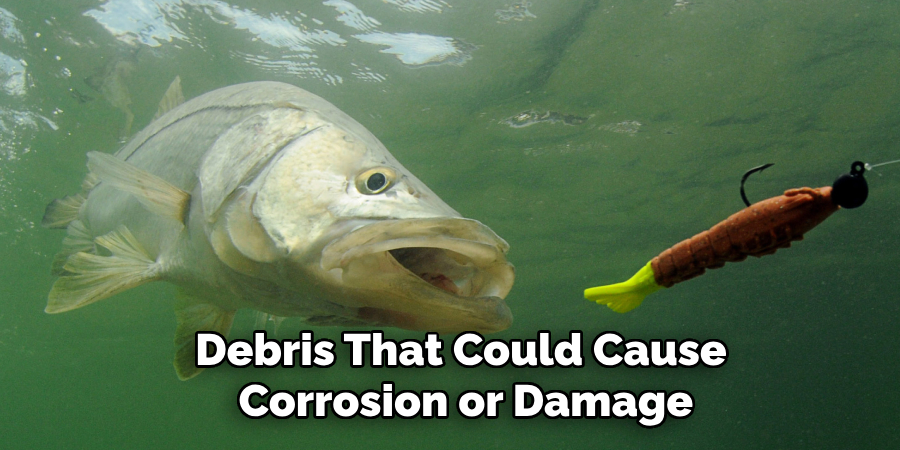
After a successful fishing trip, it’s essential to clean and properly store your gear to prolong its lifespan and maintain its effectiveness. Rinse your rods, reels, and tackle with fresh water to remove any salt, dirt, or debris that could cause corrosion or damage. Dry the equipment thoroughly before storing it in a cool, dry place. Check your lines for wear or frays and replace them if necessary. Organize your tackle box and restock any used lures or bait. Taking time to care for your gear ensures it will be ready for your next adventure and helps preserve your investment in quality fishing equipment.
Step 9: Plan for Your Next Trip
Once your gear is cleaned and stored, take some time to reflect on your recent fishing trip and plan for the next one. Consider what worked well, such as successful fishing spots, effective bait or lures, and productive techniques. Make notes on areas for improvement or new strategies you’d like to try. Check local fishing reports for updates on conditions, seasons, and regulations in your area. Preparing in advance ensures a smooth and enjoyable experience and increases your chances of success on your next outing.
You’ll become a more skilled angler by following these steps and continuously learning and practicing.
5 Things You Should Avoid
- Using the Wrong Type of Line: Always ensure that your fishing line matches the bait and the type of fish you are targeting. Using an incompatible line can result in the bait not performing as intended.
- Skipping Proper Cleaning: Failing to clean your bait or equipment can lead to buildup that affects the bait’s movement and effectiveness. Always wash your bait thoroughly before and after use.
- Neglecting to Check for Damage: Damaged baits, such as those with missing hooks or cracks, will not perform well. Make it a habit to inspect for wear and tear before heading out.
- Overloading the Bait with Add-ons: While enhancements like scent or attractants can be helpful, overloading your bait with too many features can make it less appealing or unnatural to fish.
- Ignoring Local Fishing Conditions: Not tailoring your bait to match the conditions of the water, weather, or species in the area can significantly reduce your chances of success. Always consider local factors when preparing your bait.
Conclusion
How to fix a fishing bait requires attention to detail and a methodical approach. Start by inspecting the bait for visible damage, such as cracks, broken hooks, or missing components, and promptly repair or replace these parts.
Clean the bait thoroughly to remove dirt, debris, and any buildup that can hinder its performance. If the bait has lost its vibrancy or realism, consider adding a fresh coat of paint or replacing faded elements. Ensure that hooks are sharp and secure, and adjust any weights or enhancements to maintain balance and natural movement.
Regularly maintaining and repairing your bait can extend its lifespan and improve your chances of a successful catch.
About the Author
Jennifer Branett is the author of Fishy Kayak and an expert in fish-related fields, with over 10 years of experience. Her work blends passion for fishing with a commitment to conservation.
Educational Background
Degree: Bachelor’s in Marine Biology
Institution: University of California, Santa Barbara
Specializations: Aquatic ecosystems, fish behavior, and sustainable practices
Professional Experience
Conservation Projects:
Collaborated with local organizations to restore aquatic habitats
Developed educational programs on sustainable fishing practices
Publications:
Authored articles for fishing magazines and environmental journals
Featured speaker at fishing expos and conservation conferences
Key Areas of Expertise
Fishing Techniques:
Kayak fishing strategies
Freshwater and saltwater fishing methods
Environmental Stewardship:
Advocacy for sustainable fishing
Promoting biodiversity in aquatic environments
Awards and Recognition
Recipient of the [Specific Award Name] for contributions to marine conservation
Recognized as a leading voice in the fishing community by [Organization/Publication Name]
Community Engagement
Workshops and Seminars:
Regularly hosts events to educate anglers on sustainable practices
Engages with youth programs to inspire the next generation of fishers
Online Presence:
Maintains an active blog sharing tips, stories, and conservation efforts
Engages with followers on social media to promote fishing ethics
Personal Interests
Enjoys kayaking in scenic locations
Passionate about photography, capturing the beauty of nature
Advocates for local conservation efforts in her community