Tying a meat rig is an essential skill for anglers looking to lure large fish, especially salmon and trout. Meat rigs are designed to imitate baitfish, using strips of bait to attract predatory species in freshwater and saltwater environments.
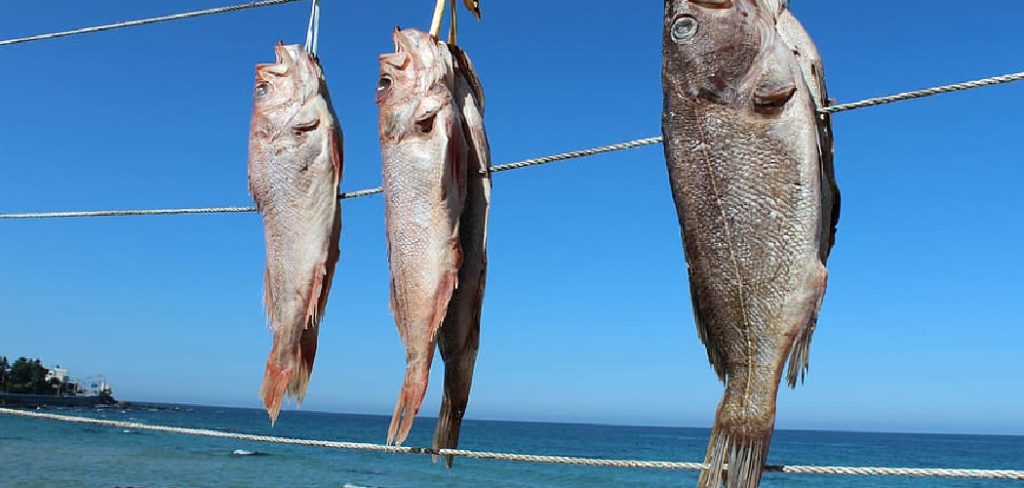
Whether you’re a beginner or an experienced fisherman, knowing the correct technique to assemble and tie a meat rig can enhance your fishing success. This guide on how to tie meat rig will walk you through the process step-by-step, ensuring you create an effective and durable rig.
What is a Meat Rig?
A meat rig consists of multiple components, including a leader line, bait hooks, and attractor blades. The main purpose of a meat rig is to mimic the movement and appearance of natural baitfish, enticing fish to bite onto the hooks.
Meat rigs are often used in trolling or drifting techniques, where multiple rigs are attached to a fishing line that is dragged through the water at varying depths. This method allows anglers to cover a larger area and target different fish species.
Needed Materials
To tie a meat rig, you will need the following material:
Leader Line:
The leader line is the main line used to attach the rig to your fishing line. It should be strong and durable, with a pound test based on the size of the fish you are targeting.
Bait Hooks:
Bait hooks come in various sizes, shapes, and styles. Choose a hook size that matches the baitfish you are trying to imitate and ensure they are sharp for a better chance of hooking fish.
Attractor Blades:
Attractor blades are attached to the leader line above the bait hooks. These blades create vibration and flash in the water, attracting fish to your rig.
Bait:
The type of bait used on a meat rig varies depending on the species targeted. Common options include strips of herring, salmon eggs, or squid.
8 Step-by-step Guidelines on How to Tie Meat Rig
Step 1: Select Your Components
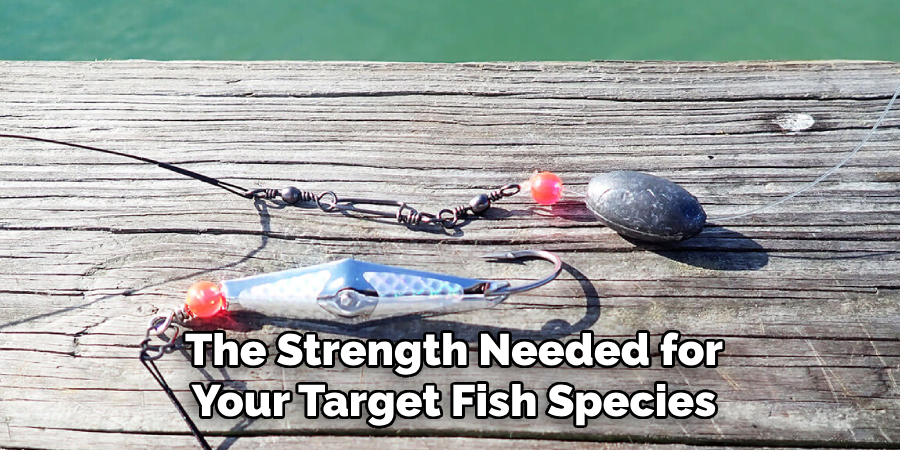
Before beginning to tie your meat rig, gather all the necessary components. Start with a high-quality leader line that matches the strength needed for your target fish species. Choose bait hooks that are sharp and appropriately sized to mimic your desired baitfish effectively. Ensure you have attractor blades that provide enough flash and vibration to draw in fish.
Lastly, pick your bait, whether it’s strips of fish, squid, or another suitable option tailored to the fish species you aim to catch. Having all the components ready will make the assembly process smoother and more efficient.
Step 2: Cut the Leader Line
Measure and cut the leader line to the desired length for your meat rig. The ideal length will depend on the depth at which you plan to fish and the behavior of the species you’re targeting. Typically, leader lines range from 18 to 36 inches.
Use a sharp pair of scissors or line cutters to ensure a clean cut, which will make it easier to work with the line in subsequent steps. Cutting the line to the right length is crucial for proper rig performance and handling.
Step 3: Thread the Attractor Blades
Take the attractor blades and carefully thread them onto the leader line. To do this, slide the line through the pre-drilled holes in the blades. The blades should be positioned near the top of the leader line, leaving enough space below for the bait hooks and bait.
Arrange the blades so they can spin or flutter freely in the water, creating flashes and vibrations to draw fish toward the rig. Ensure the blades are evenly spaced, as proper placement enhances the overall effectiveness of the rig.
Step 4: Tie the First Hook
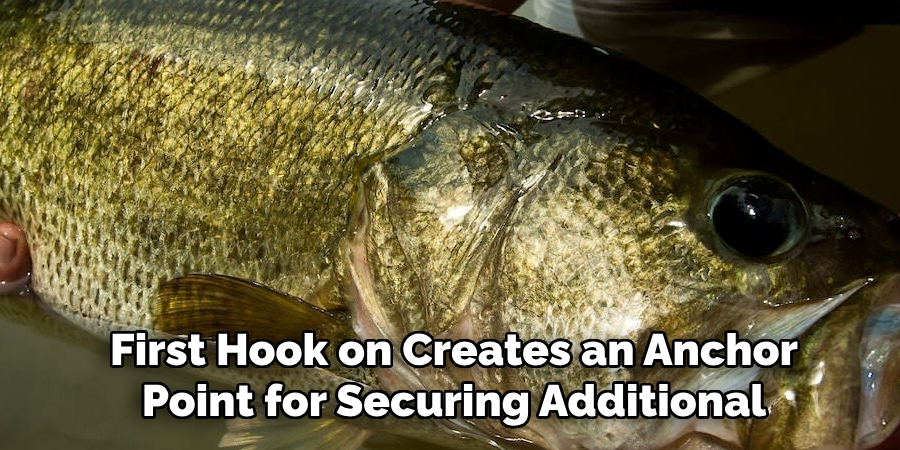
Take one of your bait hooks and tie it onto the leader line using a clinch or improved clinch knot. This is done by threading the free end of the leader line through the eye of the hook twice, then wrapping it around itself before passing back through the loop created. Lastly, pull both ends to tighten and secure the knot.
Tying this first hook on creates an anchor point for securing additional hooks in later steps.
Step 5: Positioning Additional Hooks
Attach any additional hooks needed for your desired rig setup, depending on how many you want to include. Typically, meat rigs have two to four hooks spaced out along the leader line. Use the same clinch or improved clinch knot to tie on each hook, ensuring they are evenly spaced and positioned in a way that mimics natural baitfish movement.
Step 6: Add Bait
Once all hooks are tied onto the leader line, it’s time to add bait. Take your chosen bait and thread it onto each of the hooks, starting from the bottom up. Ensure enough bait is attached to cover most of the hook, leaving some trailing behind. The amount of bait used can vary, but generally, more significant chunks work best as they create more movement and scent in the water.
You can also use multiple types of bait on the same rig, experimenting to find what works best for your targeted species.
Step 7: Secure and Tighten Hooks
After positioning the hooks and attaching the bait, ensure all knots and connections are secure. Double-check each hook to confirm it is tightly fastened to the leader line and won’t come loose during use. Pull gently on the hooks and leader line to test the strength of the knots. If any knots appear loose or slip under tension, retie them to maintain the rig’s integrity.
Properly secured hooks help prevent bait loss and increase the chances of hooking fish. Additionally, ensure the hooks are spaced correctly and aligned to allow the bait to move freely and naturally in the water, mimicking live baitfish as closely as possible. This step is crucial for the effectiveness and durability of your meat rig.
Step 8: Attach to the Main Fishing Line and Fish!
Once all components are secured, you’re ready to attach the meat rig to your main fishing line. Use a sturdy snap swivel or clinch knot to connect the two lines. The weight of the main fishing line will depend on how deep you plan to fish and the behavior of your targeted species. Consider using a sinker or downrigger if needed.
To use your meat rig, cast it out into the water and let it sink or troll at varying depths until you get a bite. When you feel a tug on the line, set the hook by pulling sharply upwards and reeling in any caught fish.
Following these step-by-step guidelines on how to tie meat rig will help you tie a successful meat rig and increase your chances of catching fish. Remember to always check your rig for any damage or wear before each use and replace any worn components for optimal performance. Happy fishing!
Frequently Asked Questions
Q1: What Type of Bait is Best for a Meat Rig?
A1: The best bait for a meat rig depends on the species targeted, but common options include strips of herring or salmon eggs. Squid and other types of fish or seafood can also work well. You can experiment with different types of bait to see what works best for the species you’re targeting.
Q2: How Many Hooks Should I Use in My Meat Rig?
A2: The number of hooks used in a meat rig will vary but typically ranges from two to four. Ensure the hooks are spaced evenly and positioned to mimic natural baitfish movement for optimal effectiveness.
Q3: Can I Use Multiple Types of Bait on One Meat Rig?
A3: Yes, you can use multiple types of bait on one meat rig. Experiment with different combinations to find what works best for your targeted species. You can also use different types of bait on each hook to attract a wider range of fish.
Q4: Is There a Recommended Leader Line Length for a Meat Rig?
A4: The ideal leader line length for a meat rig will depend on the depth at which you plan to fish and the behavior of the targeted species. Typically, leader lines range from 18 to 36 inches. It’s best to experiment and adjust the length based on your results.
Conclusion
Tying a meat rig can seem complex at first, but with the right components and attention to detail, it becomes a straightforward and rewarding process. By following these step-by-step guidelines on how to tie meat rig, you can create a highly effective rig that mimics natural baitfish movements, enticing your targeted species. Whether fishing for salmon, trout, or other predatory fish, a well-made meat rig increases your chances of success on the water.
Always ensure your equipment is properly maintained and experiment with different bait and configurations to find what works best for your fishing conditions. With practice and patience, your efforts will be rewarded with better catches and an enhanced fishing experience. Happy fishing!
About the Author
Jennifer Branett is the author of Fishy Kayak and an expert in fish-related fields, with over 10 years of experience. Her work blends passion for fishing with a commitment to conservation.
Educational Background
Degree: Bachelor’s in Marine Biology
Institution: University of California, Santa Barbara
Specializations: Aquatic ecosystems, fish behavior, and sustainable practices
Professional Experience
Conservation Projects:
Collaborated with local organizations to restore aquatic habitats
Developed educational programs on sustainable fishing practices
Publications:
Authored articles for fishing magazines and environmental journals
Featured speaker at fishing expos and conservation conferences
Key Areas of Expertise
Fishing Techniques:
Kayak fishing strategies
Freshwater and saltwater fishing methods
Environmental Stewardship:
Advocacy for sustainable fishing
Promoting biodiversity in aquatic environments
Awards and Recognition
Recipient of the [Specific Award Name] for contributions to marine conservation
Recognized as a leading voice in the fishing community by [Organization/Publication Name]
Community Engagement
Workshops and Seminars:
Regularly hosts events to educate anglers on sustainable practices
Engages with youth programs to inspire the next generation of fishers
Online Presence:
Maintains an active blog sharing tips, stories, and conservation efforts
Engages with followers on social media to promote fishing ethics
Personal Interests
Enjoys kayaking in scenic locations
Passionate about photography, capturing the beauty of nature
Advocates for local conservation efforts in her community