With the summer weather finally here, my mind has been set on one thing: spending as much time as possible on the water with my kayak. While I’ve loved kayaking for years, always loading and unloading my kayak from the top of my car had become a chore. As an avid kayaker, I knew there had to be a better way to transport my boat to and from the launch sites. That’s when I decided to take on the project of building my own heavy-duty kayak rack.
In this post on how to make a kayak rack, I’ll share the steps I took to design and construct a roof rack specifically tailored to fit my needs. From deciding on materials to final assembly, you’ll learn how to create your own durable and custom-made solution for kayak transportation. Strap in for the journey – it’s time to hit the water with ease!
11 Step-by-step Guidelines on How to Make a Kayak Rack
Step 1: Gather Materials
Once you have decided on the type of rack, it’s time to gather materials. For a roof rack, you will need:
- 4 Pieces of 2×4 Lumber (Length Varies Based on Kayak Size)
- 2 Pieces of 1×4 Lumber (Length Varies Based on Kayak Size)
- Wood Screws
- Metal Braces
- Pool Noodles or Foam Pipe Insulation
Step 2: Measure and Cut the Lumber
Using a measuring tape, measure the length and width of your kayak. Add an additional foot to each measurement to allow for extra room on the rack. Using a saw, cut the 2×4 lumber and 1×4 lumber to match your measurements. You will need two sets of these pieces for each kayak you plan on transporting.

Step 3: Create a Base Frame
Lay out the two longer pieces of 2×4 lumber parallel to each other, with the shorter pieces of 2×4 placed perpendicular in between them. Use wood screws to attach the pieces together, creating a sturdy base frame for your kayak. If desired, you can also add metal braces to reinforce the frame.
Step 4: Add Support Beams
Place the shorter pieces of 2×4 lumber on top of the base frame, perpendicular to the longer pieces. These will serve as support beams for your kayak to sit on. Use wood screws to attach them securely to the base frame. Although the number of support beams may vary based on the size and weight of your kayak, it’s recommended to use at least two for stability.
Step 5: Cut Foam Pipe Insulation
Using a saw or sharp knife, cut pool noodles or foam pipe insulation into sections slightly shorter than the width of your kayak. These will be used to protect your kayak from scratches and provide cushioning while in transit. You will need enough sections to cover the entire base frame.
Step 6: Attach Foam Insulation to Support Beams
Wrap the foam insulation around the support beams and secure them with duct tape or zip ties. Make sure the foam is evenly distributed and covers the entire length of each support beam. Otherwise, your kayak may shift during transportation. It’s also a good idea to add additional layers for extra protection.
Step 7: Secure Rack to Roof of Vehicle
Depending on your vehicle, you may need to use additional straps or roof rack attachments to secure the kayak rack. Be sure to follow the manufacturer’s instructions and double-check that the rack is securely fastened before loading your kayak. You can also add a layer of nonslip padding between the rack and your vehicle for added protection.
Step 8: Test and Adjust as Needed
Before hitting the road, it’s important to test the stability of your kayak rack. Load your kayak onto the rack and adjust the placement of support beams and foam insulation if needed. It’s also a good idea to do a test drive around the block to ensure everything stays in place while in motion. The last thing you want is to have your kayak fall off during transportation.
Step 9: Add Additional Support for Longer Kayaks
If you plan on transporting longer kayaks, you may need to add additional support beams or extend the length of the base frame. This will provide extra stability and prevent your kayak from hanging off the edges of the rack. You can also add foam insulation to the extended areas for added protection.
Step 10: Consider Adding a Cover
To protect your kayak from any debris or weather elements during transportation, consider adding a cover to your rack. This can be as simple as a tarp or a custom-made cover specifically designed for kayak racks. It’s a small investment that can save your kayak from potential damage. It’s also a good idea to secure the cover with straps or bungee cords to prevent it from coming loose while in transit.
Step 11: Enjoy Stress-Free Kayak Transportation
With your newly constructed kayak rack, you can now enjoy stress-free transportation of your beloved watercraft. You’ll no longer have to struggle with loading and unloading or worry about any scratches or damages during transit. Now all that’s left to do is hit the water and enjoy your time on the beautiful summer days. And who knows, maybe this project will inspire you to take on even more DIY projects in the future!
Following these simple steps on how to make a kayak rack, you can create a custom-made and durable kayak rack that fits your specific needs. Say goodbye to the hassle of transporting your kayak and hello to easy, stress-free adventures on the water. Now get out there and start exploring! Happy kayaking!
Do You Need to Use Professionals?
With the right materials and tools, building a kayak rack can be a fun and rewarding DIY project. However, if you don’t feel comfortable or have the necessary skills to construct one yourself, it’s always best to seek professional help. This will ensure that your kayak is safely transported without an added risk of damage or accidents.
Additionally, hiring professionals can also save you time and effort in the long run. Remember, the most important thing is to have a secure and reliable kayak rack for all your future adventures.

Additional Tips for Kayak Rack Construction
- When Choosing Materials for Your Kayak Rack, Opt for Sturdy and Weather-resistant Options Such as Treated Lumber or Aluminum.
- Consider Adding a Hinge to One Side of the Base Frame for Easier Loading and Unloading of Your Kayak.
- Don’t Forget to Regularly Check and Tighten Any Screws or Braces to Ensure the Stability of Your Rack.
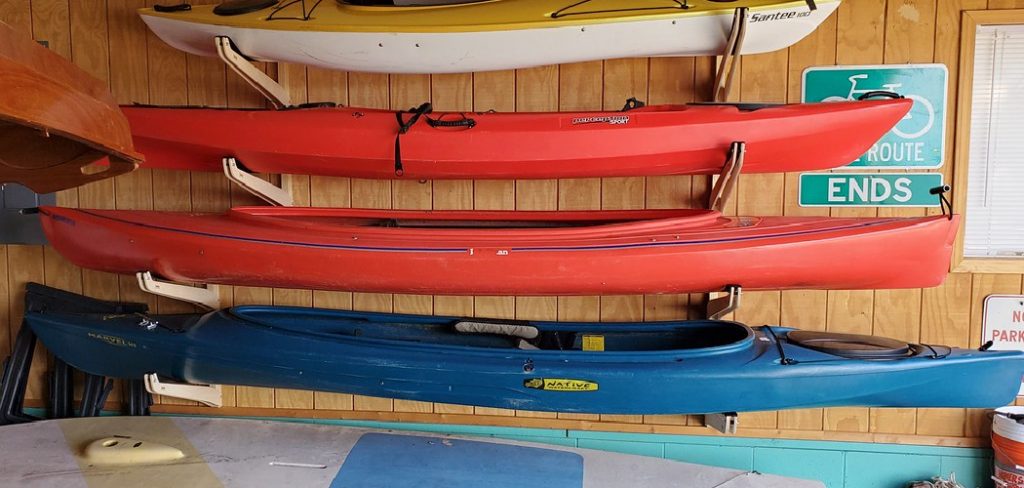
- If You Plan on Transporting Multiple Kayaks, Consider Building a Multi-level Rack for Added Space Efficiency.
- Always Follow Safety Precautions When Using Power Tools and Handling Lumber.
- Don’t Be Afraid to Get Creative and Customize Your Rack to Fit Your Personal Style or Needs!
Frequently Asked Questions
Q1: Can I Use This Same Method for Other Types of Watercraft Such as Canoes or Paddleboards?
A1: Absolutely! This method can be modified to fit any type of watercraft you want to transport. Simply adjust the measurements and number of support beams as needed.
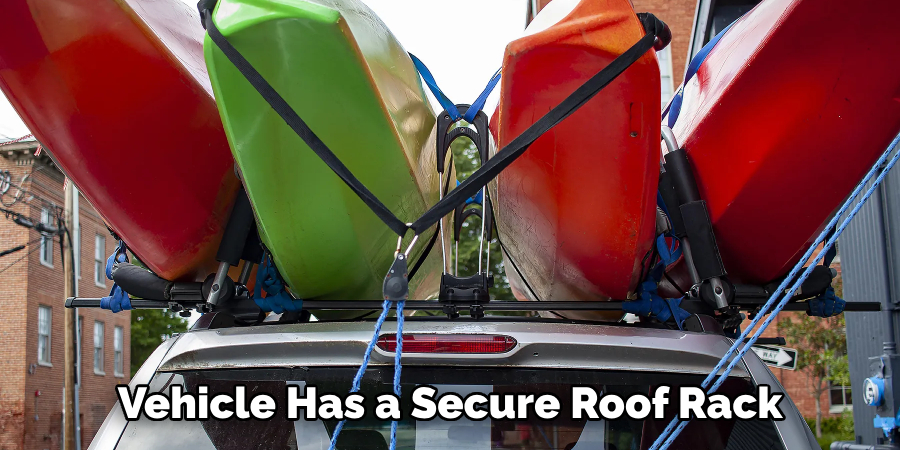
Q2: Can I Use This Kayak Rack on Any Type of Vehicle?
A2: As long as your vehicle has a secure roof rack or crossbars, this kayak rack can be used on any type of car, SUV, or truck. Just make sure to follow the manufacturer’s instructions for securing the rack properly.
Q3: How Do I Know If My Kayak Is Securely Fastened to the Rack?
A3: Before hitting the road, make sure your kayak is properly centered on the rack and securely fastened with straps. Give the kayak a light shake to test its stability. If it feels loose or wobbly, readjust and tighten the straps as needed.
Q4: Can I Leave This Kayak Rack Attached to My Vehicle When I’m Not Using It?
A4: While it is possible to leave the rack attached, it’s recommended to remove it when not in use. This will help prevent any damage to your vehicle and extend the lifespan of your kayak rack.
Conclusion
In this blog post on how to make a kayak rack, we have covered all the necessary steps to help you make your own kayak rack. From materials and measurements to assembly and installation, this DIY project is a great way to save money and personalize your storage solution for kayaks. By following these simple instructions, you can create a sturdy and functional rack that will keep your kayaks safe and organized. But more than just creating an effective kayak rack, this project is also about fostering creativity and self-sufficiency.
So whether you’re an outdoor enthusiast looking to enhance your gear storage or simply someone who loves to take on new challenges, making a kayak rack is a fulfilling endeavor that combines practicality and artistry.
About the Author
Jennifer Branett is the author of Fishy Kayak and an expert in fish-related fields, with over 10 years of experience. Her work blends passion for fishing with a commitment to conservation.
Educational Background
Degree: Bachelor’s in Marine Biology
Institution: University of California, Santa Barbara
Specializations: Aquatic ecosystems, fish behavior, and sustainable practices
Professional Experience
Conservation Projects:
Collaborated with local organizations to restore aquatic habitats
Developed educational programs on sustainable fishing practices
Publications:
Authored articles for fishing magazines and environmental journals
Featured speaker at fishing expos and conservation conferences
Key Areas of Expertise
Fishing Techniques:
Kayak fishing strategies
Freshwater and saltwater fishing methods
Environmental Stewardship:
Advocacy for sustainable fishing
Promoting biodiversity in aquatic environments
Awards and Recognition
Recipient of the [Specific Award Name] for contributions to marine conservation
Recognized as a leading voice in the fishing community by [Organization/Publication Name]
Community Engagement
Workshops and Seminars:
Regularly hosts events to educate anglers on sustainable practices
Engages with youth programs to inspire the next generation of fishers
Online Presence:
Maintains an active blog sharing tips, stories, and conservation efforts
Engages with followers on social media to promote fishing ethics
Personal Interests
Enjoys kayaking in scenic locations
Passionate about photography, capturing the beauty of nature
Advocates for local conservation efforts in her community