Fishing season is here, and thanks to recent downpours, my trusty neoprene waders have seen better days. The knees are wearing thin, and water seems to seep through at the seams no matter how many seam sealers I try.
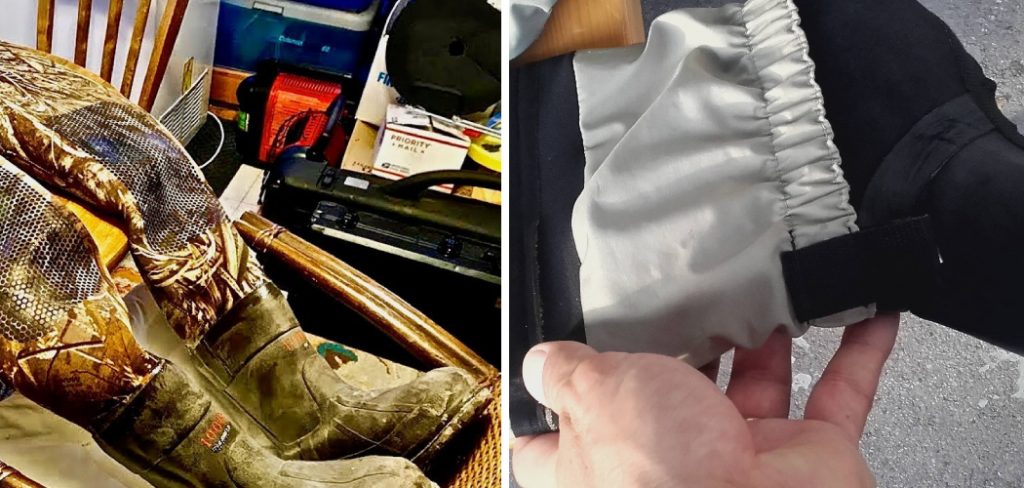
As an avid fly fisher, I spend more time in the river than out of it during the spring and summer months. But I was still determining if my waders would make it through this year’s season. That’s when I decided to try repairing them myself rather than dropping another couple hundred bucks on a new pair.
In this post on how to repair neoprene waders, I’ll walk you through the steps I took to resurrect my beat-up waders and get them river-ready once more using simple materials and techniques you probably already have lying around your garage or toolbox.
What Will You Need?
To begin, you’ll want to gather a few materials:
- Neoprene repair adhesive (such as Aquaseal or neoprene cement)
- Small paintbrush or applicator
- Patch material (neoprene, Gore-Tex, nylon fabric)
- Scissors or utility knife
- Fine-grit sandpaper
Once you have all your supplies, it’s time to start repairing those waders!
10 Easy Steps on How to Repair Neoprene Waders
Step 1: Prepare the Surface
Before applying any adhesive or patch material, properly preparing your waders’ surface is essential. It uses fine-grit sandpaper, lightly roughing the area surrounding the tear or hole. This will help the adhesive adhere better.
Step 2: Apply the Adhesive
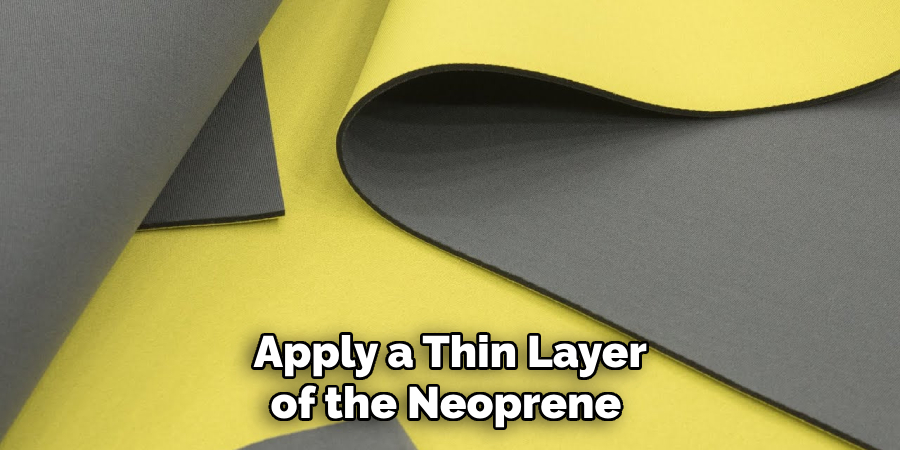
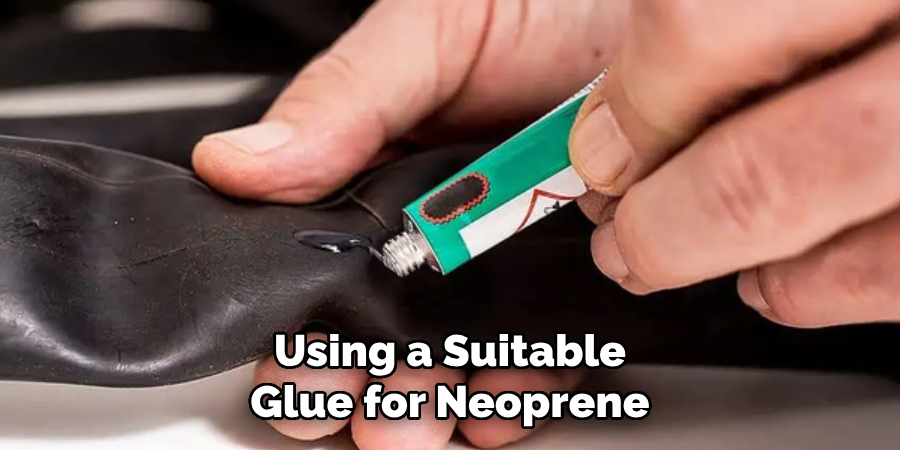
Once the surface is prepped, apply a thin layer of the neoprene repair adhesive on the damaged area using your small paintbrush or applicator. Make sure to extend the glue slightly beyond the edges of the tear or hole to ensure a secure bond. Be patient and allow the adhesive to become tacky before proceeding to the next step. This usually takes about 10-15 minutes, depending on the adhesive you use.
Step 3: Apply the Patch
After the adhesive has become tacky, it’s time to apply the patch. Cut a piece of your patch material slightly larger than the damaged area. Position the patch over the adhesive and press down firmly, ensuring no wrinkles or bubbles. Rub the surface of the patch gently but thoroughly to ensure it bonds well with the adhesive. Then, let the patch set for a few hours or as instructed by the adhesive manufacturer.
Step 4: Apply a Second Coat of Adhesive
To further secure the patch and provide a watertight seal, apply a second coat of the neoprene repair adhesive over the patch’s edges. Use your applicator or small paintbrush to carefully spread the glue, creating a smooth transition from the patch to the surrounding neoprene. Again, allow this adhesive layer to become tacky before proceeding to the next step. This will further ensure a strong bond and a durable repair that can withstand the demands of your next fishing adventure.
Step 5: Let it Cure
After this second application of adhesive, it’s crucial to let the patch cure for an adequate amount of time. This curing process makes the bond between the patch and the wader material solid and watertight. The time will depend on the adhesive you used, but generally, this will be at least 12 hours. Take your time with this step – giving it the whole time to cure will ensure the longevity of your repair. Resist the temptation to test your waders too early, and ensure they have completely dried before moving on to the next step.
Step 6: Inspect the Repair
Once the patch has fully cured, it’s time to inspect your repair work. Check the bond between the patch and the neoprene wader. It should be solid and watertight. Ensure the patch edges are adhered well and that there are no bubbles or wrinkles. If you find any issues, you may need to apply another adhesive layer and repeat the curing process. If everything looks good, you’re ready to move on to the next step.
Step 7: Test the Repair
The final step in repairing your neoprene waders is to perform a water test. This can be done by filling a tub with water and submerging the repaired area of the waders. Apply slight pressure to the area of the repair and look for any bubbles or signs of leakage. If there’s no evidence of leaks, congratulations – you’ve successfully repaired your waders! If you notice any leaks, you may need to revisit the previous steps and ensure a more secure seal.
Step 8: Dry and Store Your Waders
After a successful repair, it’s essential to properly dry and store your neoprene waders to maintain their durability. Hang them up in a cool, dry place away from direct sunlight. Sunlight can degrade the neoprene material over time, causing it to lose its elasticity and wear out faster. Avoid folding or crumpling your waders when storing them. Instead, hang them by the suspenders or lay them flat to prevent creases or cracks from forming. Proper care and storage can extend the life of your waders, allowing you to enjoy more fishing expeditions before needing another repair or replacement.
Step 9: Regular Maintenance
Regular maintenance is critical to maximize the lifespan of your neoprene waders. Inspect your waders periodically for any signs of wear and tear, especially after heavy usage or encounters with sharp objects. Small holes or tears are more accessible to repair when they’re addressed promptly. Cleaning your waders after each use will also help extend their life. Rinse them with fresh water to remove dirt, sand, or salt, then let them air dry completely before storing. Using a neoprene conditioner occasionally can prevent the material from drying out and cracking over time.
Step 10: Enjoy Your Waders
Now that you’ve completed repairing and maintaining your neoprene waders, it’s time to put them to good use. Take them out for a test run on your next fishing trip or water activity. Remember, the longevity of your waders is significantly determined by how you care for them.
Following these steps, you can successfully repair your neoprene waders and ensure they last for many more fishing trips.
5 Additional Tips and Tricks
- Patch Bigger, Not Smaller – When repairing neoprene waders, always cut your patch material slightly larger than the damaged area to ensure a complete seal.
- Clean and Dry – Always ensure the wader area is repaired thoroughly before applying any repair materials. This enhances the adhesion of the patch or glue.
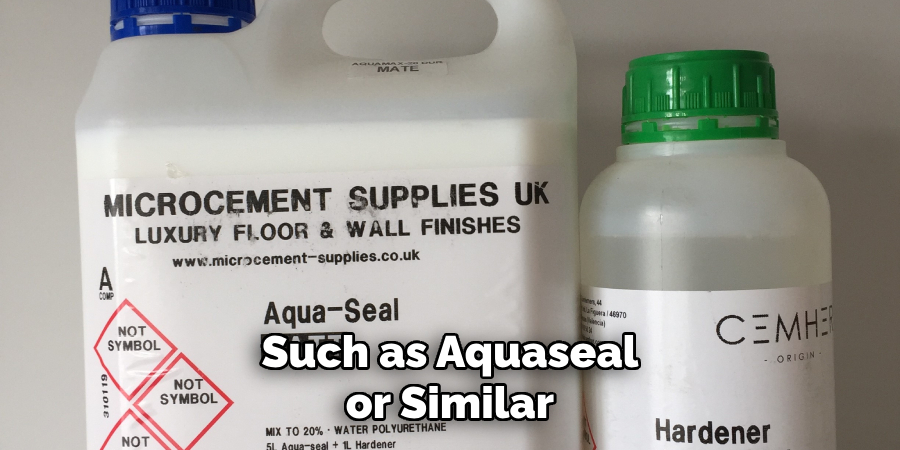
- Use the Right Adhesive – Not all adhesives bond well with neoprene. Use adhesives designed explicitly for neoprene repairs, such as Aquaseal or similar products.
- Apply Pressure – After applying the patch or adhesive, use a flat, heavy object to apply pressure on the patched area. This helps the adhesive to bond securely with the neoprene.
- Allow Proper Cure Time – Resist the temptation to use your waders immediately after repair. Allow sufficient cure time as the adhesive manufacturer recommends to ensure a strong, lasting repair.
With these additional tips and tricks, you should have no problem repairing your neoprene waders like a pro.
5 Things You Should Avoid
- Avoid Hurried Repairs – Time and patience are crucial when repairing neoprene waders. Take your time with the process, as it might lead to an ineffective repair and potentially more damage.
- Don’t Skip Cleaning – It might be tempting to skip the cleaning process, especially when the damage seems minimal. This is a mistake. Any residual dirt or moisture can negatively impact the adhesion of the glue.
- Avoid Using the Wrong Adhesive – Using an adhesive not made for neoprene can result in a weak bond or even further damage to your waders. Always ensure you’re using a suitable glue for neoprene.
- Don’t Neglect Pressure Application – After applying the patch or adhesive, you might be tempted to leave it as is. However, not applying pressure to the repaired area can result in a weak repair.
- Avoid Immediate Use – As excited as you might be to try out your repaired waders, don’t use them immediately after the repair. Allow the adhesive sufficient time to cure fully. Ignoring this can cause the repair to fail prematurely.
By avoiding these common mistakes, you can ensure a successful neoprene wader repair and prolong the life of your gear.
Conclusion
In conclusion, how to repair neoprene waders can seem like a daunting task, but with the right tools and knowledge, it is entirely doable. Continually assess the damage before starting any repairs and gather all necessary supplies beforehand. Use the steps outlined in this blog post as a guide, but be bold and try new techniques.
Whether you use a patch or wade through the water with some sealant, the most important thing is to ensure your waders are watertight before your next fishing trip. Don’t let damaged waders ruin your day on the water – take the time to repair them properly; they will last you for many more fishing adventures to come.
Now it’s up to you – grab your supplies, put on some good music, and get ready to give your neoprene waders some TLC. Your gear deserves it!
About the Author
Jennifer Branett is the author of Fishy Kayak and an expert in fish-related fields, with over 10 years of experience. Her work blends passion for fishing with a commitment to conservation.
Educational Background
Degree: Bachelor’s in Marine Biology
Institution: University of California, Santa Barbara
Specializations: Aquatic ecosystems, fish behavior, and sustainable practices
Professional Experience
Conservation Projects:
Collaborated with local organizations to restore aquatic habitats
Developed educational programs on sustainable fishing practices
Publications:
Authored articles for fishing magazines and environmental journals
Featured speaker at fishing expos and conservation conferences
Key Areas of Expertise
Fishing Techniques:
Kayak fishing strategies
Freshwater and saltwater fishing methods
Environmental Stewardship:
Advocacy for sustainable fishing
Promoting biodiversity in aquatic environments
Awards and Recognition
Recipient of the [Specific Award Name] for contributions to marine conservation
Recognized as a leading voice in the fishing community by [Organization/Publication Name]
Community Engagement
Workshops and Seminars:
Regularly hosts events to educate anglers on sustainable practices
Engages with youth programs to inspire the next generation of fishers
Online Presence:
Maintains an active blog sharing tips, stories, and conservation efforts
Engages with followers on social media to promote fishing ethics
Personal Interests
Enjoys kayaking in scenic locations
Passionate about photography, capturing the beauty of nature
Advocates for local conservation efforts in her community
