Fly fishing is a popular angling method that has been around for centuries. While it may seem simple at first glance – just cast your line out onto the water and wait for a strike – some many techniques and tools can significantly enhance your fly fishing experience. One such tool is the strike indicator, a “bobber” or “float.”
In this blog post, we will delve into how to use strike indicators for fly fishing. Whether you’re new to fly fishing or looking to improve your technique, this guide will provide valuable insights on utilizing strike indicators for successful catches on your next outing.
So grab your gear and get ready to become an expert at using these handy devices!
What Will You Need?
Before diving into the specifics of how to use strike indicators, let’s ensure you have all the necessary equipment. In addition to your usual fly fishing gear – rod, reel, and flies – you will also need a few items specifically for using strike indicators.
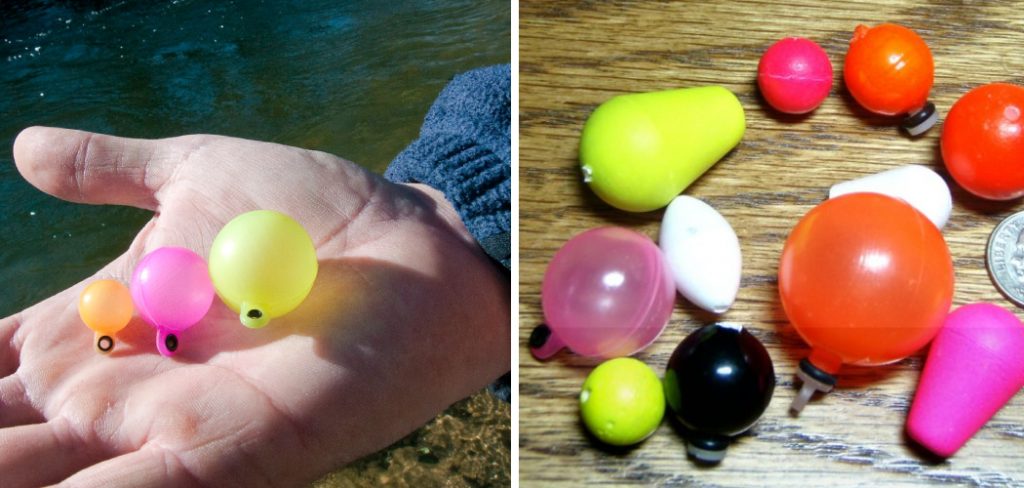
- Strike Indicator: There are many types of strike indicators available on the market, from traditional cork or foam bobbers to newer, more advanced hands like the Air-Lock. Choose one that best suits your needs and fishing conditions.
- Leader: You will need a leader of appropriate length and strength for your chosen fly fishing location. A good rule of thumb is to use a 9-foot tapered leader with a tippet size between 3X and 5X.
- Split Shot Weights: These small lead weights will help you adjust the depth at which your fly is fishing. The weight needed will depend on the size and type of your indicator, as well as the speed and depth of the water you are fishing in.
- Forceps or Hemostats: These tools will come in handy for attaching split shot weights to your leader or removing them.
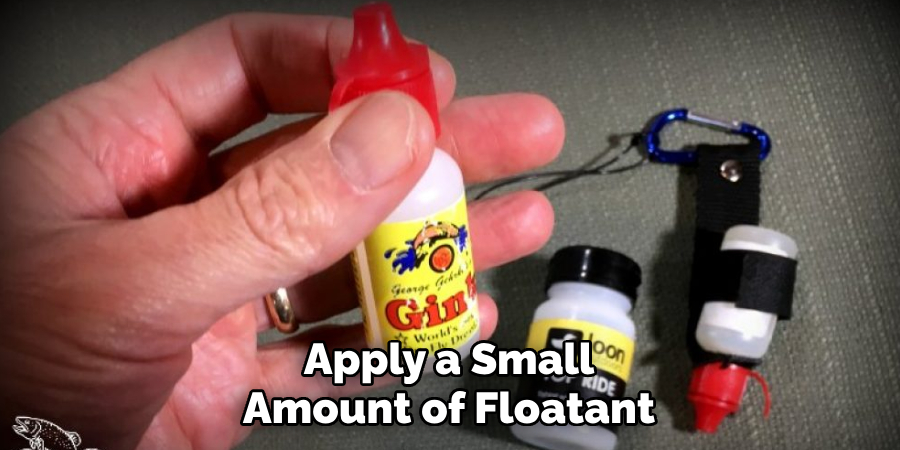
- Fly Floatant: This gel or powder is applied to make your flies float on the water’s surface. It can also be used to help your strike indicator stay buoyant.
Now that you have all the necessary equipment let’s get into how to use strike indicators for fly fishing!
8 Easy Steps on How to Use Strike Indicators for Fly Fishing
Step 1: Attach the Strike Indicator to the Leader
The first step in using a strike indicator for fly fishing is to attach it to your leader. The location where you attach the hand will determine the depth at which your fly will fish. As a general rule, the strike indicator should be placed 1.5 to 2 times the depth of the water away from your fly.
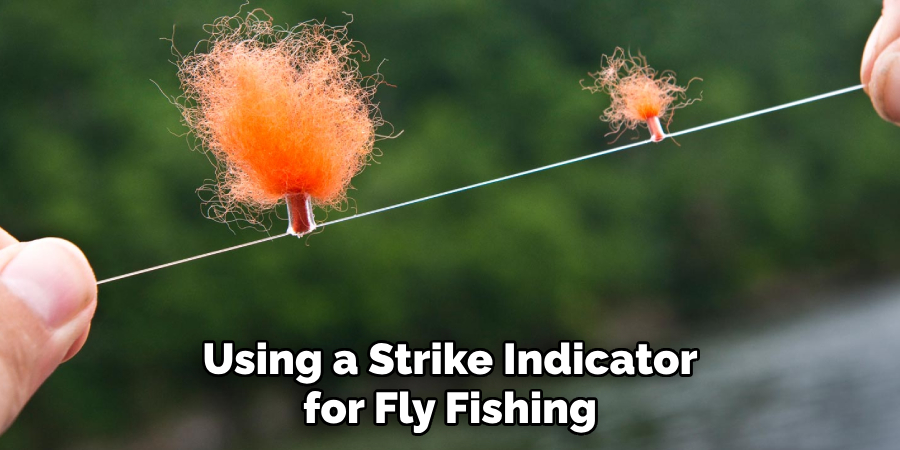
For instance, if the depth of the water is 2 feet, your strike indicator should be 3 to 4 feet away from your fly. This will ensure your fly is suspended at the proper depth to attract fish. Slide the strike indicator onto your leader at the desired position and secure it. Placement methods may vary depending on the strike indicator you use.
Step 2: Attach the Split Shot Weight to the Leader
Once your strike indicator is in place, the next step is to attach the split shot weights to your leader. The weight helps your fly to sink and stay at the proper depth, making it more visible to fish. The amount of weight you use will depend on the current speed and depth of the water.
Generally, use more weight in fast-moving or deep water and less in slow-moving or shallow water. To attach the weight, simply pinch it onto your leader about 4 to 8 inches above your fly with the help of forceps or hemostats. Ensure it’s secure but be careful not to damage the leader.
Step 3: Apply Fly Floatant to the Strike Indicator
After attaching the strike indicator and split shot weight, apply fly floatant to the strike indicator. This helps maintain the buoyancy of the hand, allowing it to float on the water’s surface despite the weight of the fly.
Apply a small amount of floatant, ensuring it covers the entire surface of the indicator, but avoid applying too much, as it can make the hand greasy and less effective. Once the floatant is applied, you are ready to cast your line and monitor the strike indicator for any signs of a fish strike.
Step 4: Cast Your Line and Monitor the Strike Indicator
With the strike indicator, weights, and floatant in place, it’s time to cast your line. Perform a standard fly fishing cast, aiming for where you believe the fish are located. Once your line, leader, fly, and indicator are on the water, keep a close eye on the strike indicator. It is a visual cue to detect when a fish strikes your fly.
A sudden dive, twitch, or direction change of the strike indicator is usually a sign of a fish strike. Be ready to set the hook when this happens, ensuring you do so swiftly but gently to avoid snapping the line or missing the fish. Practicing this technique will help you use strike indicators for fly fishing more efficiently.
Step 5: Setting the Hook and Reeling in the Fish
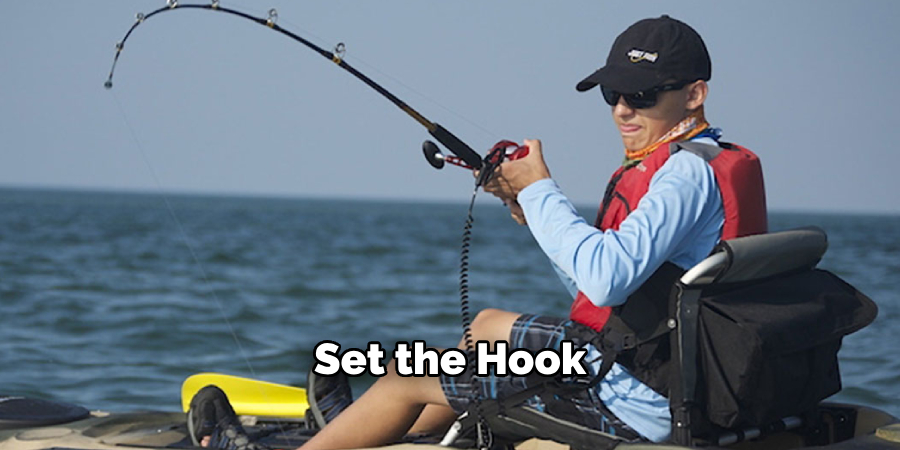
Upon noticing a fish strike, as indicated by the movement of your strike indicator, your next step is to set the hook. To do this, swiftly but gently lift your rod tip. This action should be firm enough to lodge the theme into the fish’s mouth but not so forceful that it might break the line or send the fish flying. Once the hook is set, start reeling in the fish. Maintain a steady pressure and try to steer the fish away from any obstacles.
Step 6: Unhooking and Releasing the Fish
After successfully reeling in the fish, it’s time to unhook and release it. Use forceps or hemostats to remove the hook from the fish’s mouth gently. It’s essential to keep the fish in the water as much as possible during this process to minimize stress.
Once unhooked, gently hold the fish in the water, facing upstream, and allow it to swim away. This catch and release method ensures the sustainability of the fish population, allowing you to enjoy the thrill of fly fishing while maintaining the health of the ecosystem.
Step 7: Adjustments and Adaptations
Fly fishing with a strike indicator is an active process that often requires adjustments and adaptations. If you’re not getting bites or if the conditions of the water change, you may need to adjust the placement of your strike indicator, the amount of weight, or the type of fly you’re using. Remember, the hand should be placed 1.5 to 2 times the water’s depth away from your fly.
If the water is more profound or the current more substantial, add more weight or move the indicator further from the fly. Conversely, decrease the weight or bring the hand closer to the fly in shallower or slower water. These adjustments will help you maintain the correct depth and presentation of your fly, increasing your chances of attracting fish.
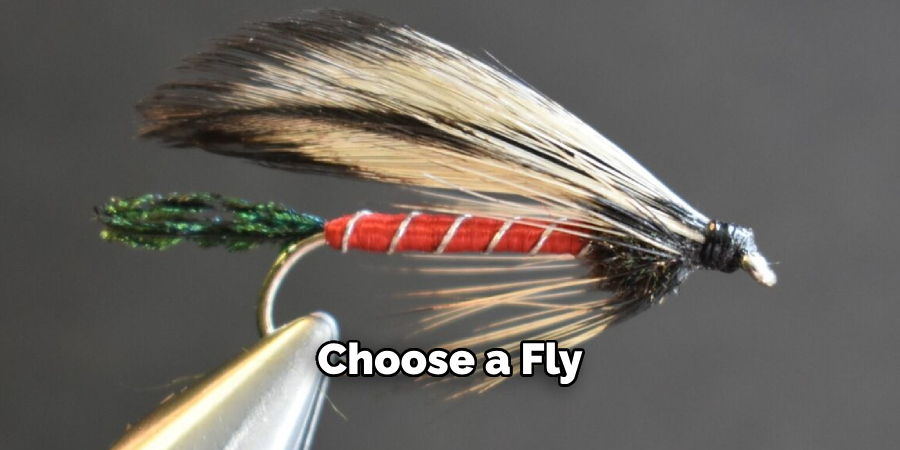
Regarding fly selection, observe the insects and others that feed in and around the water. Choose a fly that closely mimics these sources of fish food. While this requires patience and practice, mastering the art of adaptation in fly fishing can significantly enhance your success on the water.
Step 8: Practice and Patience
Mastering the use of strike indicators in fly fishing takes time. It takes consistent practice and a whole lot of patience. Spend time learning how different strike indicators perform under different conditions. Practice casting and adjusting your setup in various water types and depths.
Experiment with different fly patterns and their effects on fish behavior. Remember, it’s not just about catching fish but also understanding and adapting to their feeding patterns and the environment. Over time, your skills will improve, and you’ll become more proficient at using strike indicators, leading to more successful fishing trips. Be patient, stay persistent, and, most importantly, enjoy the journey that fly fishing offers.
By following these steps and practicing regularly, you’ll soon become a seasoned expert at using strike indicators for fly fishing.
5 Additional Tips and Tricks
- Observe Your Surroundings: Keenly observe the water conditions and fish behavior. The more you understand these factors, the better you can adjust your setup to match them, increasing your chances of success.
- Experiment with Different Strike Indicators: Several strike indicators are available, each with its unique benefits. Experiment with different types to determine which works best in different situations.
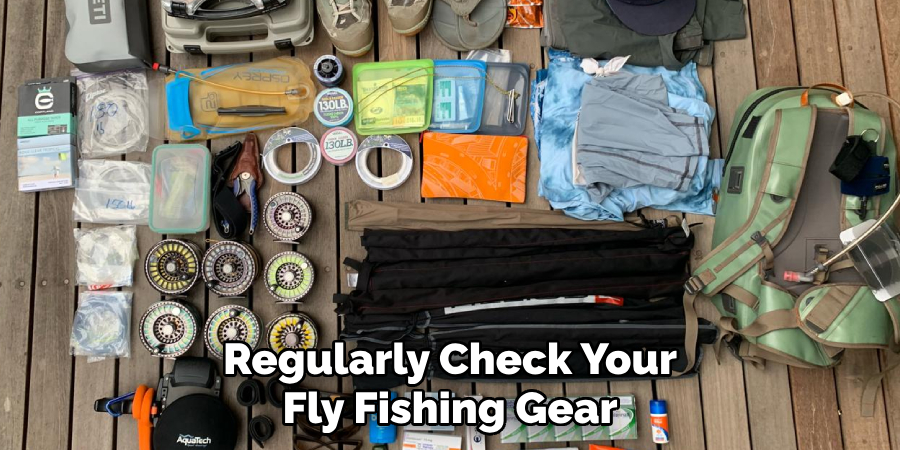
- Maintain Your Equipment: Regularly check your fly fishing gear for any signs of wear or damage. Also, ensure your strike indicators are in good condition and replace them if they show wear.
- Respect Nature: Remember to respect nature while fly fishing. Ensure you follow all regulations, only fish in permitted areas, and always leave the fishing spot as clean and undisturbed as you found it.
- Use Barbless Hooks: Consider using Barbless Hooks when fly fishing. These hooks are more accessible to remove from the fish’s mouth, causing less harm and increasing the chances of survival if you release the catch.
With these additional tips and tricks, you’ll be well-equipped to become a successful fly fisher using strike indicators.
5 Things You Should Avoid
- Ignoring Local Regulations: Always check and adhere to local fishing regulations. This includes respecting catch and release policies and size and bag limits. Not doing so can result in penalties and harm the fish population.
- Using Damaged Equipment: Using damaged or worn-out equipment can drastically reduce your chances of success. Always ensure your gear, including your strike indicators, is in good condition before heading out.
- Fishing in the Same Spot: Fish behavior and location can change based on several factors, including weather, season, and time of day. Don’t limit yourself to fishing in the same spot. Explore and adapt to these changes to increase your chances of catching fish.
- Disregarding Water Conditions: Water conditions significantly influence fishing outcomes. Ignoring the water’s depth, speed, and temperature changes will likely lead to unproductive fishing sessions.
- Ignoring Fish Behavior: When fish stop biting, it’s tempting to blame it on the fish. However, it could be a sign that you must adjust your technique, fly, or strike indicator placement. Observing fish behavior and making necessary adjustments is critical to successful fly fishing.
Avoiding these mistakes will increase your chances of catching fish and enjoying a fulfilling fly fishing experience.
Conclusion
In conclusion, how to use strike indicators for fly fishing can significantly improve your experience on the water. You can detect even the slightest bites and hook more fish by properly setting up and using these small but mighty tools. Remember to choose the correct size indicator based on your flies’ water depth and weight and adjust it accordingly as you move from spot to spot.
Furthermore, try out different indicators, such as yarn, foam, or bobber-style needles, to find what works best in different conditions. And remember that using a simple piece of tippet as an indicator can be just as effective! Lastly, always remember that timing is crucial when using strike indicators – be patient and wait for the right moment before setting your hook.
So next time you’re out on the water, try strike indicators and watch your catch rate increase dramatically. Happy fishing!
About the Author
Jennifer Branett is the author of Fishy Kayak and an expert in fish-related fields, with over 10 years of experience. Her work blends passion for fishing with a commitment to conservation.
Educational Background
Degree: Bachelor’s in Marine Biology
Institution: University of California, Santa Barbara
Specializations: Aquatic ecosystems, fish behavior, and sustainable practices
Professional Experience
Conservation Projects:
Collaborated with local organizations to restore aquatic habitats
Developed educational programs on sustainable fishing practices
Publications:
Authored articles for fishing magazines and environmental journals
Featured speaker at fishing expos and conservation conferences
Key Areas of Expertise
Fishing Techniques:
Kayak fishing strategies
Freshwater and saltwater fishing methods
Environmental Stewardship:
Advocacy for sustainable fishing
Promoting biodiversity in aquatic environments
Awards and Recognition
Recipient of the [Specific Award Name] for contributions to marine conservation
Recognized as a leading voice in the fishing community by [Organization/Publication Name]
Community Engagement
Workshops and Seminars:
Regularly hosts events to educate anglers on sustainable practices
Engages with youth programs to inspire the next generation of fishers
Online Presence:
Maintains an active blog sharing tips, stories, and conservation efforts
Engages with followers on social media to promote fishing ethics
Personal Interests
Enjoys kayaking in scenic locations
Passionate about photography, capturing the beauty of nature
Advocates for local conservation efforts in her community
