The Rapala knot is a widely-used and beloved knot among anglers for securely attaching lures and hooks to fishing lines. Its unique structure allows for a non-slip loop that provides the lure with more natural movement in the water, mimicking the motions of a live prey.
This guide is designed to teach you how to tie rapala knot with easy-to-follow, step-by-step instructions. By the end of this guide, you will have mastered how to tie a Rapala knot and understand its applications, ensuring you can use it effectively on your next fishing trip.
Anglers prefer the Rapala knot due to its exceptional strength, reliability, and ease of tying. This knot maintains high line strength and minimizes the risk of slippage, which is crucial for securing large catches and enhancing the overall fishing experience.
By learning how to tie a Rapala knot, you are equipping yourself with a vital tool that can significantly improve your success rate on the water.
Understanding the Rapala Knot
The Rapala knot traces its origins to the early 20th century when it was popularized by the Rapala family, founders of the renowned fishing lure company Rapala. Originating in Finland, the Rapala knot was developed to enhance the effectiveness of their handcrafted lures.
Its primary purpose is to create a non-slip loop that facilitates a more natural movement of the lure in the water, thereby increasing the chances of attracting fish. This knot has since become a staple among anglers worldwide for its reliability and ease of tying.
One of the most significant advantages of the Rapala knot is its strength. When tied correctly, the knot maintains nearly 100% of the line’s original strength, which is crucial for hooking and reeling in large fish.
Furthermore, the non-slip loop created by the Rapala knot allows lures greater freedom of movement, mimicking the actions of live bait and making them more enticing to fish. This added natural motion can make a substantial difference in fishing success.
The knot is also valued for its simplicity and can be tied quickly, even under less-than-ideal conditions, making it perfect for both novice and experienced anglers.
The Rapala knot is versatile and can be employed in various fishing scenarios. It is suitable for both freshwater and saltwater fishing, making it a valuable knot regardless of your fishing environment.
It is often used in freshwater settings when targeting species such as bass, trout, and pike, where natural lure movement is critical. The Rapala knot is effective for species like redfish, snook, and tarpon in saltwater fishing.

Its ability to perform well in diverse conditions and with different fishing lines, such as monofilament, fluorocarbon, or braided lines, further underscores its utility for anglers.
How to Tie Rapala Knot: Step-by-Step Guide
Step 1: Thread the Line
Begin by threading the tag end of your fishing line through the eye of the lure or hook. It’s essential to ensure that the line is inserted smoothly to prevent any initial damage or fraying.
Step 2: Create a Loop
Next, bring the tag end back towards the standing line to form a loop. This loop should be near the eye of the lure. The size of this loop can vary depending on your preference, but it typically should be small enough to maintain control yet large enough to facilitate the next steps.
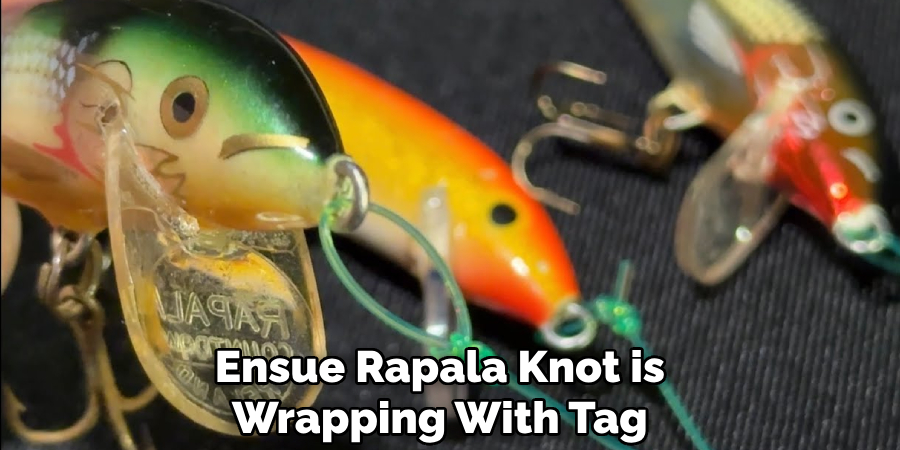
Step 3: Wrap Around the Loop
Once you have created the loop, wrap the tag end around the standing line and through the loop you just formed. Perform this wrap three to five times, depending on how secure you want your knot to be. More wraps generally increase the knot’s strength but can make it slightly bulkier.
Step 4: Thread the Tag End
After completing the wraps, take the tag end and thread it back through the large loop you created in Step 2. Ensure you enter from the same side it exited to maintain the knot’s symmetry and strength. This threading action is crucial for setting up the final knot structure.
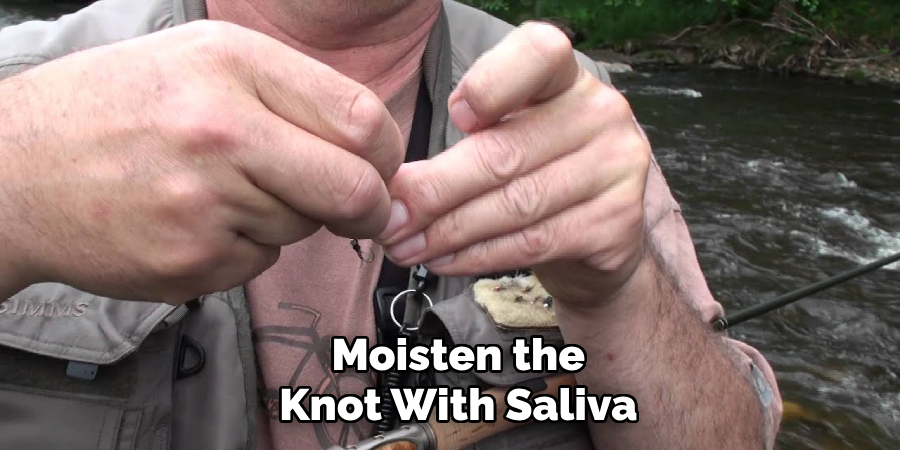
Step 5: Lubricate and Tighten
To prevent friction and potential damage to the fishing line, moisten the knot with saliva or water. This lubrication helps in smoothly tightening the knot. Gently yet firmly pull simultaneously on the tag end and the standing line. Watch as the wraps snug down neatly and the loop becomes secure around the eye of the lure.
Step 6: Trim Excess Line
Use scissors or nail clippers to trim the excess tag end close to the knot for the finishing touch. Avoid trimming it too close; leaving a small tag end helps ensure that the knot does not unravel during casting or when a fish strikes. This added security can be the difference between landing a catch or losing it.
Following these steps will allow you to tie a Rapala knot efficiently and effectively. Practice this technique until you can do it swiftly and confidently, even under challenging conditions.
Remember, the key to a successful Rapala knot is not just in the steps but also in the consistency and precision with which you perform them. By mastering the Rapala knot, you enhance your angling toolkit considerably, making your fishing line ready to handle the stress and action of different fishing scenarios.
Tips for Tying a Rapala Knot
Practice Makes Perfect
Like any skill, mastering the Rapala knot requires practice. Dedicate time to repeatedly tying the knot until you can perform each step confidently and quickly. Consistent practice will familiarize you with the nuances of the knot, making it second nature when you are out on the water.
Consider practicing with different types of lures and varying lengths of tag ends to adapt to various fishing situations. The more comfortable you become with the technique, the more efficient and effective you will be during real-world angling scenarios.
Remember, a well-tied Rapala knot can be the difference between landing a trophy fish and a missed opportunity.
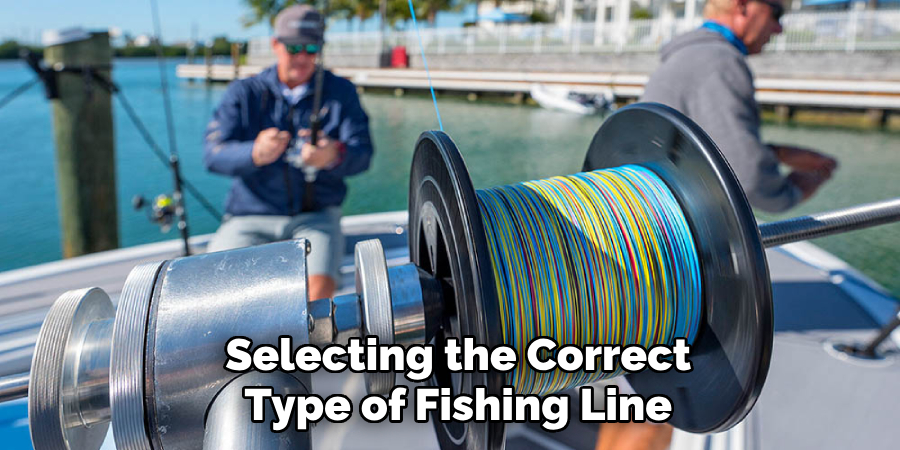
Use Suitable Line
Selecting the correct type of fishing line is crucial for tying an effective Rapala knot. Monofilament, fluorocarbon, and braided lines each have their strengths and are suitable for different fishing environments and target species.
Monofilament lines offer good stretch and are generally easy to handle, making them an excellent choice for beginners. Fluorocarbon lines, known for their low visibility in water, are perfect for trickier fish that are easily spooked.
Braided lines provide maximum strength and sensitivity, ideal for targeting larger, more aggressive fish. Ensure the line strength matches the species you are pursuing to avoid breakage and maximize the performance of your Rapala knot.
Ensure Proper Tightening
Properly tightening your Rapala knot is essential to prevent slippage and ensure it holds under pressure. Once you’ve finished tying the knot, take the time to double-check that it is securely tightened. Lubricate the knot with water or saliva before cinching it down to reduce friction and avoid damaging the line.
Pull firmly on the tag end and the standing line, ensuring the wraps bind neatly and the loop remains secure around the lure’s eye. A thoroughly tightened knot will maintain its integrity during casting and retrieval, giving you confidence in the knot’s reliability when you hook a fish.
A little extra effort in ensuring proper tightening can significantly enhance your overall fishing experience and success.
Identifying Prime Fishing Scenarios
Match Lure to Target Species
Selecting the appropriate lures and hooks for your target species is paramount in optimizing your fishing results. Each fish species has unique feeding habits and preferences, which significantly influence your lure choice.
For example, bass may be more attracted to spinnerbaits or crankbaits, while trout might respond better to smaller spinners or flies. Additionally, consider the size and color of your lures based on the natural prey in the fishing area. Matching your lure to the predominant baitfish or insects can greatly enhance your chances of attracting your target species.
Always keep a diverse range of lures in your tackle box to adapt to varying conditions and fish preferences.
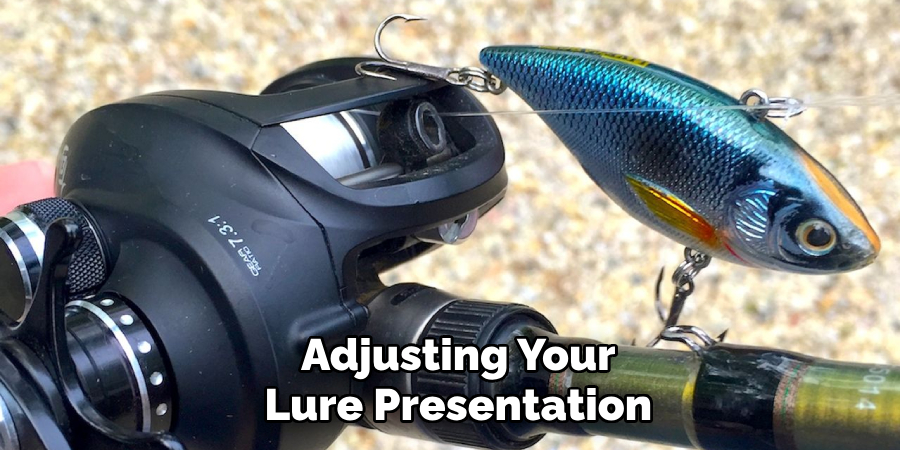
Consider Water Depth and Structure
Adjusting your lure presentation and retrieval techniques according to the water depth and structure is essential for successful angling. Fish often change their location based on the depth of the water and the underwater environment.
A slow and steady retrieval might be more effective in shallower waters, where fish may be lurking near vegetation or rocky outcrops. Conversely, fish might be positioned near drop-offs or submerged structures in deeper waters, requiring you to let your lure sink longer before starting your retrieval.
Understanding these aspects of the water body can help you tailor your techniques to locate and entice fish.
Experiment with Retrieve Speed
Varying your retrieval speed and depth can make a significant difference in eliciting strikes from fish. Fish can be sluggish or aggressive depending on the time of day, weather conditions, and their feeding patterns.
Experiment with fast and erratic retrieves to mimic the behavior of prey attempting to escape predators, which can provoke aggressive strikes from predatory fish. On the other hand, slow and steady retrieves can be more effective when fish are less active or feeding cautiously.
Pay attention to how fish respond to different retrieval speeds and adapt your approach continuously to find the most productive method. By mastering the art of retrieval manipulation, you increase your chances of successful catches regardless of the fishing scenario.
Common Mistakes and How to Avoid Them
Insufficient Wraps
One of the most common mistakes when tying a Rapala knot is not wrapping the tag end around the standing line enough times. This can lead to a weak knot that is prone to slippage under pressure.
To avoid this, ensure that the tag end is wrapped at least five to six times. More wraps provide additional friction and security, ensuring that the knot holds firmly when you hook a fish. Take your time to count the wraps and make sure they are evenly spaced to maintain the knot’s integrity.
Failure to Lubricate
Lubricating your knot before tightening is an essential step that is often overlooked. Without lubrication, the friction created while tightening the knot can weaken the fishing line, making it susceptible to breakage. Always moisten the knot with water or saliva before pulling it tight to prevent this.
The lubrication reduces friction and allows the wraps to slide smoothly into place, resulting in a stronger and more reliable knot. Make it a habit to lubricate every knot you tie to ensure maximum strength and durability.
Over-trimming Tag End
Another frequent mistake is trimming the tag end too closely to the knot. While it might appear neater, over-trimming can compromise the knot’s security and increase the risk of unraveling. To avoid this, always leave a small tag end—about 1/8 to 1/4 inch—when trimming the excess line.
This additional length serves as a buffer, preventing the knot from slipping and coming undone. Remember, a slightly longer tag end does not affect the knot’s appearance or performance but significantly improves its reliability.

By staying mindful of these common mistakes and taking corrective actions, you can ensure that your Rapala knots are consistently strong, secure, and ready to handle the rigors of any fishing scenario. Practice these tips diligently to enhance your knot-tying technique and enjoy a more successful and worry-free angling experience.
Frequently Asked Questions
Q: What Is the Best Knot to Use for Tying a Lure to My Fishing Line?
A: The Rapala knot is widely regarded as one of the best knots for tying a lure to your fishing line. It provides a non-slip loop that enhances the natural movement of the lure, making it more enticing to fish.
Q: How Many Times Should I Wrap the Tag End when Tying a Rapala Knot?
A: For optimal security and strength, it is recommended to wrap the tag end at least five to six times around the standing line when tying a Rapala knot.
Q: Why Is Lubricating the Knot Important?
A: Lubricating the knot reduces friction while tightening, which prevents the line from weakening or breaking. It ensures that the wraps slide smoothly into place, resulting in a stronger and more durable knot.
Q: How Can I Avoid My Knot from Slipping?
A: To prevent your knot from slipping, ensure that you wrap the tag end sufficiently, lubricate the knot before tightening, and avoid over-trimming the tag end. Leaving a small tag end of about 1/8 to 1/4 inch adds extra security.
Q: What Should I Do if My Knot Keeps Breaking?
A: If your knot keeps breaking, make sure you are using the correct technique and wrapping the tag end enough times. Also, inspect your fishing line for any damage or weakness and always lubricate the knot before tightening to prevent friction-related breakage.
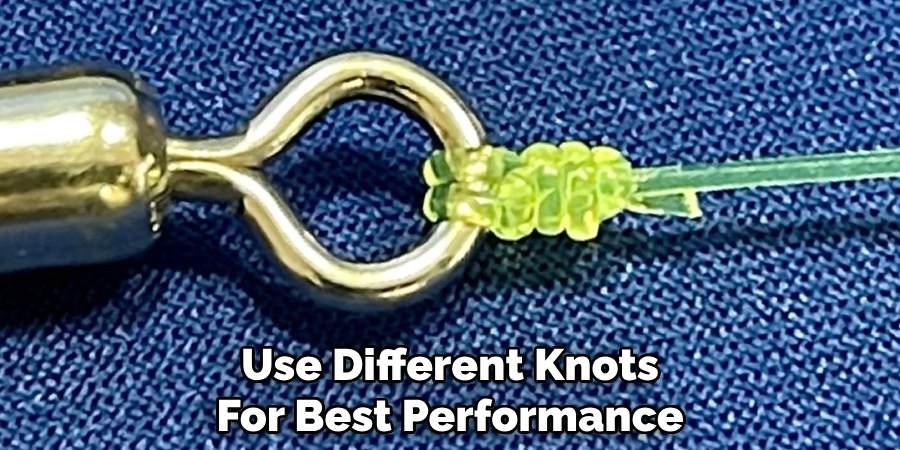
Q: Can I Use the Same Knot for All Types of Fishing Lines?
A: While the Rapala knot is versatile, different types of lines (such as monofilament, fluorocarbon, and braided lines) may require different knots for the best performance. Research and practice knots specific to the type of line you are using for optimal results.
Conclusion
Mastering how to tie Rapala knot is crucial for any angler seeking reliable strength and durability in their fishing setup. Key steps include ensuring sufficient wraps, thorough lubrication, and appropriate trimming of the tag end. These steps collectively ensure a secure and robust knot capable of withstanding the pressures of a catch.
Regular practice is invaluable for perfecting the Rapala knot. By dedicating time to refine this skill, anglers can build confidence in their knot-tying abilities, leading to better performance on the water.
To maximize your success, always double-check the knot for tightness, avoid common mistakes such as insufficient wraps or over-trimming, and stay patient throughout the process. Remember, mastering how to tie Rapala knot enhances not just your technique but also your fishing experience as a whole.
About the Author
Jennifer Branett is the author of Fishy Kayak and an expert in fish-related fields, with over 10 years of experience. Her work blends passion for fishing with a commitment to conservation.
Educational Background
Degree: Bachelor’s in Marine Biology
Institution: University of California, Santa Barbara
Specializations: Aquatic ecosystems, fish behavior, and sustainable practices
Professional Experience
Conservation Projects:
Collaborated with local organizations to restore aquatic habitats
Developed educational programs on sustainable fishing practices
Publications:
Authored articles for fishing magazines and environmental journals
Featured speaker at fishing expos and conservation conferences
Key Areas of Expertise
Fishing Techniques:
Kayak fishing strategies
Freshwater and saltwater fishing methods
Environmental Stewardship:
Advocacy for sustainable fishing
Promoting biodiversity in aquatic environments
Awards and Recognition
Recipient of the [Specific Award Name] for contributions to marine conservation
Recognized as a leading voice in the fishing community by [Organization/Publication Name]
Community Engagement
Workshops and Seminars:
Regularly hosts events to educate anglers on sustainable practices
Engages with youth programs to inspire the next generation of fishers
Online Presence:
Maintains an active blog sharing tips, stories, and conservation efforts
Engages with followers on social media to promote fishing ethics
Personal Interests
Enjoys kayaking in scenic locations
Passionate about photography, capturing the beauty of nature
Advocates for local conservation efforts in her community