Are you having trouble catching fish at night despite using high-quality fishing light attractors? It could be because of dirt and grime buildup on your attractor.
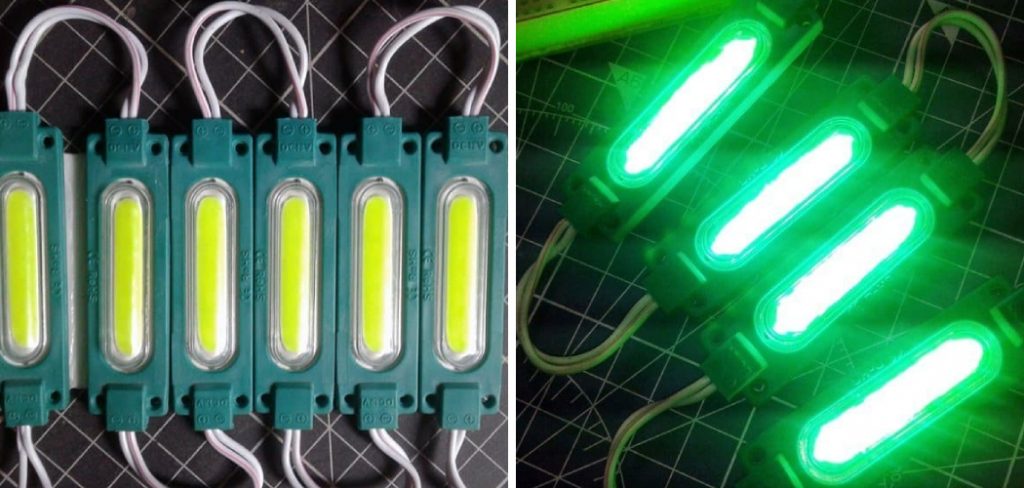
How to clean fishing light attractor is an essential step in maintaining its effectiveness and ensuring its longevity. Over time, dirt, algae, and other debris can accumulate on the light, diminishing its brightness and reducing its ability to attract fish. Regular cleaning keeps the light performing optimally and prevents damage caused by prolonged exposure to buildup. Fortunately, the process is straightforward and requires only a few essential tools and supplies.
This guide will walk you through the steps to safely and efficiently clean your fishing light attractor so you can enjoy better results on your next fishing adventure.
What Are the Benefits of Cleaning Fishing Light Attractors?
Before diving into the cleaning process, it’s essential to understand why regularly cleaning your fishing light attractor is crucial. Here are some benefits of keeping your attractor clean:
- Enhanced Brightness: The primary purpose of a fishing light attractor is to provide illumination in dark waters to lure fish. However, when dirt and grime build up on the light, it can block or reduce the amount of light emitted, making it less effective. Regular cleaning ensures optimal brightness for better-attracting fish.
- Improved Longevity: A dirty attractor affects its performance and decreases its lifespan. Accumulated dirt and debris can cause damage to the components over time, resulting in costly repairs or replacements. Cleaning your attractor regularly can prevent such damage and prolong its life.
- Better Results: A clean fishing light attractor will perform better, resulting in more successful fishing trips. Removing any buildup increases the chances of attracting more fish to your location.
These are just some of the benefits of cleaning your fishing light attractor regularly. Now, let’s dive into the steps to clean your attractor properly.
What Will You Need?
To clean your fishing light attractor, you will need the following items:
- Warm water
- Mild dishwashing detergent
- Soft-bristled brush or sponge
- Clean, lint-free cloth
- Bucket or large container
Once you have gathered all the necessary items, you can clean your attractor.
8 Easy Steps on How to Clean Fishing Light Attractor
Step 1. Turn Off and Remove the Attractor:
Before cleaning, ensure that the fishing light attractor is entirely powered off and safely disconnected from any power source. This step is crucial to avoid any risk of electric shock or damage to the device. Additionally, removing the attractor from the water allows you to thoroughly inspect it for any visible dirt, algae buildup, or debris that may require attention during cleaning.
Handle the attractor carefully while removing it to avoid any accidental damage, such as cracking or bending delicate components. Taking these precautions not only ensures your safety but also helps maintain the integrity of the equipment throughout the cleaning process.
Step 2. Rinse the Attractor:
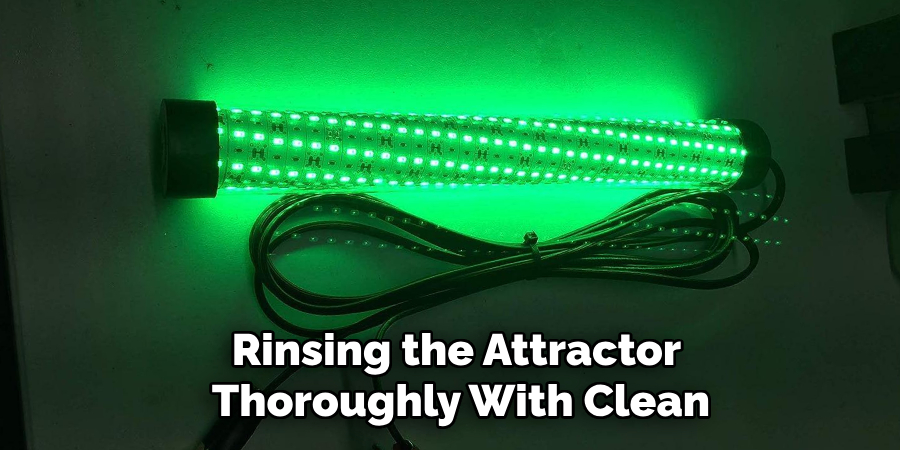
Begin by rinsing the attractor thoroughly with clean, fresh water to remove any loose dirt, algae, or debris. Use a gentle stream of water to avoid damaging sensitive components, especially if the attractor has delicate parts like seals or LEDs. Rinsing helps prepare the attractor for a deeper cleaning by eliminating surface contaminants, making the subsequent steps more effective. Inspect the attractor during this process for any areas requiring additional attention.
Step 3. Apply a Cleaning Solution:
Prepare a mild cleaning solution by mixing water with a gentle, non-abrasive detergent or a specialized cleaner recommended for your attractor type. Using a soft brush or sponge, apply the solution to the attractor, focusing on areas with visible stains, algae buildup, or persistent dirt. Gently scrub in circular motions to avoid scratching or damaging delicate components.
Ensure you reach all crevices and hard-to-reach spots for a thorough clean. Avoid harsh chemicals, which could degrade the attractor’s materials or affect its performance. Once done, allow the solution to break down stubborn residue for a few minutes.
Step 4. Use a Soft-bristled Brush or Sponge to Clean:
After allowing the cleaning solution to sit, use a soft-bristled brush or sponge to scrub the attractor’s surface gently. These tools are ideal for removing any loosened dirt without causing damage. Avoid using abrasive materials such as steel wool or harsh brushes, as they can scratch the surface and compromise its integrity. Be sure to rinse the brush or sponge frequently during this process and replace it if it becomes too dirty.
Step 5. Dry Completely:
After rinsing, it is essential to ensure the attractor is completely dry before reassembling or storing it. Use a clean, soft cloth to gently pat dry all surfaces, paying close attention to small crevices and joints where water might linger. Allow the attractor to air dry thoroughly in a well-ventilated area to prevent moisture buildup, possibly leading to corrosion or mold over time. Avoid high heat or direct sunlight, as these could warp or damage the materials.
Step 6. Reassemble the Attractor:
Once the attractor is completely dry, carefully reassemble all components, following the manufacturer’s instructions to ensure proper alignment and function. Double-check that all parts are securely in place and that any moving pieces operate smoothly. If necessary, apply a small amount of lubricant to hinges or joints to maintain optimal performance. This step is crucial to ensuring the attractor is ready for use and functions efficiently.
Step 7. Store the Attractor Properly:
Proper storage of the attractor is essential to prolong its lifespan and ensure it remains in good working condition. Begin by selecting a clean, dry location away from direct sunlight, moisture, or extreme temperatures, as these factors can cause wear or damage over time. If the attractor has detachable components, consider storing them in a labeled container or pouch to prevent loss or misplacement.
For attractors with electrical components or batteries, ensure they are completely turned off or removed to avoid battery leakage or short circuits. Cover the attractor with a protective case or cloth to keep it free from dust and debris. Regularly inspect the stored attractor for any signs of rust, dirt, or damage, and address these issues promptly to maintain its performance. These precautions will help keep your attractor pristine and ready for future use.
Step 8. Perform Regular Maintenance:
Establish a routine maintenance schedule to ensure the attractor continues to function effectively. Inspect the device periodically for wear or damage, such as loose components, rust, or cracks. Clean the attractor as needed, following the earlier cleaning procedure, and replace any parts that show significant wear. Regular maintenance enhances performance and extends the attractor’s lifespan, making it a reliable tool over time. Always consult the manufacturer’s guidelines for specific maintenance recommendations.
By following these simple steps, you can effectively clean your fishing light attractor and maintain its performance for a long time.
5 Things You Should Avoid
- Using Harsh Chemicals: Avoid using abrasive or highly corrosive cleaning agents, as they can damage the surface and components of the fishing light attractor over time. Stick to mild detergents or manufacturer-recommended cleaners.
- Scrubbing with Rough Materials: Never use rough brushes or metal scrubbers that can scratch the protective coating or lens of the attractor, reducing its effectiveness and lifespan.
- Submerging Non-Waterproof Components: Be cautious not to immerse any non-waterproof parts in water, as this can permanently damage the electrical components.
- Neglecting to Disconnect the Power Source: Always ensure the device is unplugged or the power source is disconnected before cleaning to prevent accidents or electrical issues.
- Skipping Routine Maintenance: Avoid waiting too long between cleaning sessions. Allowing dirt, algae, or salt buildup to accumulate can lead to reduced performance and potential malfunctions over time.
By following these simple guidelines, you can ensure your fishing light attractor stays in optimal condition for longer and provides reliable performance every time you use it.
What Color Light Attracts Fish the Most?
While there is no definitive answer to this question, research and anecdotal evidence suggest that different colors can attract certain types of fish more effectively than others.
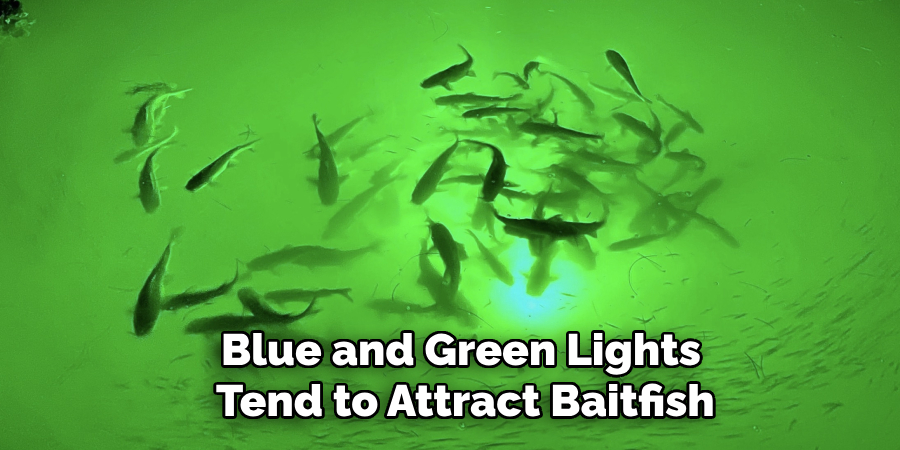
For example, blue and green lights tend to attract baitfish such as shad and menhaden, while white lights are more attractive to larger game fish like snapper and grouper. Red light is also known to enhance visibility in low-light conditions, making it a popular choice for night fishing. Ultimately, the best color light for attracting fish will depend on the species you target and the water conditions you are fishing in. Some experts recommend experimenting with different colors to see which works best in your location and situation.
Additionally, using a combination of different colored lights can also effectively attract a wider range of fish.
Conclusion
To properly clean your fishing light attractor, begin by rinsing it with fresh water immediately after use, especially if it has been exposed to saltwater.
This helps prevent corrosion and salt build-up. For stubborn debris or grime, gently scrub the surface with a soft brush or cloth and mild soap. Ensure you avoid abrasive materials damaging the light’s casing or lens. Once cleaned, thoroughly dry the attractor to prevent moisture from causing electrical issues.
Hopefully, the article on how to clean fishing light attractor has provided helpful tips on restoring and maintaining your fishing light’s performance. Happy fishing!
About the Author
Jennifer Branett is the author of Fishy Kayak and an expert in fish-related fields, with over 10 years of experience. Her work blends passion for fishing with a commitment to conservation.
Educational Background
Degree: Bachelor’s in Marine Biology
Institution: University of California, Santa Barbara
Specializations: Aquatic ecosystems, fish behavior, and sustainable practices
Professional Experience
Conservation Projects:
Collaborated with local organizations to restore aquatic habitats
Developed educational programs on sustainable fishing practices
Publications:
Authored articles for fishing magazines and environmental journals
Featured speaker at fishing expos and conservation conferences
Key Areas of Expertise
Fishing Techniques:
Kayak fishing strategies
Freshwater and saltwater fishing methods
Environmental Stewardship:
Advocacy for sustainable fishing
Promoting biodiversity in aquatic environments
Awards and Recognition
Recipient of the [Specific Award Name] for contributions to marine conservation
Recognized as a leading voice in the fishing community by [Organization/Publication Name]
Community Engagement
Workshops and Seminars:
Regularly hosts events to educate anglers on sustainable practices
Engages with youth programs to inspire the next generation of fishers
Online Presence:
Maintains an active blog sharing tips, stories, and conservation efforts
Engages with followers on social media to promote fishing ethics
Personal Interests
Enjoys kayaking in scenic locations
Passionate about photography, capturing the beauty of nature
Advocates for local conservation efforts in her community