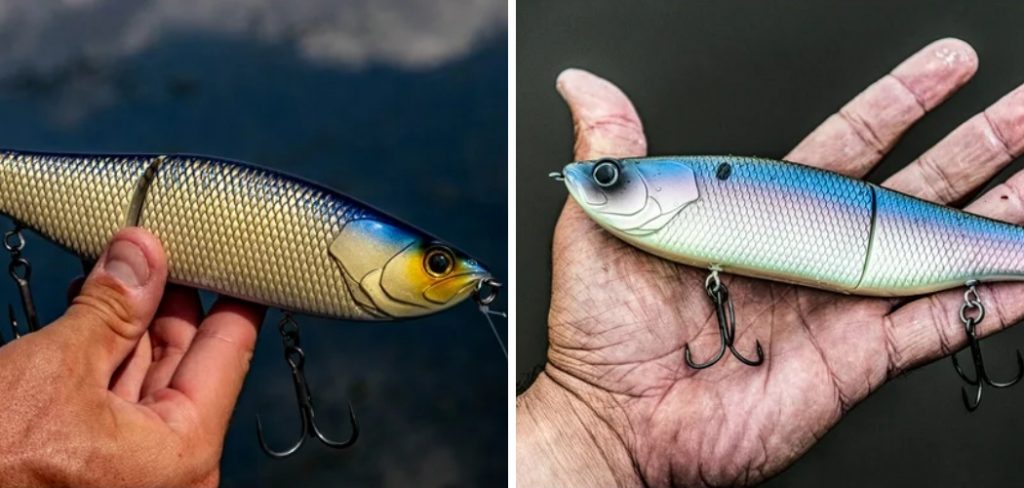
Painting fishing swivels can be an effective way to customize your fishing gear, adding both functionality and style. Whether you want to reduce glare, enhance visibility, or simply make your tackle stand out, a proper paint job can make a significant difference. This guide will walk you through how to paint fishing swivel with precision and durability, ready to perform efficiently on your next fishing trip.
Why Paint Fishing Swivels?
Painting fishing swivels serves multiple practical and aesthetic purposes. For one, reducing the glare from a shiny swivel can help avoid spooking fish, especially in clear waters or on sunny days. A well-painted swivel can also enhance visibility, making it easier for you to locate your tackle in the water or for fish to target your lure.
Additionally, customizing your fishing swivels with specific colors allows you to match them with your fishing line or lure setup, creating a cohesive and enticing presentation. Lastly, painted swivels can add a layer of protection against rust and corrosion, ultimately extending the lifespan of your equipment.
Tools and Materials Needed
To successfully paint fishing swivels, you will need the following tools and materials:
- Fishing Swivels: Ensure they are clean and free of dirt or debris.
- Primer: A good primer helps the paint adhere properly and provides a durable base coat.
- Paint: Use high-quality spray paint or specialty paint designed for metal surfaces. Choose colors that match your intended purpose or aesthetic preference.
- Protective Clear Coat: A clear coat seals the paint, adding durability and resistance to wear and corrosion.
- Plastic Gloves: These prevent paint from getting on your hands and ensure a clean working process.
- Clamps or Tweezers: For holding the swivels securely while painting.
- Drop Cloth or Newspaper: To protect your work area from paint splatter.
- Sandpaper (optional): For lightly scuffing the swivel surface to improve paint adhesion.
- Hook or Wire Hanger (optional): To hang the swivels for drying after painting.
Having all these items ready will help you achieve a smooth and efficient painting process while ensuring your swivels are both functional and visually appealing.
10 Effective Methods on How to Paint Fishing Swivel
Fishing swivels may be small, but they play a vital role in your fishing tackle. Adding a coat of paint to your swivels not only helps camouflage them in the water, but it can also prevent corrosion and extend their lifespan. Whether you’re looking to blend seamlessly into underwater environments or add your own creative touch, painting your swivels can elevate your setup.
Here are 10 tried-and-true methods to effectively paint fishing swivels while maintaining their functionality.

1. Clean the Swivels Thoroughly
Before painting, it’s essential to clean your fishing swivels. Dirt, oil, or rust residue can prevent the paint from sticking properly.
- Use a degreaser or isopropyl alcohol to remove any oil.
- For rusted swivels, use fine sandpaper or a wire brush to smooth the surface.
Proper preparation ensures a smooth painting process and long-lasting results.
2. Choose the Right Paint Type
Not all paints are suitable for fishing swivels—select one that’s durable, water-resistant, and non-toxic.
- Spray paints designed for metal surfaces work great.
- Powder coating is another excellent option for durability and corrosion resistance.
- Ensure the paint chosen dries quickly and won’t chip easily in water.
Brands like Rust-Oleum or Krylon Outdoor work well for this purpose.
3. Use Primer to Enhance Longevity
Priming may feel like an extra step, but it significantly enhances the durability of your painted fishing swivels.
- Opt for a metal primer that bonds with the swivel’s surface.
- Apply a thin coat and allow it to dry before moving on to the paint layer.
Primers create an ideal base layer, extending the lifespan of your paint job.
4. Apply a Miniature Brush Painting Technique
Using a miniature brush allows for precision and control when painting fishing swivels.
- Dip the fine brush into a small amount of paint, then apply it in thin, even strokes.
- Rotate the swivel to ensure even coverage on all sides.
This method works perfectly for those who want to add intricate designs to their swivels.
5. Opt for Spray Painting
Spray painting is ideal for evenly covering several swivels at once and saving time.
- Hang your swivels on a string or clip them individually to a cardboard surface.
- Apply thin layers from a distance of 6-10 inches to prevent dripping.
This technique results in a smooth, professional finish while maintaining efficiency.
6. Experiment with Powder Coating
Powder coating is a highly durable method if you’re looking for something more advanced.
- Apply an adhesive powder coating with a heat gun.
- Bake the coated swivels in an oven at the recommended temperature.
Powder coating forms a thick, protective layer that resists scratches and wear.
7. Use Dip-and-Dry Painting
For convenience, dip your swivels into a can of paint and hang them up to dry.
- Use thin, high-quality paint to avoid excessive buildup.
- Shake off any excess paint after dipping to ensure even coverage.
This method saves time and is effective when painting large batches of swivels.
8. Add a Camouflage Effect
To better blend your swivels with the underwater environment, consider adding a camouflage pattern.
- Use stencils for precision or a sponge to dab on different shades of paint.
- Focus on matching the colors of the waters you commonly fish in.
Camouflaging can help reduce detection by fish and improve your chances of a catch.
9. Seal with a Durable Top Coat
Once your swivel is painted, seal the deal with a protective top coat.
- Use a clear, waterproof sealant to add a glossy or matte finish.
- This extra layer protects the paint from chipping and increases resistance to the elements.
You’ll thank yourself later when the paint stays intact trip after trip.
10. Test for Functionality Post-Painting
After painting and drying, check the swivels to ensure they still function properly.
- Rotate the swivels to confirm they move smoothly without sticking.
- Disassemble and reassemble any parts if needed to avoid functionality issues.
A well-painted swivel should enhance performance, not hinder it.
Maintenance and Upkeep
Proper maintenance of your painted fishing swivels is essential to ensure their durability and functionality over time. Regularly inspect your swivels after each fishing trip for signs of wear, chipping paint, or corrosion. If you notice paint starting to peel or flake, touch up the affected areas using the same paint and sealing methods you initially used.
To prevent rust and prolong the life of your swivels, rinse them with fresh water after exposure to saltwater or harsh environments. Allow them to dry thoroughly before storing to avoid moisture buildup, which can lead to corrosion. Store your swivels in a dry, well-ventilated container, preferably with dividers to keep them from scratching against one another. Using silica gel packets in your tackle box is also a great way to absorb residual moisture.
By following these upkeep practices, your painted fishing swivels will remain in top condition, maintaining their aesthetic appeal and functionality for many fishing adventures to come.
Troubleshooting Common Issues
Painting fishing swivels can sometimes present unexpected challenges. Here’s a guide to troubleshooting common issues you may encounter during or after the process:
1. Paint Not Sticking to the Swivel
If the paint fails to adhere to the surface, the most likely cause is improper cleaning or preparation.
- Solution: Ensure the swivels are completely free from dirt, oil, and rust. Clean them thoroughly with a degreaser or isopropyl alcohol, and lightly sand the surface to create better adhesion before repainting.
2. Paint Dripping or Uneven Coverage
Excess paint or improper application can lead to drips and an uneven finish.
- Solution: Apply thin coats of paint using a miniature brush or spray paint from the suggested distance (6-10 inches). Allow each layer to dry completely before adding another. If necessary, sand down the uneven areas lightly and repaint.
3. Swivel Components Sticking Post-Painting
A common issue arises when paint gets into the swivel’s moving parts, causing them to stick and lose functionality.
- Solution: Use painter’s tape or masking techniques to cover the swivel’s moving sections before applying paint. If the issue occurs, disassemble the swivel and clean the affected area with fine sandpaper or a solvent to remove the excess paint carefully.
4. Paint Chipping or Peeling Quickly
When paint doesn’t last, it may be due to poor choice of paint or skipping the priming and sealing steps.
- Solution: Always use a durable, water-resistant paint suitable for metal surfaces. Make sure to apply a primer before painting and a waterproof top coat afterward for maximum protection.
5. Uneven Camouflage Patterns
Camouflage patterns can sometimes look inconsistent or messy.
- Solution: Use stencils or tools like sponges and brushes designed for detailed patterns. Practice on a test piece before working on the swivels to refine your technique.
Conclusion
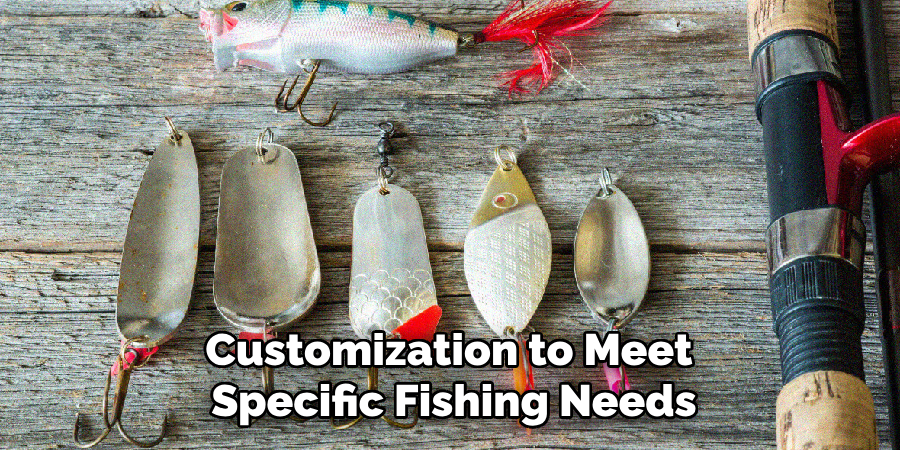
Painting fishing swivels is a rewarding process that not only enhances their aesthetic and functional qualities but also allows for customization to meet specific fishing needs. With proper preparation, attention to detail, and the right materials, you can achieve professional-looking results that stand the test of time. Thanks for reading, and we hope this has given you some inspiration on how to paint fishing swivel!
About the Author
Jennifer Branett is the author of Fishy Kayak and an expert in fish-related fields, with over 10 years of experience. Her work blends passion for fishing with a commitment to conservation.
Educational Background
Degree: Bachelor’s in Marine Biology
Institution: University of California, Santa Barbara
Specializations: Aquatic ecosystems, fish behavior, and sustainable practices
Professional Experience
Conservation Projects:
Collaborated with local organizations to restore aquatic habitats
Developed educational programs on sustainable fishing practices
Publications:
Authored articles for fishing magazines and environmental journals
Featured speaker at fishing expos and conservation conferences
Key Areas of Expertise
Fishing Techniques:
Kayak fishing strategies
Freshwater and saltwater fishing methods
Environmental Stewardship:
Advocacy for sustainable fishing
Promoting biodiversity in aquatic environments
Awards and Recognition
Recipient of the [Specific Award Name] for contributions to marine conservation
Recognized as a leading voice in the fishing community by [Organization/Publication Name]
Community Engagement
Workshops and Seminars:
Regularly hosts events to educate anglers on sustainable practices
Engages with youth programs to inspire the next generation of fishers
Online Presence:
Maintains an active blog sharing tips, stories, and conservation efforts
Engages with followers on social media to promote fishing ethics
Personal Interests
Enjoys kayaking in scenic locations
Passionate about photography, capturing the beauty of nature
Advocates for local conservation efforts in her community