Are you an avid fisherman who wants to learn a new knot for your fishing line? Or you’re a beginner looking to expand your knowledge and skills in fishing.
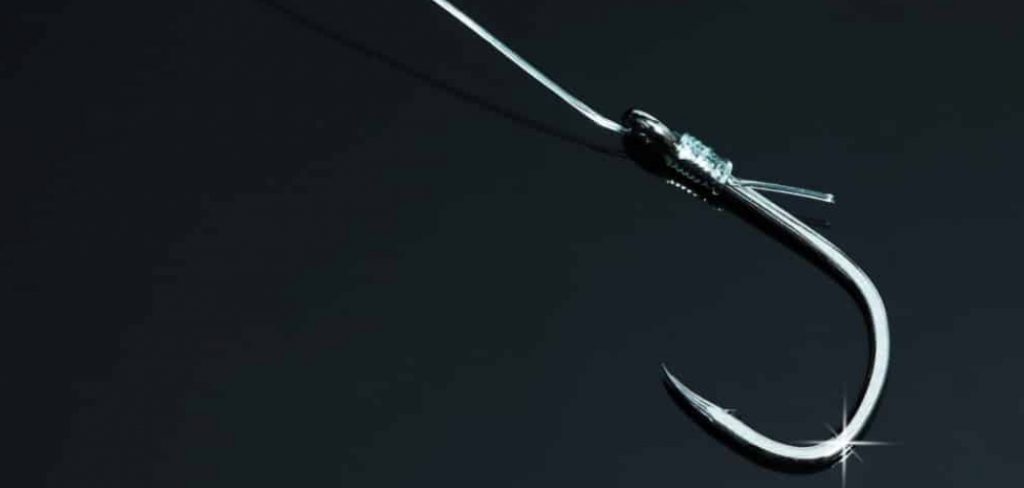
Fishing enthusiasts often seek effective methods to enhance their catches, and the egg loop knot is a versatile tool in their arsenal. This knot is particularly popular among anglers who prefer using bait, such as salmon roe, as it securely holds the bait on the line while also allowing for easy adjustments. The egg loop knot not only provides a stable attachment point but also improves the presentation of the bait, making it more enticing for fish.
How to tie a egg loop is a valuable skill for anyone looking to increase their success rate while fishing, as it combines practicality with simplicity, making it an essential technique for both novice and seasoned anglers.
What Will You Need?
Before learning the steps, gather all the necessary materials and tools to tie an egg loop knot. Here’s what you’ll need:
- Fishing line
- Your preferred bait (salmon roe or other similar options)
- A hook (preferably a single- or double-hooked bait hook)
- A sharp pair of scissors
Once you have all the necessary tools, follow these easy steps to tie an egg loop knot.
10 Easy Steps on How to Tie a Egg Loop:
Step 1: Form a Loop
Begin by taking the end of your fishing line and threading it through the eye of the hook from back to front. Allow ample line to hang past the hook to facilitate the creation of a loop later in the process. Pull the line through until roughly 6 to 8 inches of excess hanging from the hook.
With the line threaded through, create a simple loop by bringing the tag end back toward the standing part of the line, allowing the line to lay alongside itself. This loop will form the foundation of the egg loop knot, ensuring both security and functionality. Keep the loop positioned just above the hook eye, and make sure both lines are parallel as you prepare to advance to the next steps, where you will wrap and secure the loop around the hook shank.
Step 2: Create the First Wrap
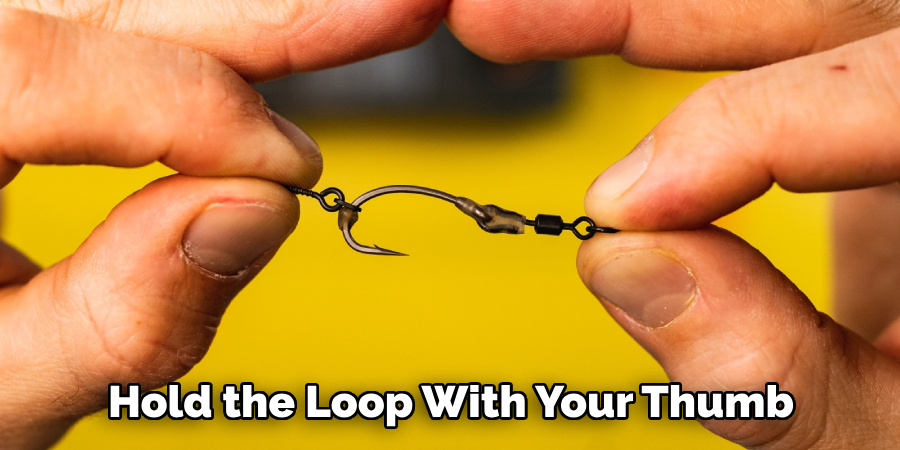
Hold the loop with your thumb and forefinger, ensuring it stays positioned above the hook eye. With the tag end of the line, begin wrapping it around both the hook shank and the standing line. Make at least three to four tight wraps, maintaining consistent tension to ensure the wraps don’t slide along the shank.
These initial wraps help secure the loop, providing a stable foundation for the bait you will eventually attach. Make sure to wrap in the same direction, which contributes to the overall strength and integrity of the knot. Upon completing the wraps, you should see a neat coil of line formed on the hook shank.
Step 3: Complete the Wraps
Continue by making several more wraps with the tag end, covering the hook shank closely and moving towards the hook eye. Aim for at least seven to ten wraps, ensuring they are tight and compact. This wrapping pattern fortifies the knot’s structure, securing the loop you created earlier.
As you wrap, periodically check that the loop remains stable and positioned correctly, as this is essential for maintaining the knot’s functionality. Once you reach the desired number of wraps, the hook shank should be almost completely covered, providing a robust and reliable connection point for your bait.
Step 4: Thread the Tag End Through the Loop
After completing the wraps, take the tag at the end of the line and carefully insert it through the loop you formed in Step 1. Ensure the tag end passes under all the wraps you’ve just made. This action is crucial as it locks the wraps, preventing them from unraveling during use.
Gently pull the tag end so that the loop begins to tighten while maintaining a firm grip on the standing line and the hook. As the loop tightens, it brings all the previous wraps closer together, forming a solid unit that enhances the knot’s durability. Ensure the loop is aligned well with the hook shank before proceeding to the next step.
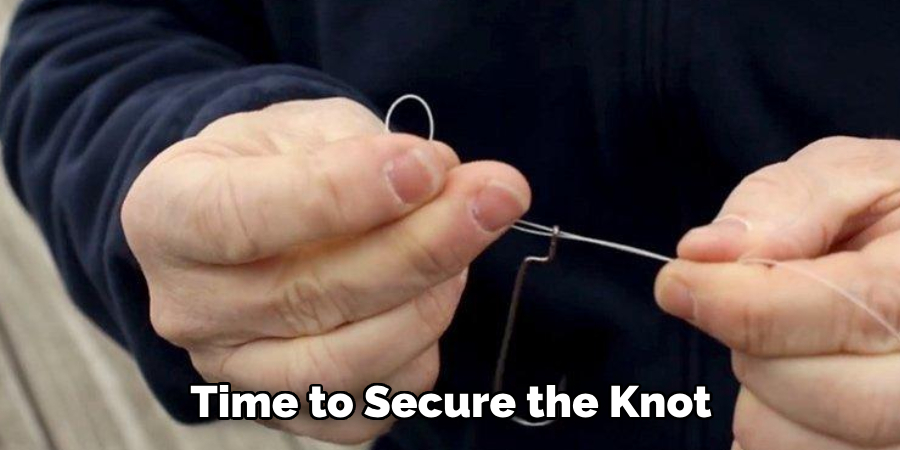
Step 5: Secure the Knot
With the tag end threaded through the loop, and the wraps tightened, it’s time to secure the knot. Firmly hold the standing line and gently pull on the tag end to further tighten the knot, ensuring all wraps are snugly pressed against each other and the hook shank. At this stage, take care to position the knot neatly along the shank and close to the hook eye, optimizing bait presentation and the knot’s effectiveness.
Ensure that no slack remains within the wraps. Once you’re satisfied with the knot’s tension and position, use scissors to trim any excess from the tag end, leaving a short tail to prevent slippage. Your egg loop knot is now securely tied and ready to hold your bait effectively.
Step 6: Adjust the Loop for Bait
Now that your egg loop knot is secure, it’s time to adjust the loop for bait attachment. Pull the knot along the hook shank so that the loop protrudes slightly, creating enough space to accommodate your bait. This loop will serve as a holder for the bait, ensuring it remains positioned during casting and retrieval. Carefully insert your bait, such as salmon roe, into the loop, ensuring it’s centered and secure.
Look for balance and stability, which are crucial for an effective presentation and attracting fish. By keeping the bait appropriately positioned, you can take advantage of the egg loop knot’s full potential to enhance your fishing success. Proceed confidently as you ready your line in fishing locations that promise a rewarding experience.
Step 7: Test the Knot
Before heading out to fish, it’s essential to test your newly tied egg loop knot to ensure its reliability. Start by applying gentle but consistent pressure on the standing line and the hook, simulating the stress the knot will experience during casting and retrieval. Observe how the knot holds up, checking for any slippage or movement in the wraps.
If the knot remains firm and intact without any signs of unraveling, it indicates a successful tie. Testing the knot before use will give you confidence that the knot can withstand the dynamic conditions of fishing, ensuring your bait stays secure and optimally presented. Adjust if necessary and prepare to enjoy the rewards of your diligent knot-tying efforts.
Step 8: Maintain Your Fishing Gear
Proper fishing gear maintenance is crucial to ensure its longevity and effectiveness. After each fishing trip, inspect your lines, hooks, and knots for any signs of wear or damage. Clean your equipment thoroughly to remove any dirt, salt, or residue that may have accumulated.
This includes washing the fishing rod, reel, and any tackle using fresh water and a gentle cleaning solution. Dry all components thoroughly before storing them in a cool, dry place. Regular maintenance not only prolongs the life of your gear but also enhances performance, providing a reliable setup for future fishing adventures.
Step 9: Store Bait Properly
Proper bait storage is essential to maximize its effectiveness and longevity. After your fishing trip, ensure any unused bait is stored correctly to maintain its freshness. Keep natural baits like live worms or fish eggs in a relaxed, dark environment. Refrigeration may be essential to preserve their quality over an extended period.
If using artificial baits, store them in sealed, airtight containers to prevent exposure to air and moisture, which can degrade their quality. Organizing your baits in labeled compartments can also make identifying and accessing them quickly on future trips easier. Proper bait storage ensures you have fresh bait ready and contributes to more successful fishing endeavors by keeping your gear organized and efficient.
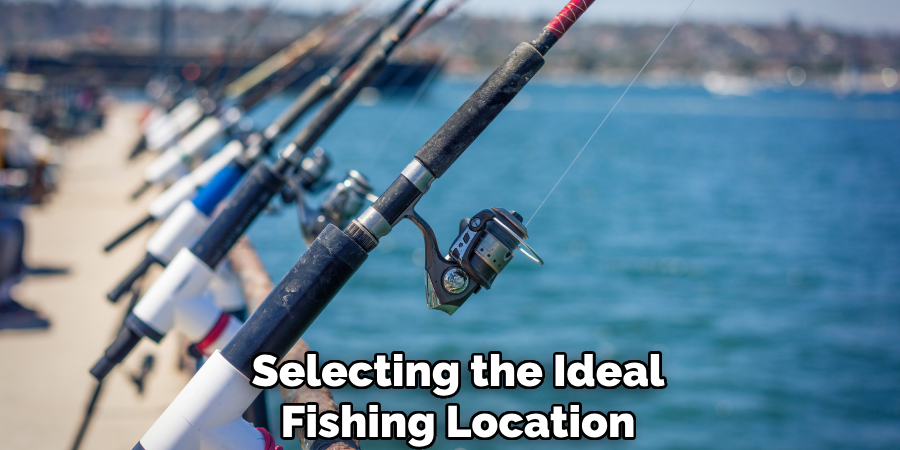
Step 10: Choose the Right Fishing Location
Selecting the ideal fishing location can significantly impact your fishing success—research potential spots by considering water conditions, weather forecasts, and fish activity patterns. Places with abundant cover, such as submerged structures or dense vegetation, can provide habitats for various fish species.
Also, look for areas where currents converge or where there’s a noticeable change in depth, as these are often hotspots for fish due to increased food availability. Don’t forget to check local regulations and obtain any necessary permits before heading out. Choosing a strategic location enhances your chance of encountering higher fish density and variety, making your fishing excursion more productive and enjoyable.
By following these steps and using the egg loop knot as part of your fishing setup, you can increase your chances of success on your next fishing trip.
Conclusion
How to tie a egg loop is an invaluable skill for any angler seeking to maximize their fishing efficiency and success.
By mastering this knot, you can securely hold baits like fish eggs or roe against your hook, which is ideal for attracting target fish species. The process involves a series of steps—wrapping the line around the hook, creating and securing loops, and adjusting for bait—that ensure a robust and reliable knot. Testing and maintaining your knot and proper equipment care and savvy fishing location choices complement your knot-tying skills.
With practice, patience, and attention to detail, tying an egg loop becomes second nature. It greatly enhances your angling adventures and contributes to more frequent and fruitful catches.
About the Author
Jennifer Branett is the author of Fishy Kayak and an expert in fish-related fields, with over 10 years of experience. Her work blends passion for fishing with a commitment to conservation.
Educational Background
Degree: Bachelor’s in Marine Biology
Institution: University of California, Santa Barbara
Specializations: Aquatic ecosystems, fish behavior, and sustainable practices
Professional Experience
Conservation Projects:
Collaborated with local organizations to restore aquatic habitats
Developed educational programs on sustainable fishing practices
Publications:
Authored articles for fishing magazines and environmental journals
Featured speaker at fishing expos and conservation conferences
Key Areas of Expertise
Fishing Techniques:
Kayak fishing strategies
Freshwater and saltwater fishing methods
Environmental Stewardship:
Advocacy for sustainable fishing
Promoting biodiversity in aquatic environments
Awards and Recognition
Recipient of the [Specific Award Name] for contributions to marine conservation
Recognized as a leading voice in the fishing community by [Organization/Publication Name]
Community Engagement
Workshops and Seminars:
Regularly hosts events to educate anglers on sustainable practices
Engages with youth programs to inspire the next generation of fishers
Online Presence:
Maintains an active blog sharing tips, stories, and conservation efforts
Engages with followers on social media to promote fishing ethics
Personal Interests
Enjoys kayaking in scenic locations
Passionate about photography, capturing the beauty of nature
Advocates for local conservation efforts in her community