Are you an angler looking to improve your fishing techniques? One essential skill that every angler should know is how to tie a Snell knot. This type of knot is commonly used in both freshwater and saltwater fishing for connecting hooks to the leader line.
Tying a Snell knot is an essential skill for anglers, providing a secure and reliable connection between the fishing line and the hook. This knot is especially popular because it aligns the hook with the fishing line, ensuring better bait presentation and improved hook-setting power. Whether you’re a novice or an experienced fisherman, mastering the Snell knot can greatly enhance your fishing effectiveness.
With a few simple steps and a little practice, you can tie this knot confidently and incorporate it into your fishing routine.
What Are the Benefits of Using a Snell Knot?
Before diving into the steps to tie a Snell knot, let’s take a closer look at why this knot benefits anglers. Here are some reasons why you should consider using a Snell knot for your fishing needs:
- Improved Hook-Setting Power: The Snell knot aligns the hook with the line, resulting in better bait presentation and improved hook-setting power. This makes it easier to secure your catch once you feel a bite.
- Stronger Hold: The snell knot provides a firm hold on the hook, reducing the chances of losing your catch due to accidental unhooking or line breakage. This is especially useful when targeting larger fish species.
- Versatility: The snell knot can be used with various hooks and lines, making it a versatile choice for different fishing scenarios. Using monofilament, braided, or fluorocarbon line, the snell knot can provide a reliable connection.
- Simplicity: While some knots may seem complicated to tie, the snell knot is relatively easy to learn and execute. You can become proficient in tying this knot quickly and efficiently with practice.
These are just a few benefits of using a snell knot for your fishing adventures.
What Will You Need?
To tie a snell knot, you’ll need the following items:
- A hook
- Fishing line (monofilament or fluorocarbon)
- Scissors (optional)
10 Easy Steps on How to Tie a Snell Knot
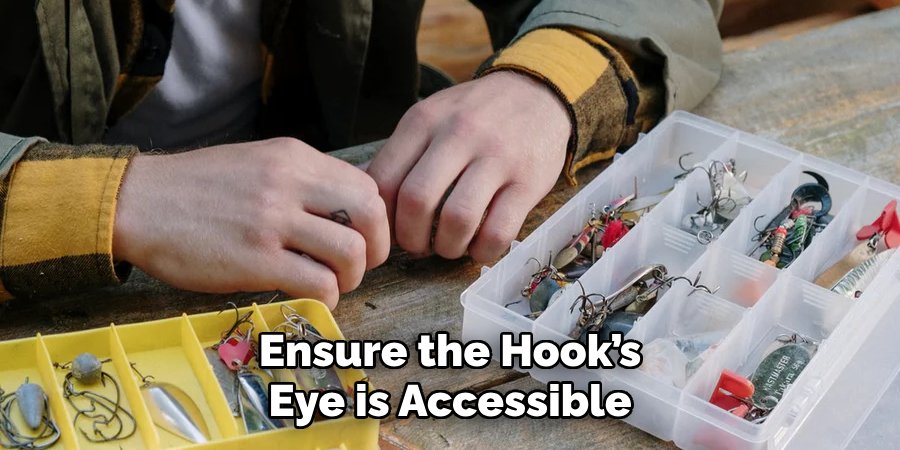
Step 1. Begin with the Hook
Start by holding the hook firmly in one hand. Ensure the hook’s eye is accessible; this is where you’ll be threading the line. Depending on the type of hook you are using, the hook size and shape may vary, but the snell knot can be adapted to suit all styles. Keeping the hook steady’s a good idea to make the tying process smoother. You can use a small clamp or secure the hook in a fishing vise for more excellent stability, especially when practicing for the first time.
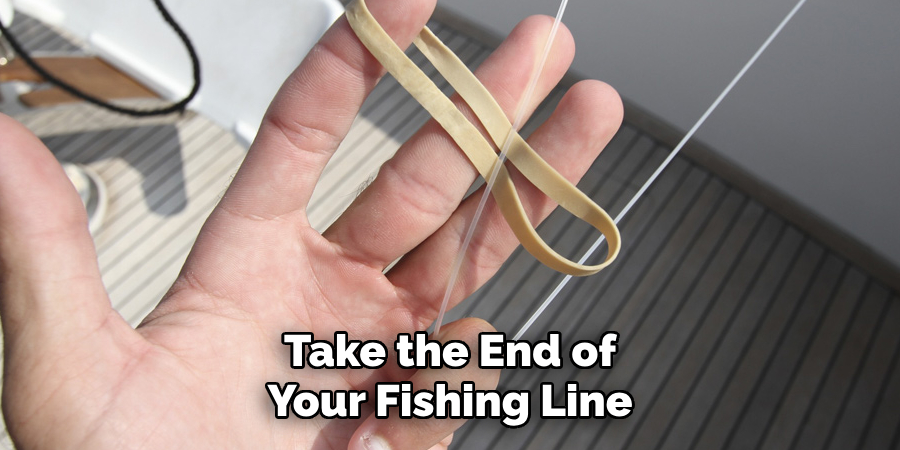
Step 2. Thread the Line Through the Hook Eye
Take the end of your fishing line and thread it through the eye of the hook, leaving enough length of the tag end to work with—around 6 to 8 inches is recommended. Ensure the line enters the eye from the front side of the hook to ensure the knot functions appropriately. This step is essential to set up the foundational loop for the snell knot. Pull the line through gently to avoid fraying, particularly when using fluorocarbon or monofilament lines.
Step 3. Create a Loop Around the Hook Shank
Hold the tag end of the line and wrap it around the hook shank, forming a loop. Ensure that the loop lies snugly around the shank and that the tag end and mainline are easily accessible. This loop is crucial in securing the snell knot, as it is the basis for the subsequent wraps. Keep the loop tight and positioned close to the hook eye for a neat and effective knot.
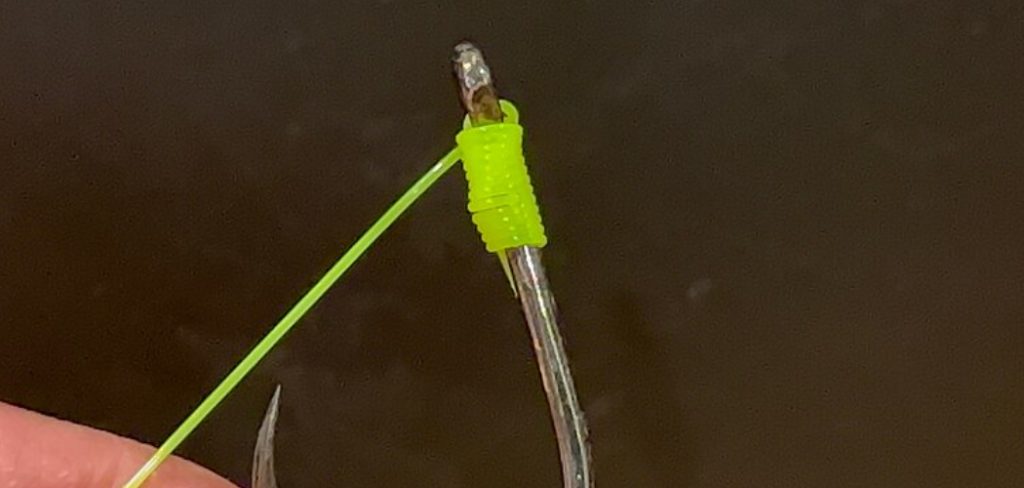
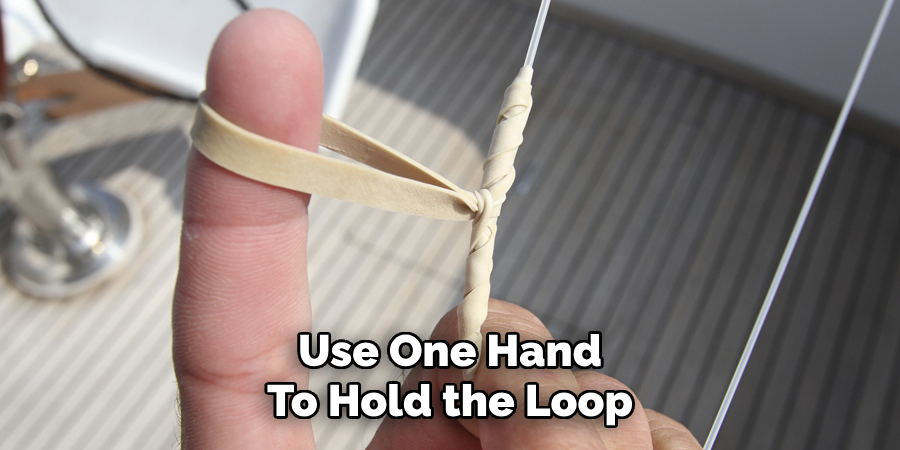
Step 4. Wrap the Tag End Around the Line and Hook Shank
Take the tag at the end of the line and wrap it tightly around the main line and the hook shank. Aim for 6 to 10 wraps to ensure the knot will hold firmly under tension. It’s essential to ensure the wraps are neat and tightly wound, as uneven or loose wraps can compromise the strength of the snell knot.
Use one hand to hold the loop and wrap it in place while the other guides the tag end around the hook. Keep each wrap snug against the previous one to create a clean and secure alignment. Ensure that the wraps extend down the shank but do not reach the curve of the hook, as this might affect the knot’s performance. Once you’ve completed the wraps, carefully hold the tag end to prevent it from unraveling.
Step 5. Thread the Tag End Back Through the Loop
After completing the wraps, take the tag end of the line and thread it back through the initial loop you created near the hook eye. Ensure the tag end passes through the loop in the same direction as before, maintaining the integrity of the knot. Hold the tag end and the main line firmly, preparing to tighten the knot. This step is crucial for locking the wraps and forming a secure snell knot. Double-check that the wraps remain aligned and tight before proceeding to the next step.
Step 6. Tighten the Knot
Firmly grasp both the tag end and the main line, then steadily pull them in opposite directions to tighten the knot. Ensure the wraps compress uniformly along the hook’s shank, creating a secure and streamlined knot.
Be cautious not to apply excessive force too quickly, as this could weaken the line or misalign the wraps. Once the knot is fully tightened, trim any excess tag end close to the wraps, avoiding loose ends that might catch or fray. Your snell knot is now complete and ready for use.
Step 7. Test the Knot
After completing the snell knot, it’s essential to test its strength and security. Pull on the main line and apply gradual pressure to keep the knot firm under tension. Ensure the wraps remain in place along the hook shank and do not loosen or slip. Testing the knot before use helps prevent potential issues while fishing and ensures reliable performance. If any weakness or slippage is detected, consider retying the knot to guarantee its durability.
Step 8. Attach the Hook to Your Line
With the snell knot securely tied and tested, it’s time to attach the hook to your fishing line or leader. Thread the main line through the eye of the hook if it’s not already in place. Choose the appropriate connection knot to attach the leader or line above the hook, such as a blood or double surgeon’s knot. Ensure the connection knot is tight and trimmed neatly to avoid any tangles. This step finalizes your rig, making it ready for successful fishing.
Step 9. Add the Bait
Now that your hook is securely attached, it’s time to add the bait. Choose bait appropriate for the type of fish you are targeting, such as live bait, artificial lures, or soft plastics. Carefully thread the bait onto the hook, ensuring it is secure and positioned naturally to attract fish.
Avoid piercing vital areas for live bait to keep it active and appealing. Properly attaching the bait enhances the effectiveness of your rig and increases your chances of a successful catch.
Step 10. Cast Your Line
With your rig complete and bait attached, it’s time to cast your line into the water. Select a suitable spot where fish are likely to be present, such as near structures, under overhanging trees, or in deeper areas of the water.
Hold your rod securely, release the line using your reel’s mechanism, and smoothly swing the rod forward to cast. Practice your technique to achieve accuracy and distance without tangles. Once the line is in the water, start observing for any signs of a bite, keeping your reel ready for action.
By following these steps, you can confidently tie a snell knot and increase your chances of successful fishing.
5 Things You Should Avoid
- Using the Wrong Hook Size: A snell knot is most effective when paired with the appropriate hook size for your target fish. Using a too large or too-small hook can reduce the knot’s effectiveness and risk losing your catch.
- Failing to Moisten the Line: Always moisten the fishing line before tightening the knot. Skipping this step can cause friction, which weakens the line and can lead to breakage under pressure.
- Incorrect Wrapping Technique: Wrapping the line inconsistently around the hook’s shank or too few wraps can result in a loose knot that doesn’t hold under strain. Ensure the wraps are tight and even for optimal performance.
- Overlooking the Tag End: Not leaving enough tag end when tying the knot makes it harder to secure the wraps properly. This can cause the knot to unravel or fail during use, compromising your fishing efforts.
- Neglecting Practice: Tying a snell knot requires precision and familiarity with the steps. Avoid tackling this knot without adequate practice, as mistakes can weaken the knot’s strength and efficiency. Practice on dry land until you’re confident.
Conclusion
How to tie a snell knot effectively requires attention to detail, patience, and practice.
By following the steps carefully and avoiding common mistakes, anglers can ensure a strong, reliable connection between the hook and the fishing line. An adequately tied snell knot improves the likelihood of a successful catch and boosts confidence during fishing trips. Take the time to master this essential skill; it will become a valuable component of your fishing expertise.
Hopefully, this guide has provided you with all the necessary information to tie a snell knot correctly and avoid potential pitfalls. Happy fishing!
About the Author
Jennifer Branett is the author of Fishy Kayak and an expert in fish-related fields, with over 10 years of experience. Her work blends passion for fishing with a commitment to conservation.
Educational Background
Degree: Bachelor’s in Marine Biology
Institution: University of California, Santa Barbara
Specializations: Aquatic ecosystems, fish behavior, and sustainable practices
Professional Experience
Conservation Projects:
Collaborated with local organizations to restore aquatic habitats
Developed educational programs on sustainable fishing practices
Publications:
Authored articles for fishing magazines and environmental journals
Featured speaker at fishing expos and conservation conferences
Key Areas of Expertise
Fishing Techniques:
Kayak fishing strategies
Freshwater and saltwater fishing methods
Environmental Stewardship:
Advocacy for sustainable fishing
Promoting biodiversity in aquatic environments
Awards and Recognition
Recipient of the [Specific Award Name] for contributions to marine conservation
Recognized as a leading voice in the fishing community by [Organization/Publication Name]
Community Engagement
Workshops and Seminars:
Regularly hosts events to educate anglers on sustainable practices
Engages with youth programs to inspire the next generation of fishers
Online Presence:
Maintains an active blog sharing tips, stories, and conservation efforts
Engages with followers on social media to promote fishing ethics
Personal Interests
Enjoys kayaking in scenic locations
Passionate about photography, capturing the beauty of nature
Advocates for local conservation efforts in her community