Are you planning to go boating but have no idea on how to tie an anchor line? Don’t worry, it’s a simple process that anyone can learn. In this tutorial, we’ll guide you through the steps of tying an anchor line and give you some tips to make your boating experience more enjoyable.
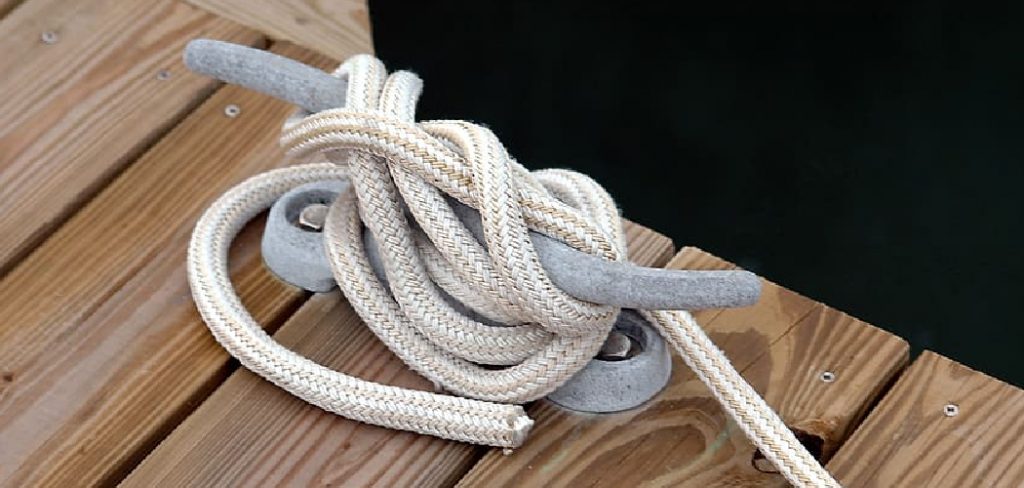
Tying an anchor line is an essential skill for anyone venturing out on the water, whether you’re boating, fishing, or kayaking. Properly securing an anchor ensures that your vessel stays in place, providing stability and safety in various conditions. This process involves selecting the right type of knot and following precise steps to ensure the anchor line is both secure and easy to release when needed.
By mastering this technique, you can enhance your boating experience and avoid common anchoring issues.
What Are the Benefits of Tying an Anchor Line?
Tying an anchor line properly offers several benefits for any boater. Some of these benefits include:
- Safety: A securely tied anchor ensures that your boat stays in place, even in rough waters or strong currents.
- Stability: Anchoring your vessel provides a stable base, making it easier to fish, swim, or relax without drifting away.
- Convenience: With a proper knot and technique, you can easily release the anchor when needed and avoid getting tangled or stuck on the bottom.
These are just a few of the benefits of tying an anchor line.
What Will You Need?
Before starting, make sure you have the following items on hand:
- Anchor: Choose an anchor that suits your vessel’s size and weight.
- Rope or Line: Select a strong and durable rope or line that can withstand the weight of your boat and anchor.
- Marker Buoy: This will help you keep track of where your anchor is located.
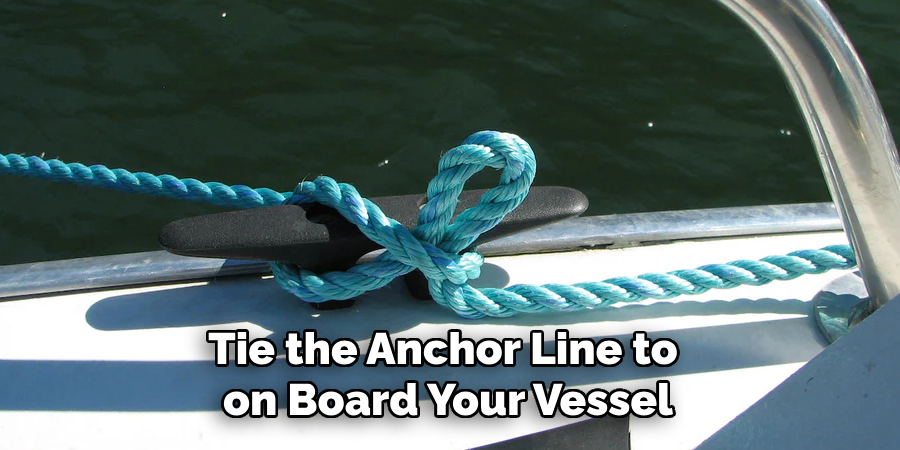
- Cleat or Other Attachment Point: You will need something sturdy to tie the anchor line to on board your vessel.
Once you have all the necessary items, it’s time to learn how to tie an anchor line.
10 Easy Steps on How to Tie an Anchor Line
Step 1. Attach the Anchor to the Line
To begin, securely attach the anchor to the rope or line. This is a crucial step, as a poorly attached anchor could come loose and fail to hold your vessel in place. Start by threading the rope through the anchor’s designated attachment point, typically a ring or shackle. Then, tie a secure knot, such as a bowline knot or a figure-eight follow-through knot, to ensure the rope stays firmly attached.
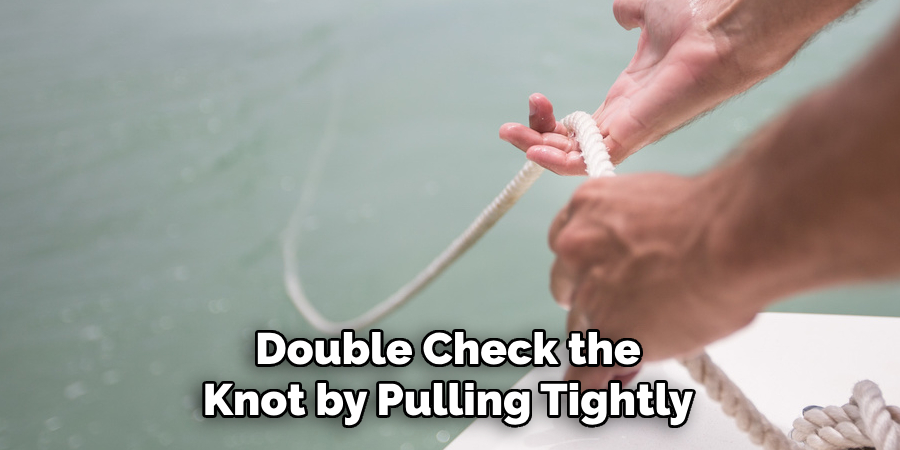
Double-check the knot by pulling tightly on both sides of the rope to make sure it won’t slip. If you are using a chain with your anchor, connect the chain to the anchor and then to the rope using a strong shackle. This setup not only increases durability but also adds weight, improving the anchor’s holding power. Make sure every connection point is snug and free from damage or corrosion before moving on to the next step.
Step 2. Measure the Anchor Line Length
Before deploying the anchor, measure out the appropriate length of the anchor line for the depth of the water. A general rule of thumb is to use a line that is 7 to 10 times the depth of the water where you will anchor. This ratio, known as the “scope,” ensures the anchor digs into the bottom securely and holds your vessel even in changing conditions like wind or currents. Use a measuring tool or markings on your rope to calculate the correct length, and be sure to account for tide changes in your measurements. Ensuring the proper scope is critical for safe and effective anchoring.
Step 3. Deploy the Anchor
Once the anchor line length has been measured, carefully lower the anchor into the water. Avoid throwing the anchor, as this can cause the chain or line to tangle and reduce effectiveness. Allow the anchor to sink to the bottom while slowly feeding out the line to maintain control. Once the desired scope has been released, secure the line to the cleat or other designated point on your vessel. Gradually reverse the boat’s engine to set the anchor firmly into the seabed, ensuring it holds steady. Monitor for any drift to confirm the anchor is secure before turning off the engine.
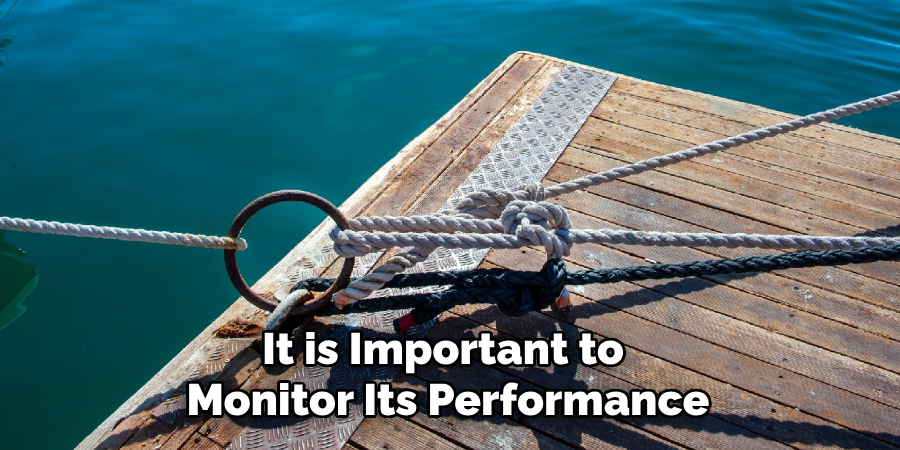
Step 4. Monitor the Anchor
After setting the anchor, it is important to monitor its performance to ensure your vessel remains securely in place. Periodically check landmarks or use a GPS device to verify that the boat is not drifting. Pay attention to changes in wind direction, current, or tide, as these factors can affect the anchor’s hold. If you notice any significant movement, it may be necessary to reset the anchor or adjust the scope. Regular monitoring helps prevent accidents and ensures a safe anchoring experience.
Step 5. Retrieve the Anchor
When it’s time to leave, retrieving the anchor requires careful attention to avoid damaging the equipment or the boat. Start by slowly maneuvering the vessel directly above the anchor to reduce tension on the line. Pull in the anchor line hand-over-hand or use a windlass if available. Once the anchor is directly below the boat, apply steady upward pressure to break it free from the seabed. Clean the anchor of any debris or mud before stowing it securely to prevent damage to your vessel. Always ensure the anchor is properly secured before getting underway.
Step 6. Practice Safe Anchoring Techniques
To ensure a successful and stress-free anchoring experience, it is essential to practice safe anchoring techniques regularly. Familiarize yourself with the specific equipment on your vessel and conduct routine maintenance to keep it in good condition. Always brief your crew on the anchoring procedure and assign clear roles to improve coordination. Additionally, learn to assess varying conditions such as water depth, bottom type, and weather forecasts to make informed decisions. By continually refining your skills and knowledge, you can anchor your boat confidently and securely in a variety of situations.
Step 7. Monitor Your Anchor While at Rest
Even after successfully anchoring, it is important to monitor your anchor and surroundings to ensure the boat remains secure. Regularly check your position using GPS or visual landmarks to make sure the anchor is holding and the boat is not drifting. Be aware of any changes in wind, tide, or current, as these factors can affect the anchor’s grip on the seabed. If necessary, adjust the anchor or deploy a secondary one to enhance stability. Maintaining vigilance will help you address potential issues promptly and safeguard your vessel and crew.
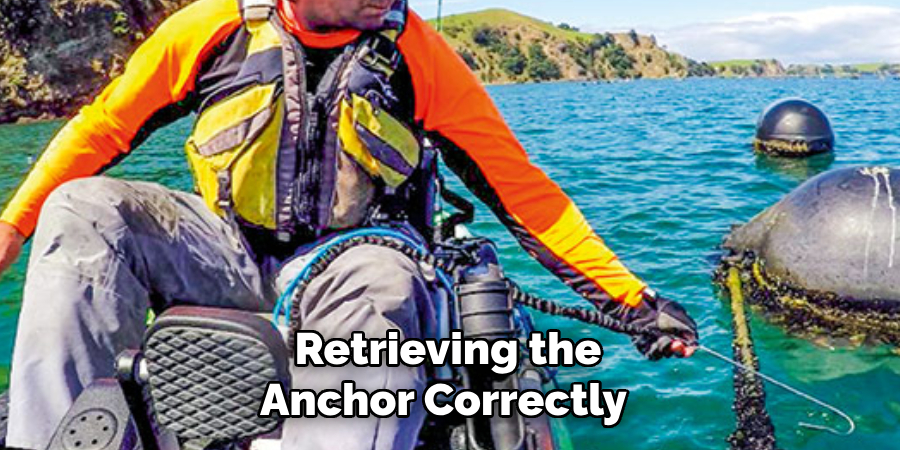
Step 8. Retrieve the Anchor Properly
When it’s time to leave, retrieving the anchor correctly is just as important as setting it. Start by slowly motoring the boat toward the anchor while taking in the anchor line to avoid unnecessary strain. Once directly above the anchor, apply steady upward pressure to break its hold from the seabed. If the anchor is stuck, try changing the angle of pull or using the boat’s engine in reverse to free it. After retrieval, rinse the anchor and chain with fresh water to remove mud, sand, or debris before stowing it securely. Proper retrieval ensures your equipment remains in good condition and ready for the next use.
Step 9. Perform Post-Anchor Checks
After retrieving the anchor, it is important to conduct a thorough post-anchor check. Inspect the anchor, chain, and rode for any signs of wear, damage, or deformation that may have occurred during use. Pay close attention to shackles, swivels, and any connecting hardware to ensure they are secure and in good condition.
Address any repairs or replacements promptly to maintain the integrity of your anchoring system. Additionally, verify that the anchor is stored properly to prevent it from shifting during transit, which could pose a safety hazard. These post-anchor checks will help prolong the life of your equipment and ensure safe anchoring practices for future outings.
Step 10. Document and Plan for Future Anchoring
After completing your post-anchor checks, it is a good practice to document key details of your anchoring experience. Record information such as the location, depth, seabed type, weather conditions, and any challenges encountered. This log can help you refine your anchoring techniques and provide valuable reference points for future outings.
Additionally, take time to review and plan for potential improvements to your anchoring process, whether it involves upgrading equipment, adjusting strategies, or gaining a better understanding of the specific conditions where you anchor most frequently. A proactive approach ensures continued safety and success in your anchoring endeavors.
By following these steps and continually honing your anchoring skills, you can confidently navigate any anchorages with ease.
Conclusion
Tying an anchor line is an essential skill for any boater, ensuring both safety and security during mooring. By mastering techniques such as selecting the appropriate knots, understanding proper line lengths, and considering environmental factors like wind and current, you can effectively secure your vessel in place.
With practice and attention to detail, tying an anchor line becomes a straightforward and reliable process. Remember to regularly inspect your equipment and refine your skills to handle various conditions confidently. Properly tying an anchor line not only protects your boat but also enhances your overall maritime experience.
Hopefully, the article on how to tie an anchor line has provided valuable insights and tips for future anchoring adventures. Happy boating!
About the Author
Jennifer Branett is the author of Fishy Kayak and an expert in fish-related fields, with over 10 years of experience. Her work blends passion for fishing with a commitment to conservation.
Educational Background
Degree: Bachelor’s in Marine Biology
Institution: University of California, Santa Barbara
Specializations: Aquatic ecosystems, fish behavior, and sustainable practices
Professional Experience
Conservation Projects:
Collaborated with local organizations to restore aquatic habitats
Developed educational programs on sustainable fishing practices
Publications:
Authored articles for fishing magazines and environmental journals
Featured speaker at fishing expos and conservation conferences
Key Areas of Expertise
Fishing Techniques:
Kayak fishing strategies
Freshwater and saltwater fishing methods
Environmental Stewardship:
Advocacy for sustainable fishing
Promoting biodiversity in aquatic environments
Awards and Recognition
Recipient of the [Specific Award Name] for contributions to marine conservation
Recognized as a leading voice in the fishing community by [Organization/Publication Name]
Community Engagement
Workshops and Seminars:
Regularly hosts events to educate anglers on sustainable practices
Engages with youth programs to inspire the next generation of fishers
Online Presence:
Maintains an active blog sharing tips, stories, and conservation efforts
Engages with followers on social media to promote fishing ethics
Personal Interests
Enjoys kayaking in scenic locations
Passionate about photography, capturing the beauty of nature
Advocates for local conservation efforts in her community