Are you planning to fly fishing? Then, you must know that one of the most critical skills needed is tying gaffs.
How to tie gaffs fly tyer is a skill that combines creativity, precision, and patience. Often used by anglers, these expertly crafted flies imitate the appearance and movement of insects to attract fish. Learning how to tie your own flies not only allows for customization to suit different fishing conditions but also adds a personal sense of accomplishment to the art of fly fishing.
Whether you are a beginner or an experienced fly tyer, mastering this technique requires attention to detail and the willingness to practice. This guide will take you through the essential steps and tools needed to start creating your own gaffs fly tyer with confidence.
What Are the Types of Gaffs?
Before diving into the tying process, it is crucial to understand the different types of gaffs and their uses. The three main categories are dry flies, wet flies, and streamers.
- Dry Flies: Dry flies imitate insects that float on the water’s surface, such as mayflies or caddisflies. These flies are designed to mimic the insect’s appearance and movement, making them a popular choice for fly fishers targeting trout or other surface-feeding fish.
- Wet Flies: Wet flies are meant to be fished beneath the water’s surface. They often resemble aquatic insects in their larvae or pupae stages. Unlike dry flies, these flies are often designed with a soft hackle or weighted body to sink and mimic the movement of underwater insects.
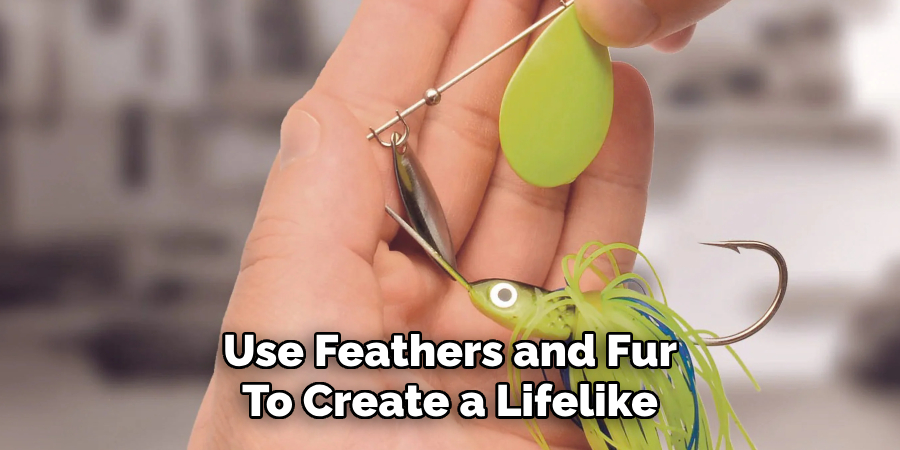
- Streamers: Streamer flies imitate small fish or prey more extensive fish feed on. These flies typically have a more substantial hook and use feathers and fur to create a lifelike appearance. They are usually used in deeper water or fast-moving currents.
Knowing the different types of gaffs will help you determine which fly is best suited for your fishing location and target species.
What Will You Need?
You will need a few essential tools and materials to start tying gaffs. Some of the necessary items include:
- Fly Tying Vise: This tool holds the hook in place while you work on it.
- Bobbin Threader: Used to thread the fly-tying thread through the bobbin.
- Scissors: To trim materials and excess thread.
- Hackle Pliers: These specialized pliers help hold delicate feathers or other materials in place.
- Hooks: Available in different sizes and styles, hooks are integral to any fly pattern.
- Materials: Commonly used gaff materials include natural or synthetic feathers, fur, thread, and wire.
It may seem like a lot of equipment, but these are the basics that will allow you to tie various fly patterns. As you gain more experience, you can add additional tools and materials to your collection.
9 Easy Steps on How to Tie Gaffs Fly Tyer
Step 1: Secure the Hook in the Vise
Begin by selecting the appropriate hook for the fly pattern you intend to tie. Once you have your hook, open the jaws of the fly-tying vise and firmly secure the hook in place. Ensure the hook shank is positioned horizontally and easily accessible for working on while the hook point and barb face downward.
A securely fastened hook will prevent slipping or movement during tying, which is essential for precision and consistency. Take the time to adjust the vise tension so that the hook is held firmly, but avoid over-tightening, as this could risk bending or damaging the hook. With the hook adequately secured, you’re ready to create your fly.
Step 2: Start the Thread Base
Take your fly-tying thread and attach it to the hook shank by wrapping it a few times near the hook eye or just behind it, depending on the pattern. Hold the thread tag end firmly as you make the initial wraps to secure it in place.
Then, continue wrapping the thread evenly along the hook shank toward the bend, creating a smooth foundation for attaching materials later. Ensure the thread wraps are snug and consistent, as they will help maintain the durability and structure of your fly. Once the thread base is established, trim any excess thread from the tag end, and you’re prepared to begin adding materials.
Step 3: Attach the Tail
Select the material for the tail, which may vary depending on the fly pattern you are tying, such as feathers, fur, or synthetic fibers. Measure the tail material so that it extends approximately one to one and a half times the length of the hook shank.
Hold the material in place at the bend of the hook, and make a few loose thread wraps to secure it. Once correctly positioned, tighten the thread wraps, ensuring the tail material is firmly attached without flaring or shifting. Trim any excess material at the tie-in point, keeping the area clean to maintain a smooth profile for the next steps.

Step 4: Add the Body Material
Choose the body material for your fly, such as chenille, dubbing, tinsel, or other suitable options, depending on your crafting pattern. Make firm thread wraps to secure the body material at the tie-in point near the tail.
If using dubbing, twist the fibers onto the thread to create a thin, even noodle before wrapping. Gradually wrap the body material along the hook shank, ensuring uniform coverage while avoiding gaps. Stop wrapping approximately one eye length away from the hook eye, leaving space for adding final elements and completing the fly. Secure the end of the body material with thread wraps and trim any excess for a neat finish.
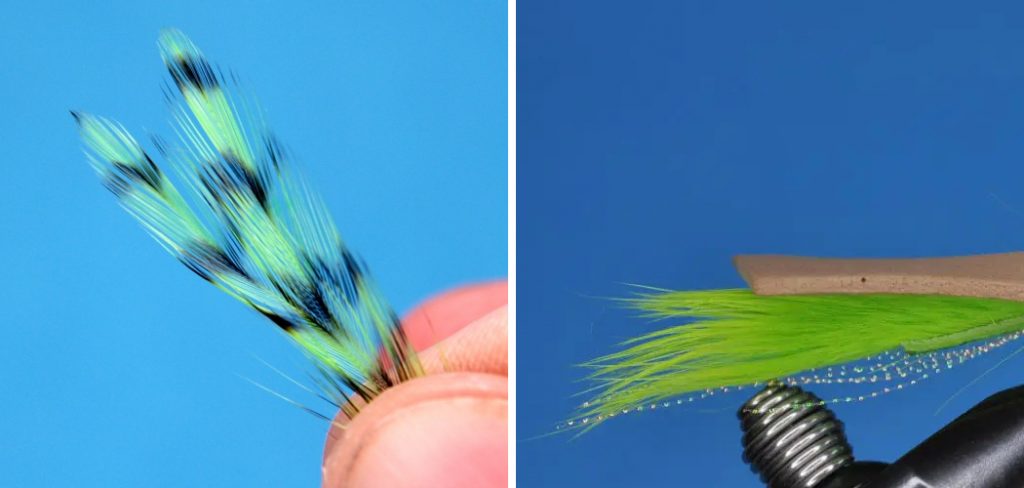
Step 5: Add the Wing or Hackle
Select the wing or hackle material appropriate for the fly pattern you are tying. If adding a wing, cut a small clump of material such as feather fibers, hair, or synthetic strands, ensuring the tips are aligned. Position the wing on top of the hook shank, extending it slightly beyond the tail length, and attach it with secure thread wraps.
If using a hackle, prepare the feather by stripping fibers from the base and tying it in by the stem at the point behind the hook eye. Wrap the hackle forward in evenly spaced turns, avoiding overcrowding, and tie it off securely at the front. Trim any excess material and smooth the area with thread wraps, ensuring a tidy foundation for the final steps.
Step 6: Form the Head and Finish the Fly
Once the wing or hackle is secured, build up a small, neat thread head at the front of the fly, just behind the hook eye. Use tight, evenly spaced wraps to create a smooth, tapered shape. When the head is formed, secure the thread with a whip finish or a series of half-hitch knots to lock everything in place.
Trim the thread close to the fly for a clean finish. Optionally, apply a small drop of head cement or nail polish to the thread wraps to enhance durability and prevent unraveling. Allow the adhesive to dry completely before handling or using the fly.

Step 7: Inspect and Test the Fly
After completing the fly, carefully inspect your work to ensure all materials are securely tied and evenly positioned. Check for loose fibers, uneven wraps, or excess material that may affect the fly’s performance or appearance. Lightly test the durability by gently tugging on key parts like the hackle and thread wraps. A well-constructed fly should hold up under slight pressure and maintain its shape. Once satisfied, your fly is ready to be stored or used on your next fishing trip.
Step 8: Store Your Fly Properly
Proper storage is essential to maintain the quality and longevity of your fly. Place the finished fly in a dedicated fly box with individual compartments to prevent tangling or crushing. Ensure the fly is completely dry before storing it to avoid rusting of the hook and deterioration of materials. Organize your flies by type or pattern for easy access during your fishing trips. A well-maintained fly collection ensures you’re always prepared for various fishing conditions.
Step 9: Test Your Fly on the Water
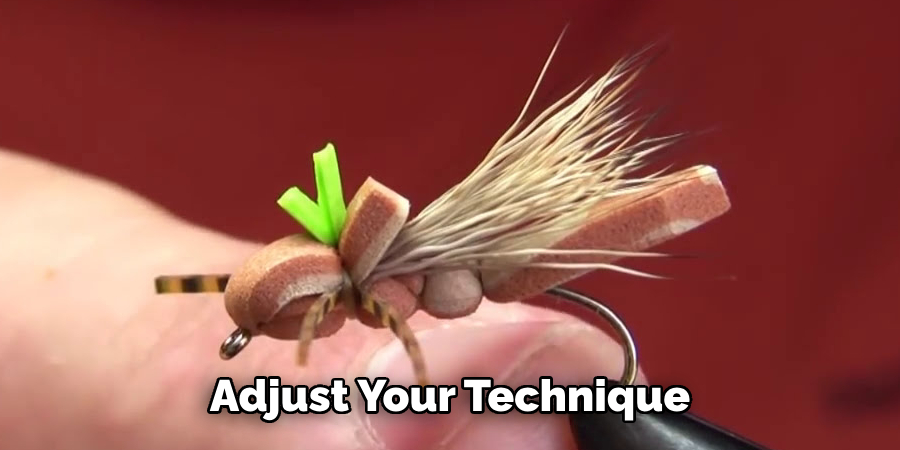
The final step in perfecting your fly is testing it on the water. Visit your favorite fishing spot and observe how the fly performs in realistic conditions. Cast it into the water and watch its movement to ensure it effectively imitates the intended insect or baitfish. Depending on its design, pay attention to how well it floats or sinks. Adjust your technique if needed, and take note of any areas for improvement in your fly-tying process. By testing your fly, you can refine your skills and increase your chances of a successful fishing experience.
By following these steps and practicing regularly, you can become a skilled fly tyer and create high-quality flies for your fishing needs.
Conclusion
How to tie gaffs fly tyer combines creativity, patience, and technical skill.
By mastering the techniques outlined in this guide, you can confidently craft durable and realistic flies that cater to various fishing scenarios.
Each step, from selecting the right materials to perfecting your design on the water, contributes to the effectiveness and success of your creations. With practice and dedication, tying gaffs becomes both an art and a rewarding pastime, enhancing your fishing experiences and deepening your connection with nature.
Hopefully, this guide has inspired you to try your hand at fly tying and explore the vast world of creating custom flies.
About the Author
Jennifer Branett is the author of Fishy Kayak and an expert in fish-related fields, with over 10 years of experience. Her work blends passion for fishing with a commitment to conservation.
Educational Background
Degree: Bachelor’s in Marine Biology
Institution: University of California, Santa Barbara
Specializations: Aquatic ecosystems, fish behavior, and sustainable practices
Professional Experience
Conservation Projects:
Collaborated with local organizations to restore aquatic habitats
Developed educational programs on sustainable fishing practices
Publications:
Authored articles for fishing magazines and environmental journals
Featured speaker at fishing expos and conservation conferences
Key Areas of Expertise
Fishing Techniques:
Kayak fishing strategies
Freshwater and saltwater fishing methods
Environmental Stewardship:
Advocacy for sustainable fishing
Promoting biodiversity in aquatic environments
Awards and Recognition
Recipient of the [Specific Award Name] for contributions to marine conservation
Recognized as a leading voice in the fishing community by [Organization/Publication Name]
Community Engagement
Workshops and Seminars:
Regularly hosts events to educate anglers on sustainable practices
Engages with youth programs to inspire the next generation of fishers
Online Presence:
Maintains an active blog sharing tips, stories, and conservation efforts
Engages with followers on social media to promote fishing ethics
Personal Interests
Enjoys kayaking in scenic locations
Passionate about photography, capturing the beauty of nature
Advocates for local conservation efforts in her community