Are you tired of constantly losing your hooks and baits while fishing through the ice? With a few simple steps, you can learn how to tie ring pulls on your ice rods that will keep everything secure and organized.
How to tie ring pulls on a ice rods is a simple yet essential skill for enhancing your ice fishing experience. Ring pulls serve as small attachments on your ice rod, making it easier to handle your line, especially in cold conditions when dexterity might be limited. Whether you are an experienced angler or a beginner, learning this technique can improve your efficiency and prepare you for varying fishing circumstances.
This guide will walk you through the steps to properly tie ring pulls, ensuring a secure and functional setup for your next ice fishing adventure.
What Are the Benefits of Using Ring Pulls on Ice Rods?
Before getting into the steps for tying ring pulls, it’s essential to understand why they are beneficial and how they can improve your ice fishing experience. Here are some key advantages of using ring pulls:
- Increased Organization: With ring pulls attached to your ice rod. You can easily keep track of your hooks and baits without fumbling around in your tackle box.
- Improved Dexterity: Cold weather can make handling small items like hooks and baits challenging. By using ring pulls, you can loop your line through them instead of directly handling the bait.
- Easy Line Management: Ring pulls guide your line, ensuring that it stays in place and doesn’t tangle or get caught on other items.
- Versatility: Ring pulls can be used for various ice fishing setups, making them a versatile addition to your gear.
Now that you understand the benefits of using ring pulls let’s dive into the steps for tying them onto your ice rod.
What Will You Need?
Before you begin, make sure you have the following items:
- Ice rod
- Ring pulls (can be purchased at most fishing supply stores)
- Scissors or a knife for cutting excess line
- Fishing line (preferably 8lb test or higher)
Once you have everything ready, you can begin tying ring pulls onto your ice rod.
10 Easy Steps on How to Tie Ring Pulls on a Ice Rods
Step 1. Prepare Your Materials
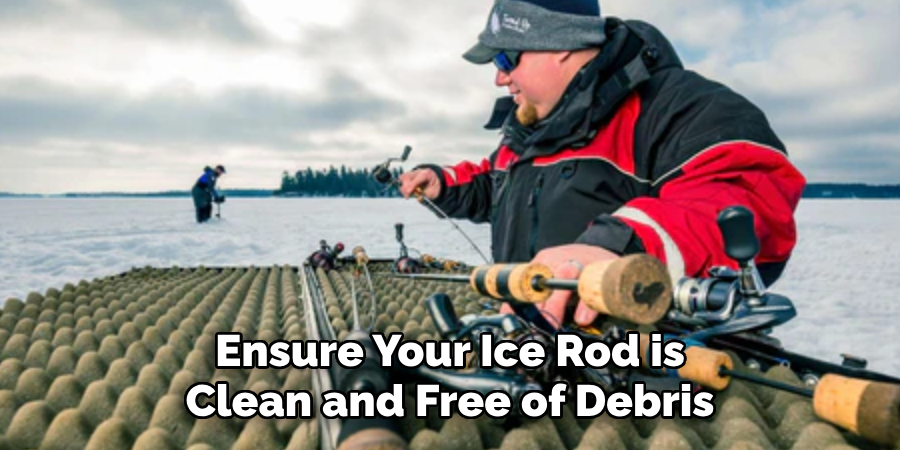
Begin by gathering all the necessary materials listed above. Ensure your ice rod is clean and free of debris, as this will make handling it easier during the tying process. Lay out your ring pulls and inspect them to confirm they are free of any damage or sharp edges that might harm your fishing line. Make sure your fishing line is spooled correctly and ready for use, with enough excess to work with comfortably. Place your scissors or knife in a convenient spot for quick acces,s but handle them carefully to prevent accidents. Preparing your materials ahead of time will streamline the process and reduce the chances of errors.
Step 2. Attach the Fishing Line to the Ring Pull
Throw the end of your fishing line through the hole in the ring pull. Pull through enough line to allow for easy handling, leaving at least six inches of excess. Hold the ring pull in place and create a small loop by doubling the line near the hole. This loop will be the starting point for your secure knot. Keep the line taut but manageable to maintain control while tying.
Step 3. Secure the Knot
Once the loop is formed, tie a simple overhand knot by bringing the end of the line around the standing part and through the loop. Tighten the knot partially to secure the shape, but avoid pulling it tightly. For added strength, tie a second overhand knot similarly, stacking it over the first one. Pull on the standing line while holding the ring to ensure both knots cinch tightly against the hole. This double-knot method enhances durability and prevents slipping during use. Trim any excess line with scissors or a knife, leaving a small tail to avoid fraying. Ensure the knot is snug and secure before proceeding.
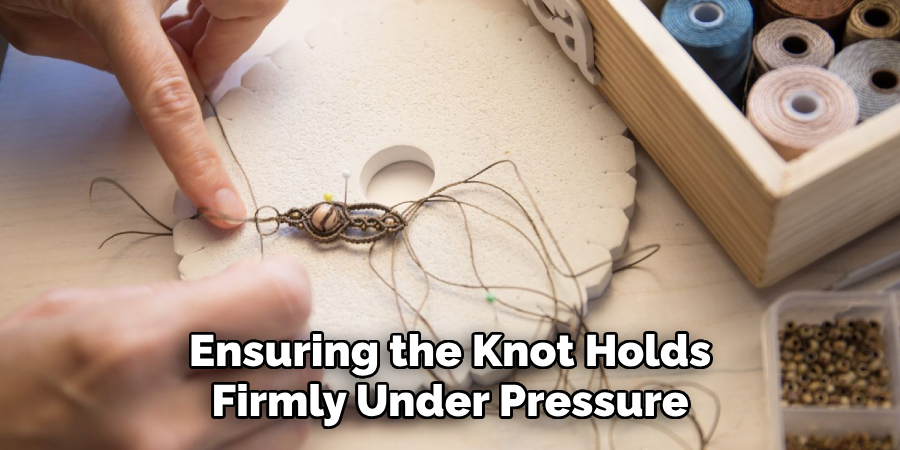
Step 4. Test the Knot
After securing and trimming the knot, testing it for stability and durability is essential. Apply gradual tension to the line to mimic the intended use, ensuring the knot holds firmly under pressure. Check for any slipping or loosening that might compromise its effectiveness. If the knot remains secure and the line stays intact, you’re ready to proceed confidently. If not, consider retying the knot and repeating the process until it is reliable. This final step guarantees the knot is prepared for its application and performs as needed in real-world conditions.
Step 5. Apply the Knot in Practice
With the knot tested and confirmed secure, it is time to put it into practical use. Attach the line to the desired object or structure, ensuring proper tension and alignment for optimal performance. Whether the knot is used for fishing, camping, or other purposes, monitor its performance under actual conditions to verify its reliability. Regularly inspecting the knot for wear and tear over time will help maintain its integrity and functionality, ensuring long-lasting use.
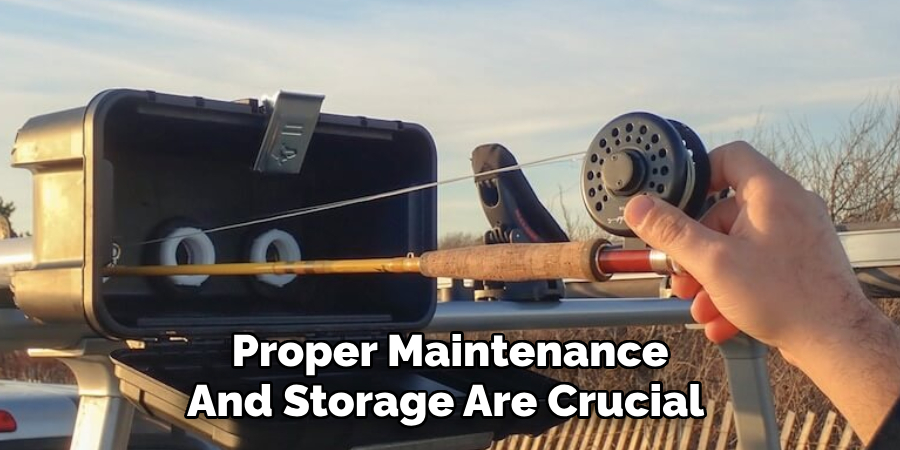
Step 6. Maintain and Store Your Knots Properly
Proper maintenance and storage are crucial to preserving the effectiveness of your knots. After use, inspect the line and knot for any signs of wear, fraying, or damage caused by stress or environmental factors. If the line shows significant deterioration, consider replacing it to ensure safety and reliability. When storing your lines, coil them neatly to prevent tangling and avoid exposing them to extreme temperatures or prolonged sunlight, as these can weaken the material over time. Taking these precautions will extend the lifespan of your knots and ensure they remain dependable for future use.
Step 7. Practice and Perfect Your Knot-Tying Skills
Mastering the art of knot tying requires consistent practice and patience. Focus on a few essential knots and gradually expand your repertoire as you become more confident. To prepare for real-world scenarios, practice tying knots under various conditions, such as in low light or with gloves on. Training aids like diagrams, videos, or tutorials can enhance your understanding and technique. Over time, this dedication to practice will improve your proficiency, ensuring that your knots are not only functional but also secure and reliable whenever you need them.
Step 8. Troubleshoot Common Knot-Tying Issues
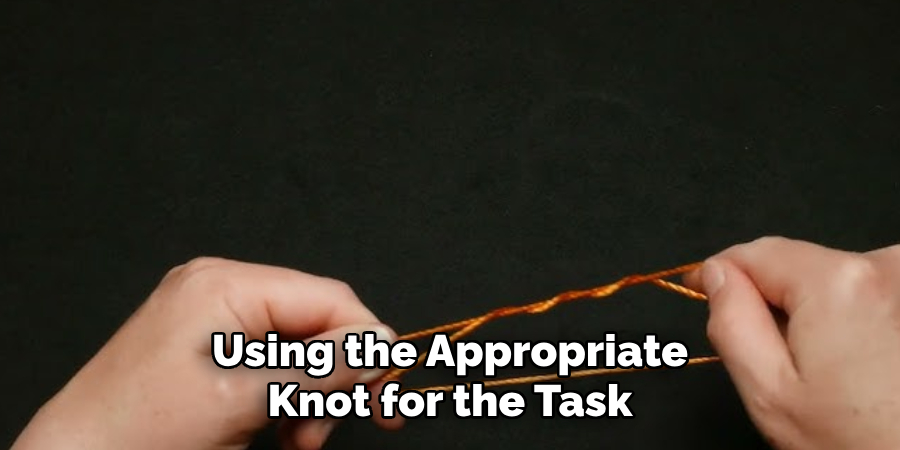
No matter how experienced you are, sometimes knots may not hold or perform as expected. To troubleshoot, first examine the rope or cord you are using to ensure it is in good condition without frays or damage. Make sure you are using the appropriate knot for the task, as some knots are better suited for specific situations. Additionally, check your technique to confirm that the knot is tied correctly and tightened securely. If the knot still fails, consider alternative knots or seek advice from guides or manuals to refine your skills. Addressing these issues will help you build confidence and ensure your knots are consistently effective.
Step 9. Practice Knot Safety
Knot safety is a crucial aspect of mastering the skill. Always inspect your knots before loading them to ensure they are tied correctly and securely. Consider the environment and potential risks, such as sharp edges or constant movement, which could weaken the rope or compromise the knot’s integrity. When using knots in climbing, boating, or other high-risk activities, double-check your work and have a backup system, such as a safety knot. Prioritizing safety will protect you and those who rely on your knot-tying skills in critical situations.
Step 10. Review and Learn From Mistakes
Learning to tie knots is a skill that improves with practice and reflection. After each use, review the performance of your knots to identify any issues or areas for improvement. If a knot slipped or failed to perform as expected, analyze the conditions and causes to prevent similar occurrences in the future. Keeping a journal of your knot-tying experiences and challenges can be a helpful way to track progress and refine your techniques over time. Continual learning and adaptation will make you a more proficient knot-tying expert.
You can become a skilled knot-tying expert by following these steps and continuously practicing. Whether for practical or recreational purposes, having a strong knowledge of knots is an essential skill that can prove helpful in various situations.
Conclusion
Tying ring pulls on ice rods is a vital skill that combines precision and technique to enhance your ice fishing experience. Ensuring the pulls are securely attached allows for better line control and ease of handling in cold conditions.
By following a structured approach, practicing consistently, and reviewing your work, you can master this skill effectively. Equipped with well-tied ring pulls, you’ll be ready to face the challenges of ice fishing with confidence and efficiency. Remember, attention to detail and dedication to improvement are key to successful knot-tying practices.
Hopefully, the article on how to tie ring pulls on a ice rods has provided valuable insights and guidance for your next ice fishing adventure. Happy fishing!
About the Author
Jennifer Branett is the author of Fishy Kayak and an expert in fish-related fields, with over 10 years of experience. Her work blends passion for fishing with a commitment to conservation.
Educational Background
Degree: Bachelor’s in Marine Biology
Institution: University of California, Santa Barbara
Specializations: Aquatic ecosystems, fish behavior, and sustainable practices
Professional Experience
Conservation Projects:
Collaborated with local organizations to restore aquatic habitats
Developed educational programs on sustainable fishing practices
Publications:
Authored articles for fishing magazines and environmental journals
Featured speaker at fishing expos and conservation conferences
Key Areas of Expertise
Fishing Techniques:
Kayak fishing strategies
Freshwater and saltwater fishing methods
Environmental Stewardship:
Advocacy for sustainable fishing
Promoting biodiversity in aquatic environments
Awards and Recognition
Recipient of the [Specific Award Name] for contributions to marine conservation
Recognized as a leading voice in the fishing community by [Organization/Publication Name]
Community Engagement
Workshops and Seminars:
Regularly hosts events to educate anglers on sustainable practices
Engages with youth programs to inspire the next generation of fishers
Online Presence:
Maintains an active blog sharing tips, stories, and conservation efforts
Engages with followers on social media to promote fishing ethics
Personal Interests
Enjoys kayaking in scenic locations
Passionate about photography, capturing the beauty of nature
Advocates for local conservation efforts in her community