With summer in full swing and the weather heating up, what better way to spend a day than out on the open water catching fish? However, if you’re like me when I first started fishing, reeling in anything more than an old boot can feel near impossible. Over the years, I’ve learned a few trade tricks that have helped boost my catch significantly. The humble fishing planer is an essential piece of gear that took my fishing to the next level. A planner allows you to fish multiple lines simultaneously instead of just one, meaning more bait in the water and more chances to hook into that big one.
In this blog post, I’ll explain a fishing planer, the different types available, and how to use a fishing planer to maximize your chances of a bountiful catch. By the end, you’ll be trolling like a pro and bringing home fresh fish for the barbecue. So, read on to learn how a planer can take your fishing game to the next level.
Necessary Items
Before we dive into how to use a fishing planer, let’s first go over the essential items you’ll need. Of course, you’ll need your usual fishing gear, such as rods, reels, and bait. But to use a planer effectively, there are a few additional items you’ll need:
- Fishing Planer: This is the main item that allows you to fish multiple lines at once.
- Snap Swivel: This attaches the planer to your main fishing line.
- Downrigger Release Clip: This attaches the planer to the snap swivel and allows it to release when a fish is hooked.
- Sinkers: These are used if you want your baited line to fish deeper in the water.
- Extra Fishing Line: You’ll need to have an additional fishing line on hand in case a fish takes your bait and you run out of line.
10 Steps on How to Use a Fishing Planer
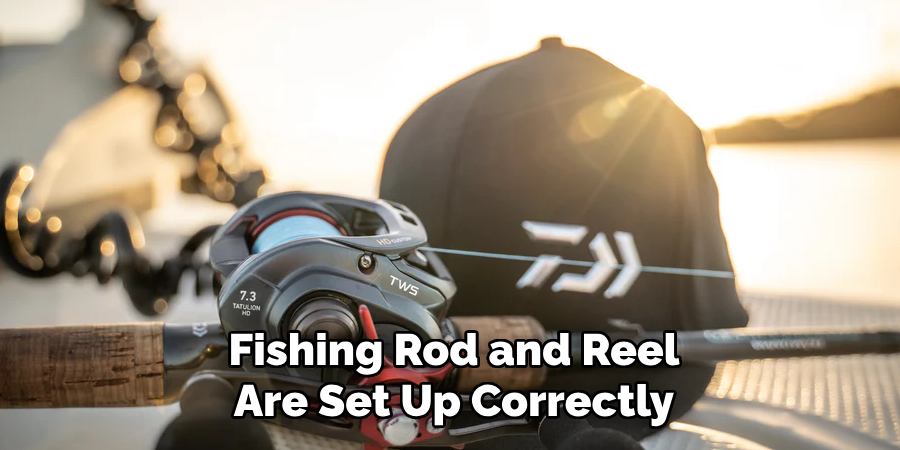
Step 1: Prepare Your Fishing Rod and Reel
The first step is to make sure your fishing rod and reel are set up correctly. Attach the planer to the end of your main fishing line using a snap swivel. Make sure it is secure before proceeding. You can also add a sinker to your line to fish deeper in the water.
Step 2: Attach the Downrigger Release Clip
Next, attach the Downrigger release clip to the snap swivel on the planer. The clip should be placed about two feet up from the planer and should be tight enough so that it doesn’t slide down.
Step 3: Let Out Your Line
Start by letting out approximately 100 feet of line from your reel. This may vary depending on the type of fish you are targeting and their depth, but it’s a good starting point. Make sure the downrigger release clip is secure on the planer and that it can move freely up and down the line.
Step 4: Release Your Planer
Once you have let out enough line, slowly release your planer into the water by gently pulling back on the fishing rod. Be careful not to release it too fast, which can cause tangles.
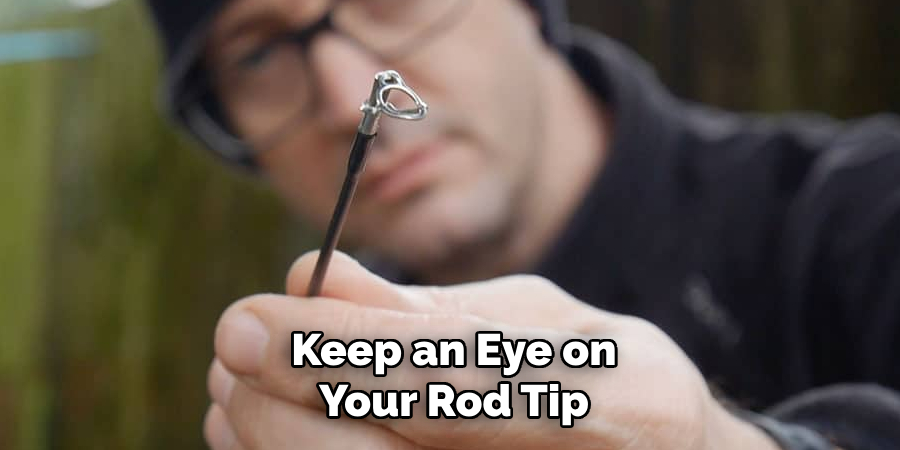
Step 5: Monitor Your Rod Tip
As your planer moves through the water, keep an eye on your rod tip. If a fish bites your bait, you’ll see the tip of your rod bending down, indicating that a fish is hooked. Quickly grab the fishing rod and begin reeling in your catch.
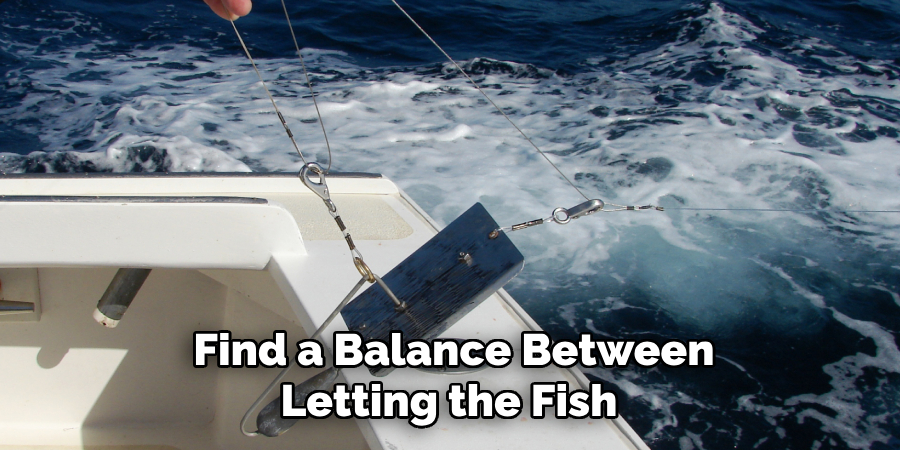
Step 6: Adjust Your Drag
As you reel in your catch, be ready to adjust your drag on the reel. This will prevent the fish from breaking off the line, pulling too hard, and damaging your rod. Find a balance between letting the fish fight a bit and keeping enough pressure to bring it in.
Step 7: Releasing the Planer
Once your catch is secured on the line, it’s time to release it. To do this, simply pull down on the fishing rod and bring the planer up to the water’s surface. The downrigger release clip will detach from the snap swivel, allowing you to remove it from the line.
Step 8: Reel in Your Line
After releasing the planer, continue reeling in your line until you have your catch close enough to the boat. Be careful not to reel too fast, which can cause the fish to become unhooked. Slow and steady is the key here.
Step 9: Land Your Fish:
Once your catch is close to the boat, use a net or gaff to land it. Be careful not to knock off any scales or injure the fish. Once on board, remove the hook and place your catch in a cooler or live well to keep it fresh.
Step 10: Repeat the Process
With one fish caught, it’s time to repeat the process and get more lines in the water. Remember to adjust your line length and use different types of bait if necessary to attract different types of fish. Keep an eye on your rod tip, and be ready to reel in your following catch!
Fishing with a planer may seem daunting initially, but with these steps, you can master the technique quickly and easily. Remember to always stay safe while out on the water and follow all fishing regulations. With practice, you’ll soon become a pro at using a planer and bring home a great catch every time. So grab your gear, head out on the water, and try this technique yourself. You won’t be disappointed! And who knows, you may even reel in that big one you’ve been dreaming of.
8 Things to Avoid When Using a Fishing Planer
While using a fishing planer can greatly increase your chances of catching fish, some common mistakes can ruin your fishing experience. Here are eight things to avoid when using a fishing planer:
1. Using the Wrong Size Planer
Make sure to use the correct size planer for the type of fish you are targeting. Using a small planer for big fish or vice versa can result in lost fish and damaged equipment.
2. Not Checking the Release Clip
Before releasing your planer, double-check that the release clip is secure and functioning correctly. A loose or faulty release clip can cause tangles and lost fish.
3. Releasing the Planer Too Fast
When releasing the planer, be careful not to do it too fast, as this can cause tangles and may even scare away fish. Take your time and release it gently into the water.
4. Neglecting Your Rod Tip
It’s important to keep an eye on your rod tip while fishing with a planer. If you see any unusual movement, it could be a sign that your line is tangled or a fish has taken the bait.
5. Not Adjusting Your Drag
Properly adjusting your drag is crucial when reeling a fish caught on a planer. Make sure to find a balance between letting the fish fight and keeping enough pressure to bring it in.
6. Forgetting to Release the Planer
After successfully catching a fish, don’t forget to release the planer from the line. Failure to do so can damage your fishing equipment and even cause harm to marine life.
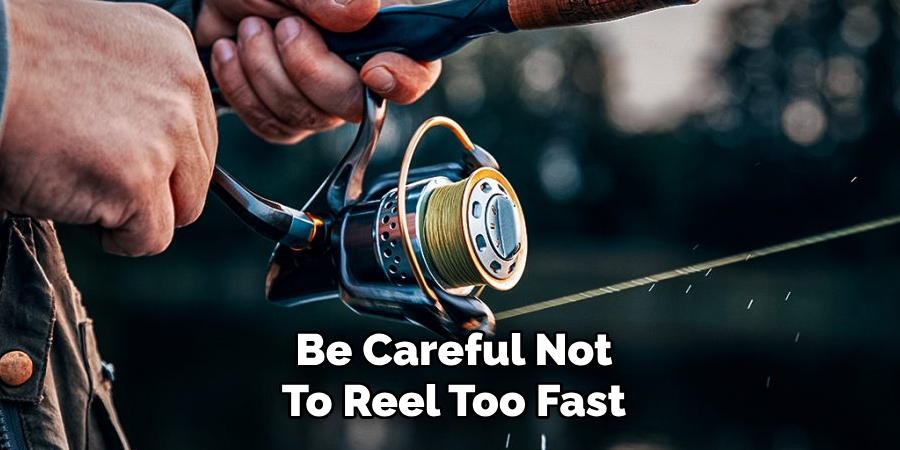
7. Reeling Too Fast
When reeling in your catch, avoid rushing or reeling too fast, as it can cause the fish to become unhooked. Take your time and be patient; slow and steady wins the race.
8. Not Being Prepared
Always make sure to have all necessary equipment on hand when using a fishing planer. This includes extra lines, hooks, bait, and any other tools you may need. Being prepared will save you from potential mishaps while on the water.
By avoiding these common mistakes, you can ensure a successful and enjoyable fishing experience with your planer. So take note of these tips and prepare to catch some big fish!
Frequently Asked Questions About Using a Fishing Planer
Can I Use Any Type of Fishing Line With a Planer?
Using a braided or monofilament fishing line is recommended when using a planer. These cables are more durable and have less stretch, making them ideal for this technique.
How Deep Can I Fish With a Planer?
The depth at which you can fish with a planer depends on the size and type of planer you are using and your fishing location. It is best to experiment with different lengths until you find the proper depth for your desired catch.
Is There a Specific Speed I Should Be Trolling At?
The speed at which you should troll with a planer can vary depending on factors such as water temperature and type of fish. It is best to start at a slower speed and gradually increase until you find the optimal trolling rate for your specific circumstances.
Do I Need Any Special Equipment to Use a Planer?
While using a planer requires specific equipment, it is not overly expensive or difficult to obtain. In addition to the planer, you will need a fishing rod, downrigger release clip, snap swivel, and some weights. Consult with your local fishing store for assistance finding the right equipment.
Conclusion
In conclusion, using a fishing planer can significantly enhance your fishing experience. Not only does it allow you to target different depths in the water, but it also helps to keep your bait at the perfect level for catching those big fish. Remember to carefully choose the suitable planer for your specific type of fishing and always double-check that it is installed correctly before starting to fish.
By following the tips and techniques on how to use a fishing planer outlined in this post, you’ll be well on your way to becoming a skilled planer user. So go out there and give it a try! Don’t be afraid to experiment with different techniques and see what works best for you. And most importantly, enjoy the process and embrace the thrill of reeling in that prized catch. With practice, patience, and determination, you’ll soon master the art of using a fishing planer like a pro.
About the Author
Jennifer Branett is the author of Fishy Kayak and an expert in fish-related fields, with over 10 years of experience. Her work blends passion for fishing with a commitment to conservation.
Educational Background
Degree: Bachelor’s in Marine Biology
Institution: University of California, Santa Barbara
Specializations: Aquatic ecosystems, fish behavior, and sustainable practices
Professional Experience
Conservation Projects:
Collaborated with local organizations to restore aquatic habitats
Developed educational programs on sustainable fishing practices
Publications:
Authored articles for fishing magazines and environmental journals
Featured speaker at fishing expos and conservation conferences
Key Areas of Expertise
Fishing Techniques:
Kayak fishing strategies
Freshwater and saltwater fishing methods
Environmental Stewardship:
Advocacy for sustainable fishing
Promoting biodiversity in aquatic environments
Awards and Recognition
Recipient of the [Specific Award Name] for contributions to marine conservation
Recognized as a leading voice in the fishing community by [Organization/Publication Name]
Community Engagement
Workshops and Seminars:
Regularly hosts events to educate anglers on sustainable practices
Engages with youth programs to inspire the next generation of fishers
Online Presence:
Maintains an active blog sharing tips, stories, and conservation efforts
Engages with followers on social media to promote fishing ethics
Personal Interests
Enjoys kayaking in scenic locations
Passionate about photography, capturing the beauty of nature
Advocates for local conservation efforts in her community