Fishing season is upon us once again. After a long winter stuck inside, what could be better than casting a line into the tranquil waters and seeing what surprises the deep may yield? For any angler, preparing their gear correctly is critical to having a successful day on the water.
One of the most critical tasks is learning how to properly wrap a fishing rod, a vital skill that can help protect your expensive equipment and give you an edge when a big one hits your line. In this post, I’ll walk through the basics of rod wrapping with step-by-step instructions and tips to ensure your pole is wrapped tight and accurately, leaving you ready to reel in whatever adventures come your way. Let’s dive into how to wrap a rod!
What Will You Need?
Before we start, let’s ensure you have all the necessary materials. Here is a list of what you will need to wrap your rod:
- Rod wrapping thread
- Epoxy finish
- Finishing brushes (small and medium-sized)
- Self-adhesive tape
- Scissors
- A small container for epoxy mixing
Once you have gathered all your materials, let’s move on to the steps!
10 Easy Steps on How to Wrap a Rod
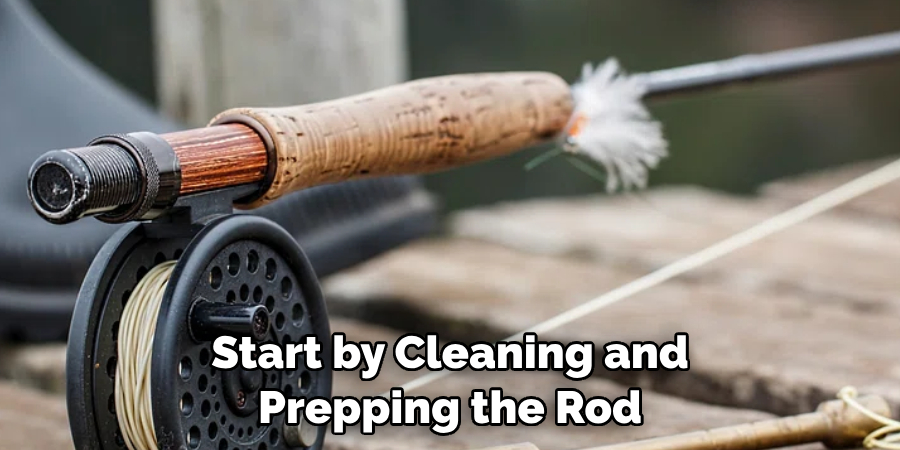
Step 1. Prep the Rod
Start by cleaning and prepping the rod for wrapping. Use rubbing alcohol to remove any dirt or oils from the blank. Then, use masking tape to secure the guides and prevent them from moving during the wrapping process.
Step 2. Begin Wrapping
Start at the rod’s tip and work your way down towards the handle. Use an overhand knot to secure the thread at the end and begin wrapping in a diagonal pattern towards the next guide. Keep tension on the line as you wrap, and use a burnishing tool to smooth out any bumps or gaps in the thread.
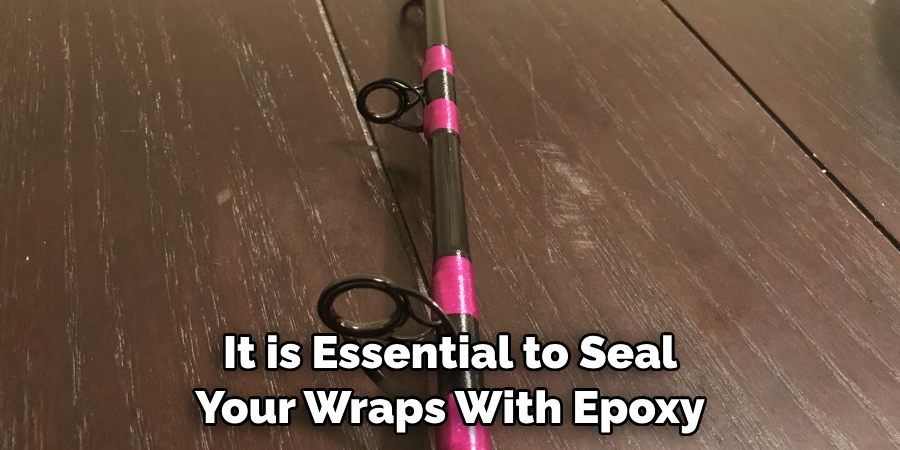
Step 3. Finish with Epoxy
Once all guides are wrapped, it’s time to apply epoxy for a smooth finish and added strength. Mix equal parts of epoxy resin and hardener and apply it evenly over each guide wrap using a brush or foam applicator. Allow it to dry completely before removing excess and curing with heat if necessary.
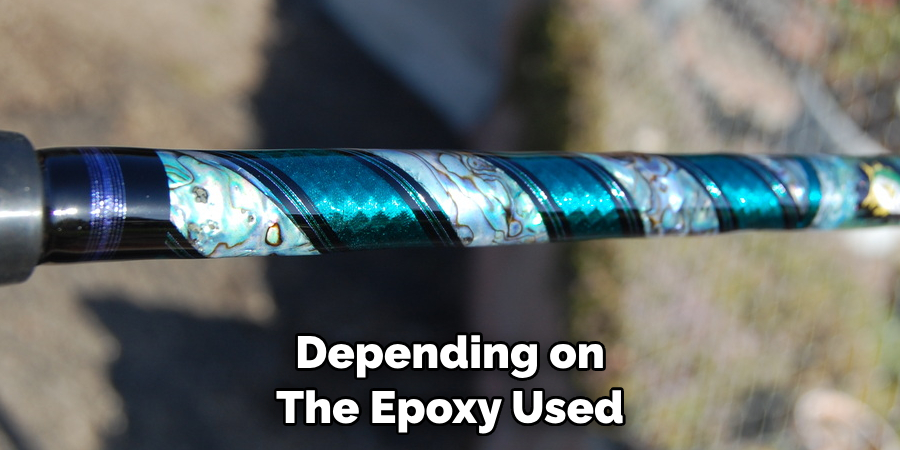
Step 4. Cure the Rod
Now, allow the rod to cure. This process may take up to 24 hours, depending on the epoxy used. Letting the rod cure in a dust-free, temperature-controlled environment is crucial. You can also use a rod drying machine to aid in the curing process, ensuring that the epoxy dries evenly and prevents sagging. Once the epoxy is fully cured, you’ve completed wrapping your rod! Now you’re ready to cast out and see what you can reel in.
Step 5. Enjoy Your Fishing Experience
Now that your rod is appropriately wrapped and cured, it’s time to put it to the ultimate test – a day out on the water. With your newly wrapped rod, you’ll have a smoother and more efficient fishing experience. Remember, the key to a great fishing experience is patience and perseverance. So, cast out your line, sit back, and wait for the fish to bite.
Step 6. Maintain Your Rod
After a successful day of fishing, it’s essential to maintain your rod for longevity. Carefully remove any dirt or debris from the rod, guides, and line. Rinse with fresh water and dry thoroughly before storing. Regularly inspect the wrapping for wear and tear and re-apply epoxy if needed. Remember, a well-maintained rod can offer many seasons of successful angling and enjoyment.
Step 7. Store Your Rod Properly
Storing your rod properly when not in use is crucial to maintaining its condition and extending its lifespan. Avoid storing your rod in places with extreme temperatures or humidity, as these conditions can damage the materials and warp the structure. Instead, keep your rod in a cool, dry place out of direct sunlight. Use a rod rack or a vertical stand to store your rods upright, which helps maintain the shape and prevents unnecessary pressure or bending. Always make sure the rod is clean and completely dry before storing it. Your rod will be ready for many more fishing adventures with proper care and storage.
Step 8. Unwrap and Re-wrap As Needed
Over time, the wrap on your rod may show wear and tear. This is completely normal, mainly if you fish often or in harsh conditions. When this happens, don’t panic – simply unwrap the old thread, clean the rod as you did the first time, and re-wrap it following the steps outlined above. Always remember to let the epoxy cure properly before you take your rod out again. This iterative maintenance process will ensure that your rod stays in top condition for years to come.
Step 9. Practice Makes Perfect
Like any other skill, rod wrapping improves with practice. The more you wrap and unwrap your rod, the better you’ll become. Don’t be disheartened if your first few attempts don’t look as neat or professional as you’d like. Remember, even the most experienced anglers had to start from somewhere. Keep practicing, and soon, you’ll find your technique improving. Each time you wrap your rod, you’re extending the life of your equipment and enhancing your fishing experience. So, keep practicing, improving, and above all, fishing!
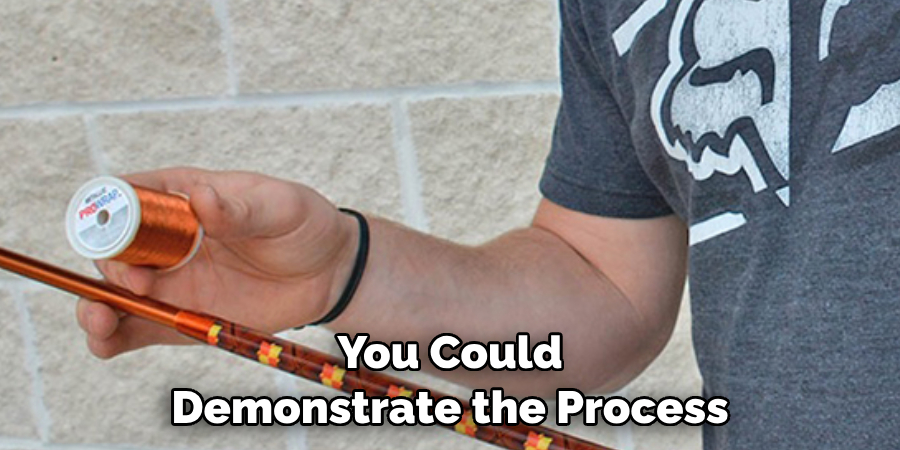
Step 10. Share Your Knowledge
Finally, don’t keep your newfound skill to yourself. Share your knowledge with fellow anglers, friends, or family members who enjoy fishing. You could demonstrate the process at a local fishing club or share a video tutorial online. By spreading the word about properly wrapping a fishing rod, you’re helping others protect their equipment, enhance their fishing experience, and foster a stronger fishing community. Remember, knowledge shared is knowledge multiplied. Happy fishing!
Following these simple steps, you can successfully wrap your rod and enhance your fishing experience.
5 Additional Tips and Tricks
- Consider the Wrap Material: Different wrapping materials offer varying degrees of grip and durability. Choose one that matches the conditions you’ll be fishing in.
- Maintain Tension: Keep a steady pressure when wrapping the rod to prevent any loose or uneven wraps. This will ensure the longevity and performance of your fishing rod.
- Use a Rod Wrapping Jig: A rod wrapping jig can help maintain consistent tension and placement, making the wrapping process more accessible.
- Seal Your Wraps: After wrapping, make sure to seal your wraps with epoxy or another protective finish to prevent them from unraveling or getting damaged.
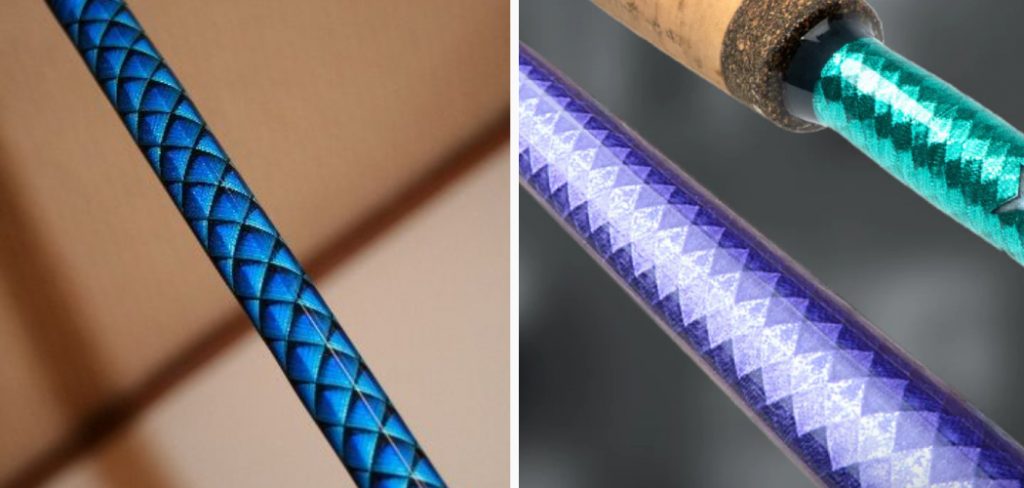
- Experiment with Different Designs: Once you have the basics down, try experimenting with varying designs of wrap to personalize your fishing rod. This can include alternating colors, adding thread patterns, or even incorporating custom decals.
Wrapping a fishing rod may seem like a daunting task at first, but with practice and these additional tips and tricks, you’ll be able to create beautifully wrapped rods that not only look great but also perform well on the water.
5 Things You Should Avoid
- Avoid Rushing the Process: Rod wrapping is a meticulous task that requires patience and precision. Rushing through the process may lead to unsightly or loose wraps that can degrade the performance of your rod.
- Don’t Neglect Prep Work: Proper rod blank and thread preparation is crucial. Failing to clean the rod blank or not properly preparing the line can affect the quality of the wrap.
- Avoid Using Low-Quality Materials: Low-quality threads or finishes may not hold up well in harsh fishing conditions, compromising the durability of your rod. Always opt for high-quality materials.
- Don’t Ignore Thread Tension: Inconsistent thread tension can result in uneven wraps. Pay close attention to maintaining consistent pressure throughout the wrapping process.
- Avoid Overloading with Epoxy: While it is essential to seal your wraps with epoxy, using less can create a messy finish and add unnecessary weight to your rod. Use it sparingly to ensure a clean, sleek finish.
By avoiding these mistakes, you can ensure that your rod wrapping project turns out to be a success. Remember to take your time and pay attention to detail for the best results.
Conclusion
In conclusion, learning how to wrap a rod is essential for any angler, whether you are a beginner or an experienced fisherman. It not only improves the aesthetics of your fishing gear but also enhances its functionality. Throughout this blog post, we have covered all the necessary steps and techniques needed to wrap a rod like a pro. From choosing the right thread and color combination to understanding different wrapping patterns, you now have all the knowledge and skills to create unique and personalized designs on your fishing rods.
But don’t stop here! Keep practicing and experimenting with different designs to truly make your rod stand out on the water. Remember, practice makes perfect.
So go ahead, grab your thread, and start wrapping! Show off your unique style on the water while catching those big ones. Don’t be afraid to let your creativity flow because when it comes down to it, there are no rules in rod wrapping except one – have fun! Happy fishing!
About the Author
Jennifer Branett is the author of Fishy Kayak and an expert in fish-related fields, with over 10 years of experience. Her work blends passion for fishing with a commitment to conservation.
Educational Background
Degree: Bachelor’s in Marine Biology
Institution: University of California, Santa Barbara
Specializations: Aquatic ecosystems, fish behavior, and sustainable practices
Professional Experience
Conservation Projects:
Collaborated with local organizations to restore aquatic habitats
Developed educational programs on sustainable fishing practices
Publications:
Authored articles for fishing magazines and environmental journals
Featured speaker at fishing expos and conservation conferences
Key Areas of Expertise
Fishing Techniques:
Kayak fishing strategies
Freshwater and saltwater fishing methods
Environmental Stewardship:
Advocacy for sustainable fishing
Promoting biodiversity in aquatic environments
Awards and Recognition
Recipient of the [Specific Award Name] for contributions to marine conservation
Recognized as a leading voice in the fishing community by [Organization/Publication Name]
Community Engagement
Workshops and Seminars:
Regularly hosts events to educate anglers on sustainable practices
Engages with youth programs to inspire the next generation of fishers
Online Presence:
Maintains an active blog sharing tips, stories, and conservation efforts
Engages with followers on social media to promote fishing ethics
Personal Interests
Enjoys kayaking in scenic locations
Passionate about photography, capturing the beauty of nature
Advocates for local conservation efforts in her community